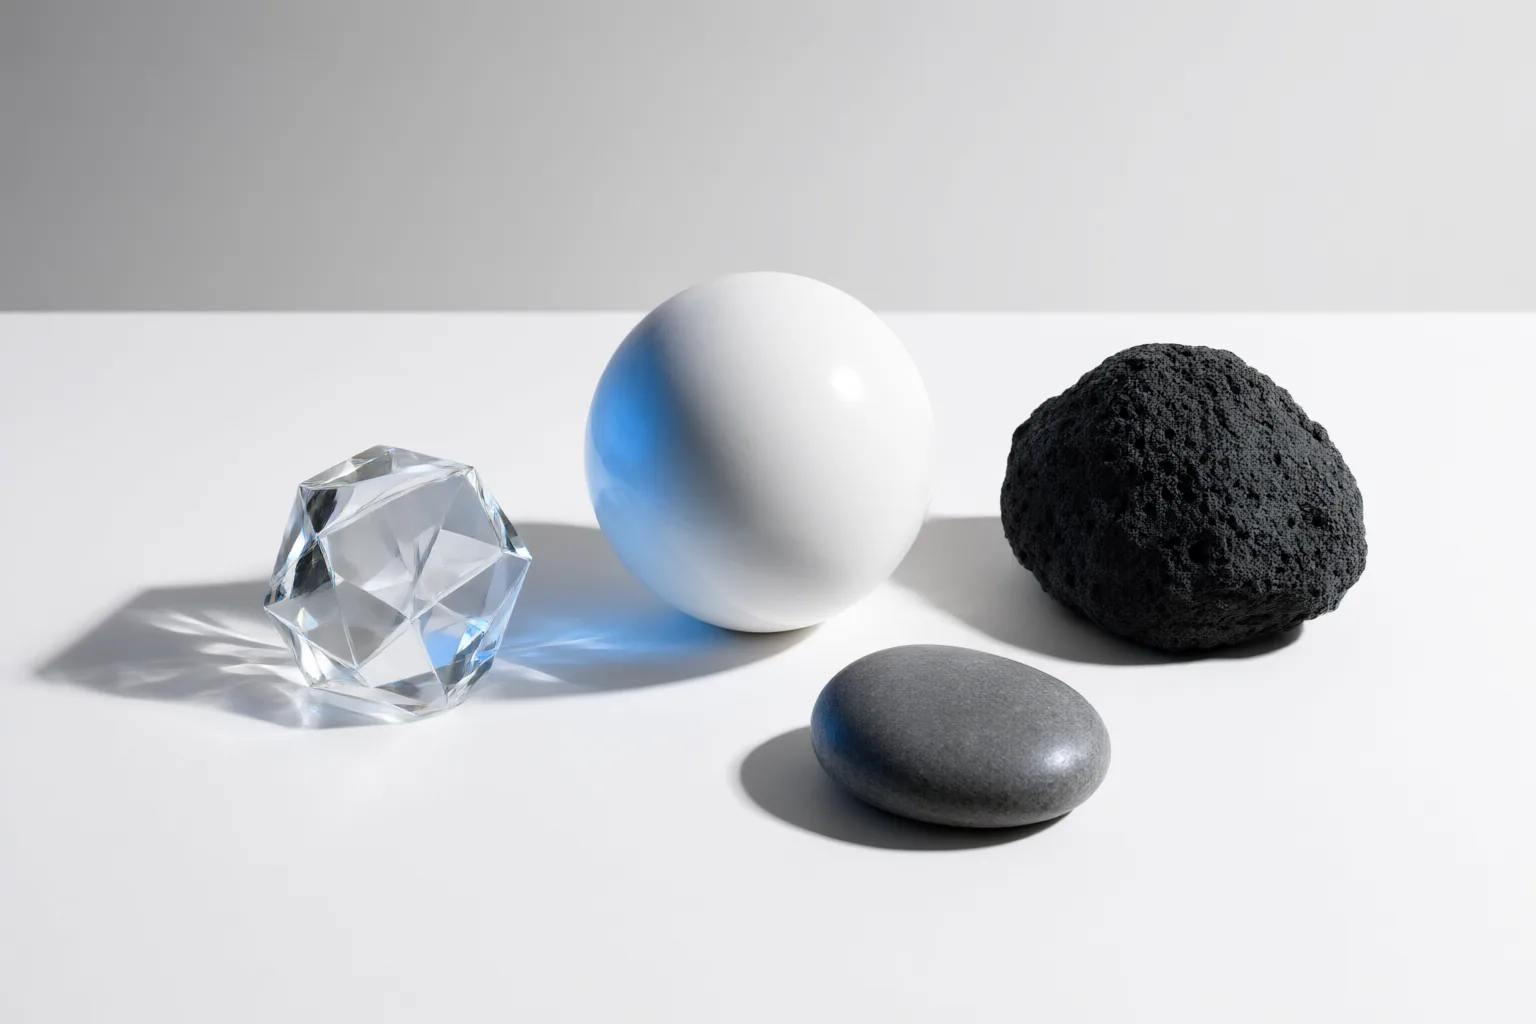
Test AI image relighting as a coherence problem, not simply a brightness change. Compare the result with the original and verify that light direction, highlights, shadows, reflections, ambient color, materials, and important subject details all describe the same lighting environment.
Set Up a Controlled Relighting Test
Start with a portrait, product image, or composite and keep the original available for comparison. Before generating anything, define the intended key-light direction and the mood or lighting style you want. Also note the original highlight side, cast-shadow orientation, contact shadows, and ambient color so that remnants of the old lighting are easier to identify.
Provider-described workflows generally follow one of two patterns: upload an image and select a lighting style, or upload it and describe the desired edit in a prompt. PIAX lists options such as natural, studio, golden hour, dramatic, soft, backlight, neon, and sunset lighting. Magic Hour describes a prompt-based upload, edit, preview, and download sequence. These advertised workflows explain how to request an edit; they do not independently establish the quality or physical accuracy of the result.
Check Light Direction, Highlights, and Shadows
Inspect the relit image in a fixed order:
- Identify the dominant light direction.
- Confirm that the brightest side of the subject faces that light.
- Check whether cast shadows travel in a compatible direction.
- Look for contact shadows where objects meet supporting surfaces.
- Judge whether shadow softness is plausible for the implied light.
- Compare ambient color and exposure across the subject and scene.
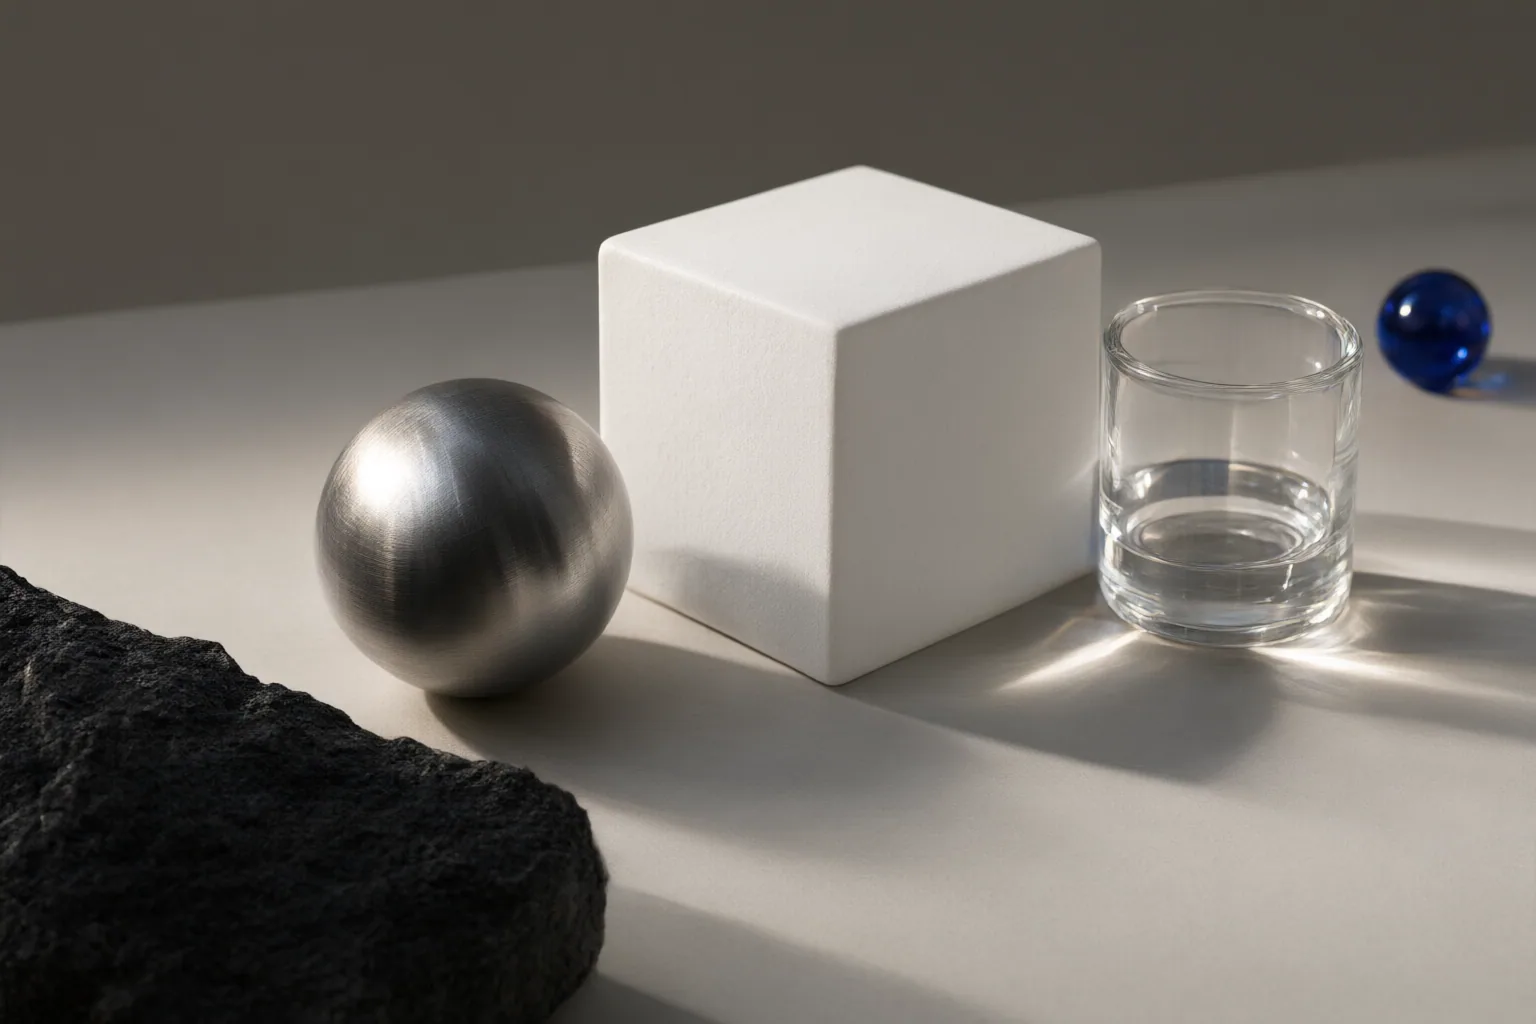
Believable shadows depend on the light position, object geometry, surface contact, and softness. A shadow that seems detached from its object, points the wrong way, or has incompatible edges weakens the entire result. In a composite, watch especially for highlights or environmental color inherited from the previous background.
Do not treat global brightness or contrast as a substitute for relighting. Those controls can change overall values, but they do not necessarily move a wrong-side highlight, redirect an old cast shadow, restore a missing contact shadow, or reconcile mismatched environmental spill.
Inspect Reflections and Material Appearance
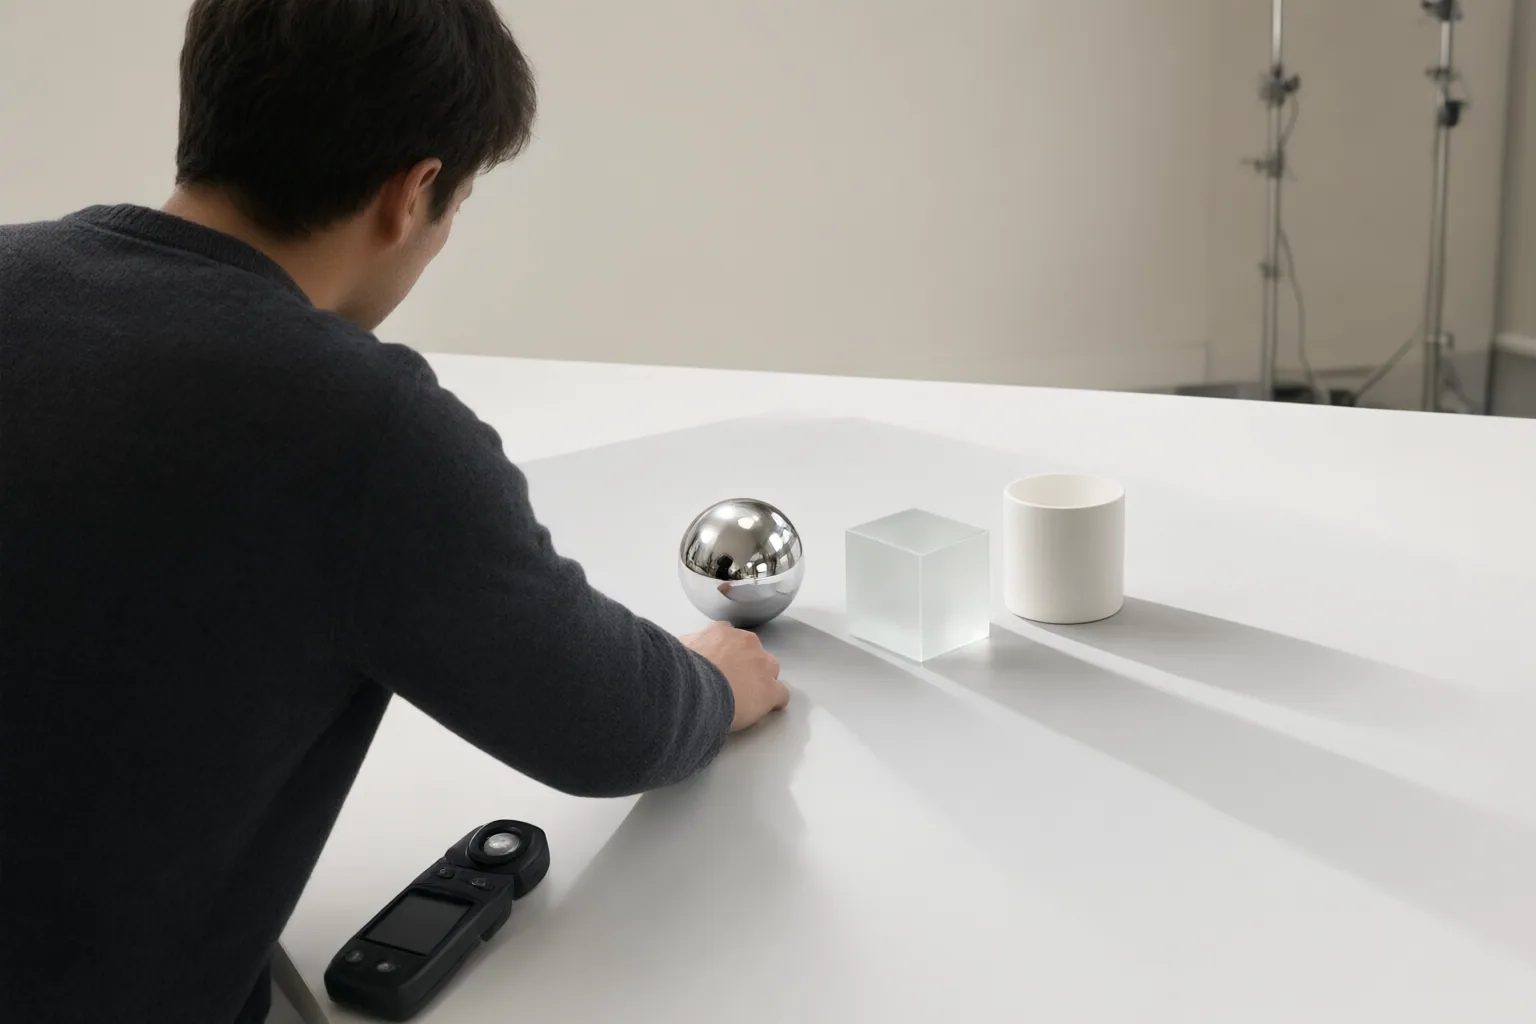
Next, compare each visible reflection or specular highlight with the intended key light. Its direction and intensity should fit the same environment as the subject’s highlights and shadows. This is particularly important for metal, glass, and packaging because reflections help communicate both the material and its surroundings. A surface may look implausible when its reflection suggests a light source that the rest of the image does not support.
Then check whether the edit preserved genuine surface variation, including paint, grain, stains, damage, and other intended details. Shadow and highlight heatmaps can help separate broad illumination changes from variations that belong to the surface itself.
Keep the limits of this inspection in view. In one RGB image, surface reflectance, geometry, exposure, diffuse illumination, and specular reflection can produce similar pixels. Any inferred neutral base color is therefore an estimate, not measured physical albedo. The goal is a visually coherent result supported by the available image, not proof that the reconstruction is physically exact.
Conclusion
Use a consistent pass-or-revise checklist: dominant light direction, highlight placement, cast-shadow direction, contact shadows, reflection direction and intensity, material response, ambient color, exposure, and preservation of intended subject details. Approve the image only when these cues support one implied lighting environment.
Some problems may not be dependably repairable. Single-image correction is inherently ambiguous, while clipped highlights and crushed shadows may contain too little recoverable information. If an image fails, record each inconsistency instead of masking it with a broad tonal adjustment. Apply the checklist to one relit image at full size, then revise one lighting variable at a time before approving or publishing it.
Disclosures and limitations
- This article was prepared with AI assistance from the supplied research package; material claims are attributed through the accompanying source IDs, and the described tool workflows were not independently tested.
- No product ranking or affiliate recommendation is made here. Provider-described capabilities should be verified before purchase or publication.
Sources
- Fix Fake Shadows: AI Image Relighting for Composites — Creatide AI
- AI Image Relighting – Change Photo Lighting Instantly | PIAX — piax.org
- AI VFX 6.0: AI Lighting, Relighting, Shadows, Reflections… — Zgian
- AI Photo Relight – Golden Hour, Studio, Cinematic in One Click — sparkpix.ai
- Remove Shadows from Texture & Create Albedo | Material Delighter — PLAYTEX AI
- Relight Photo – Free AI Tool, No Sign Up | Magic Hour — Magic Hour AI
- AI Lighting and Shadow Consistency Analysis for Creators — Sozee
- AI Image Relighter — Change Lighting on Any Photo | Higgsifled — Higgsfield
- Best AI Image Relighting Tools (2026): Lighting Control, 3D | Alignify — Alignify
Improve this guide
Report a problem or suggest the next question
Submissions enter a private editorial queue. They are reviewed and deduplicated before any public update or new page is created.