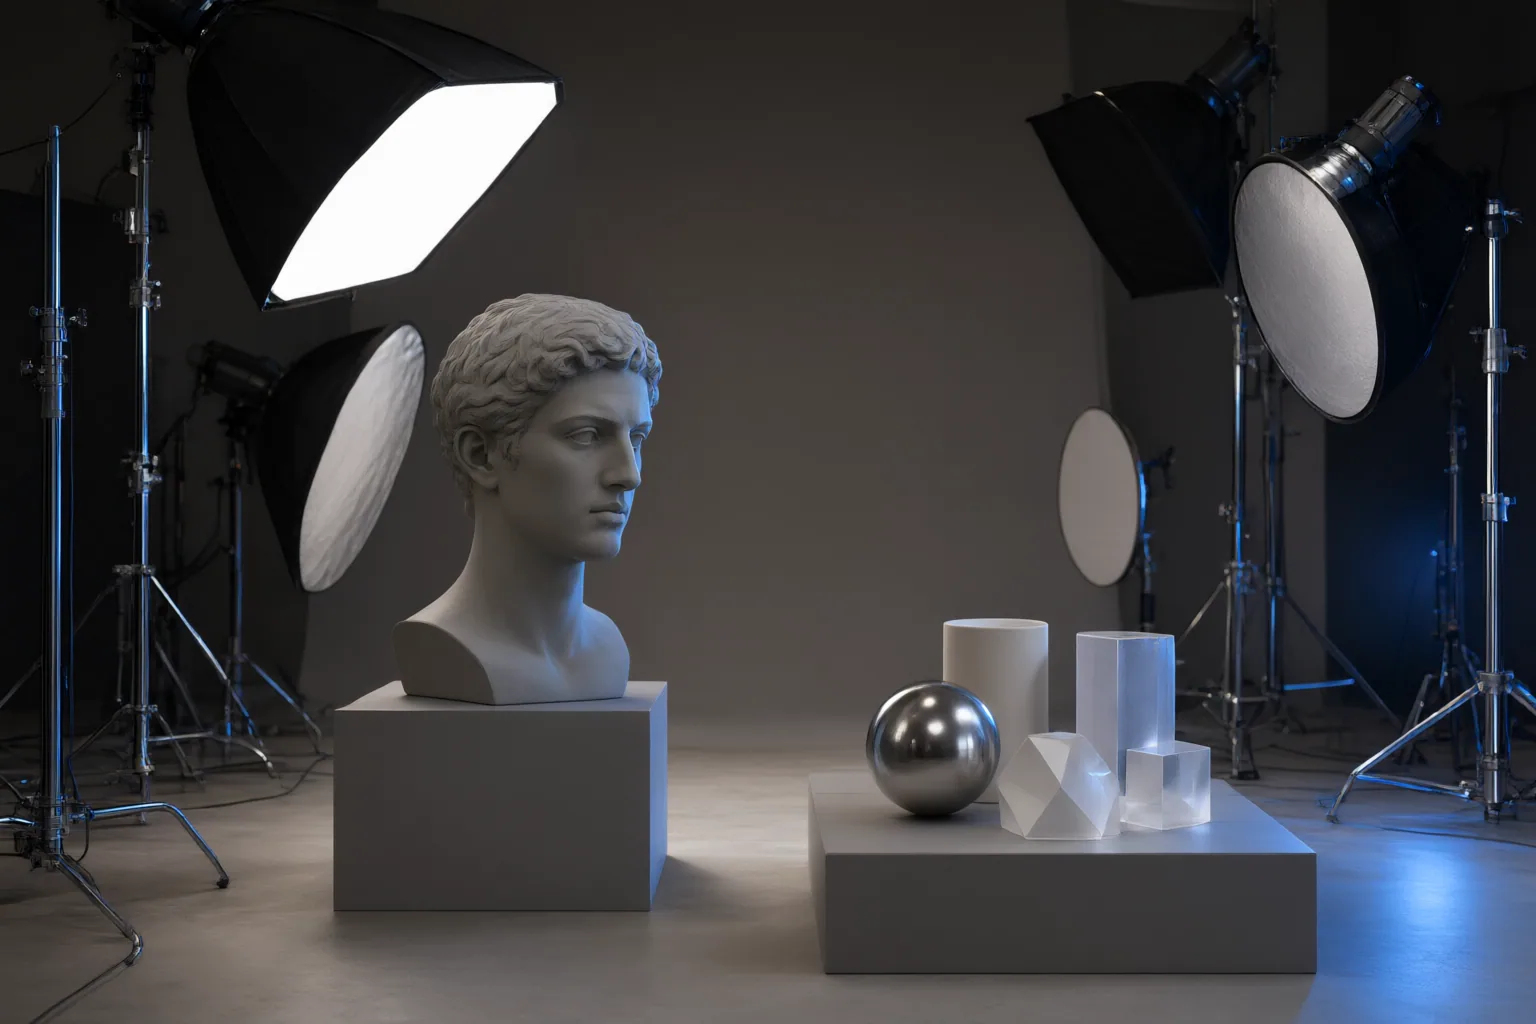
Choose an AI relighting tool by testing representative images, inspecting subject fidelity and lighting behavior, and measuring how reliably the workflow produces delivery-ready files. A successful demonstration or single image is not enough to establish overall quality or batch suitability.
Start With a Representative Test Set
Build a small test batch that reflects your actual portrait or product work. Begin with source images that retain highlight and shadow detail, have reasonable white balance, and provide clean separation between the subject and background where possible. Include easy and difficult cases rather than only polished inputs.
For portraits, vary backgrounds and existing light conditions. For products, include fine textures, labels, reflective packaging, metal, and surfaces where specular highlights matter. Apply the same intended lighting goal to every tool. Testing several representative images is essential because one attractive result cannot demonstrate consistency across a portrait collection or product catalog.
Check Portrait and Product Fidelity
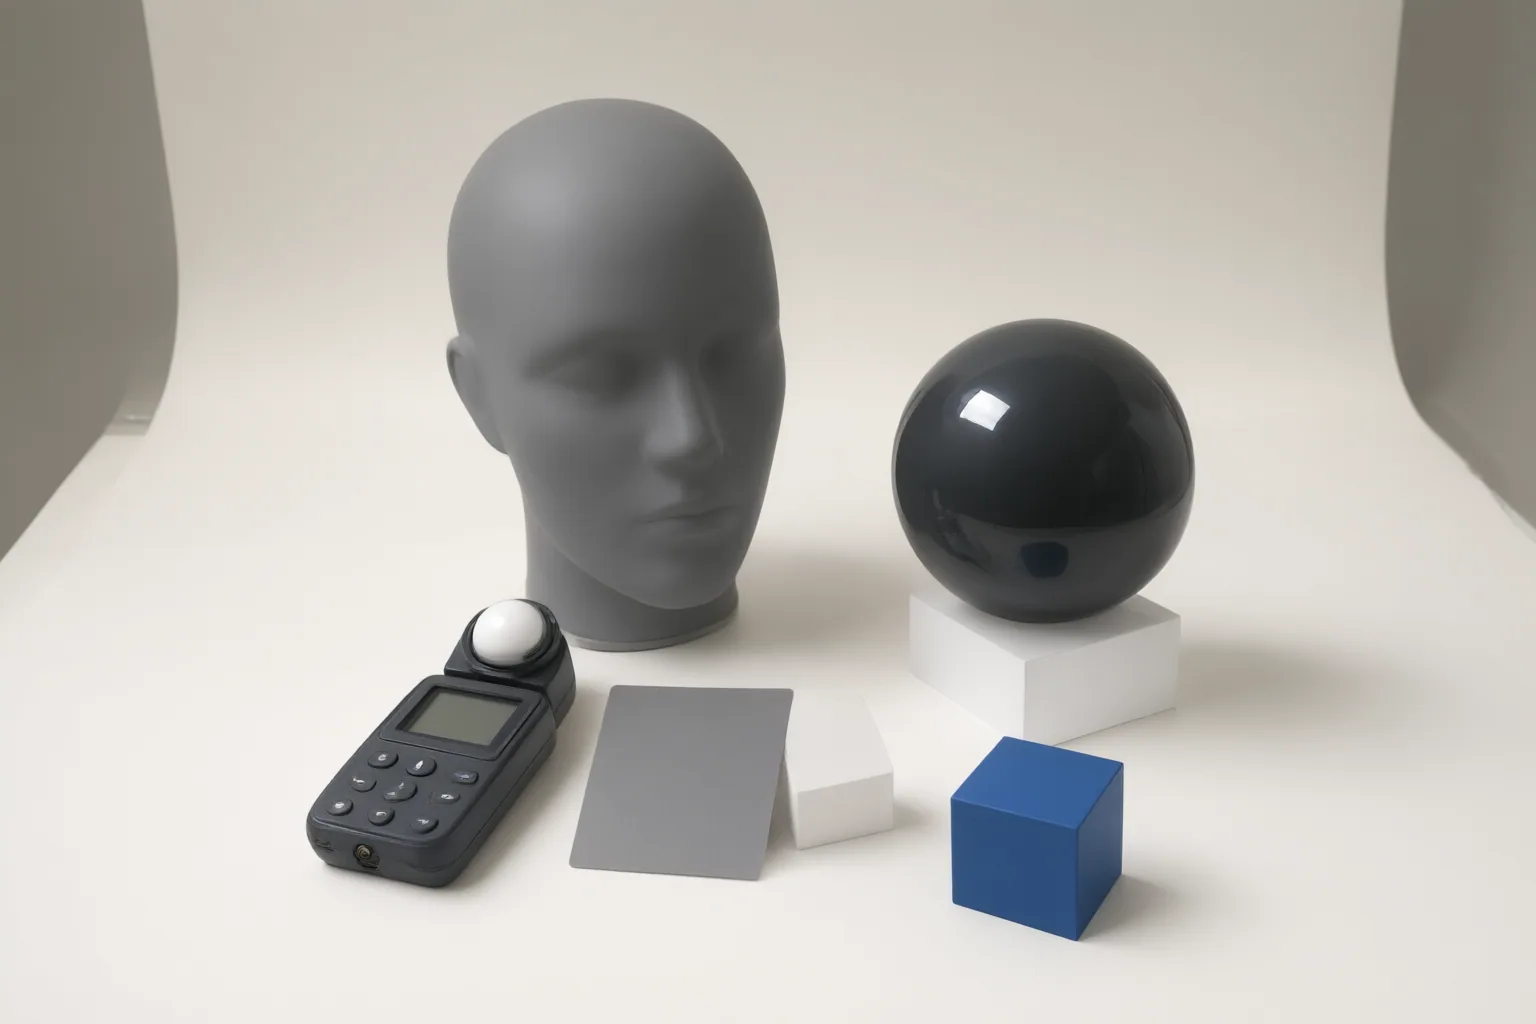
For portraits, inspect whether the person’s identity and facial features remain intact. Look for believable transitions of light across the face, hair, clothing, and background. Confirm that the result changes the apparent lighting rather than merely raising or lowering overall brightness. Check whether shadows and highlights follow the requested direction without producing abrupt or inconsistent regions.
For product images, compare labels, edges, textures, and colors with the input. Examine reflective and metallic areas closely because automatically generated specular highlights require manual review. Cast shadows should remain consistent with the apparent light direction, while studio-style results warrant particular attention to color accuracy. Review the output at the resolution used for delivery, since a convincing preview may not reveal every defect relevant to publishing.
Evaluate Controls, Repeatability, and Workflow Fit
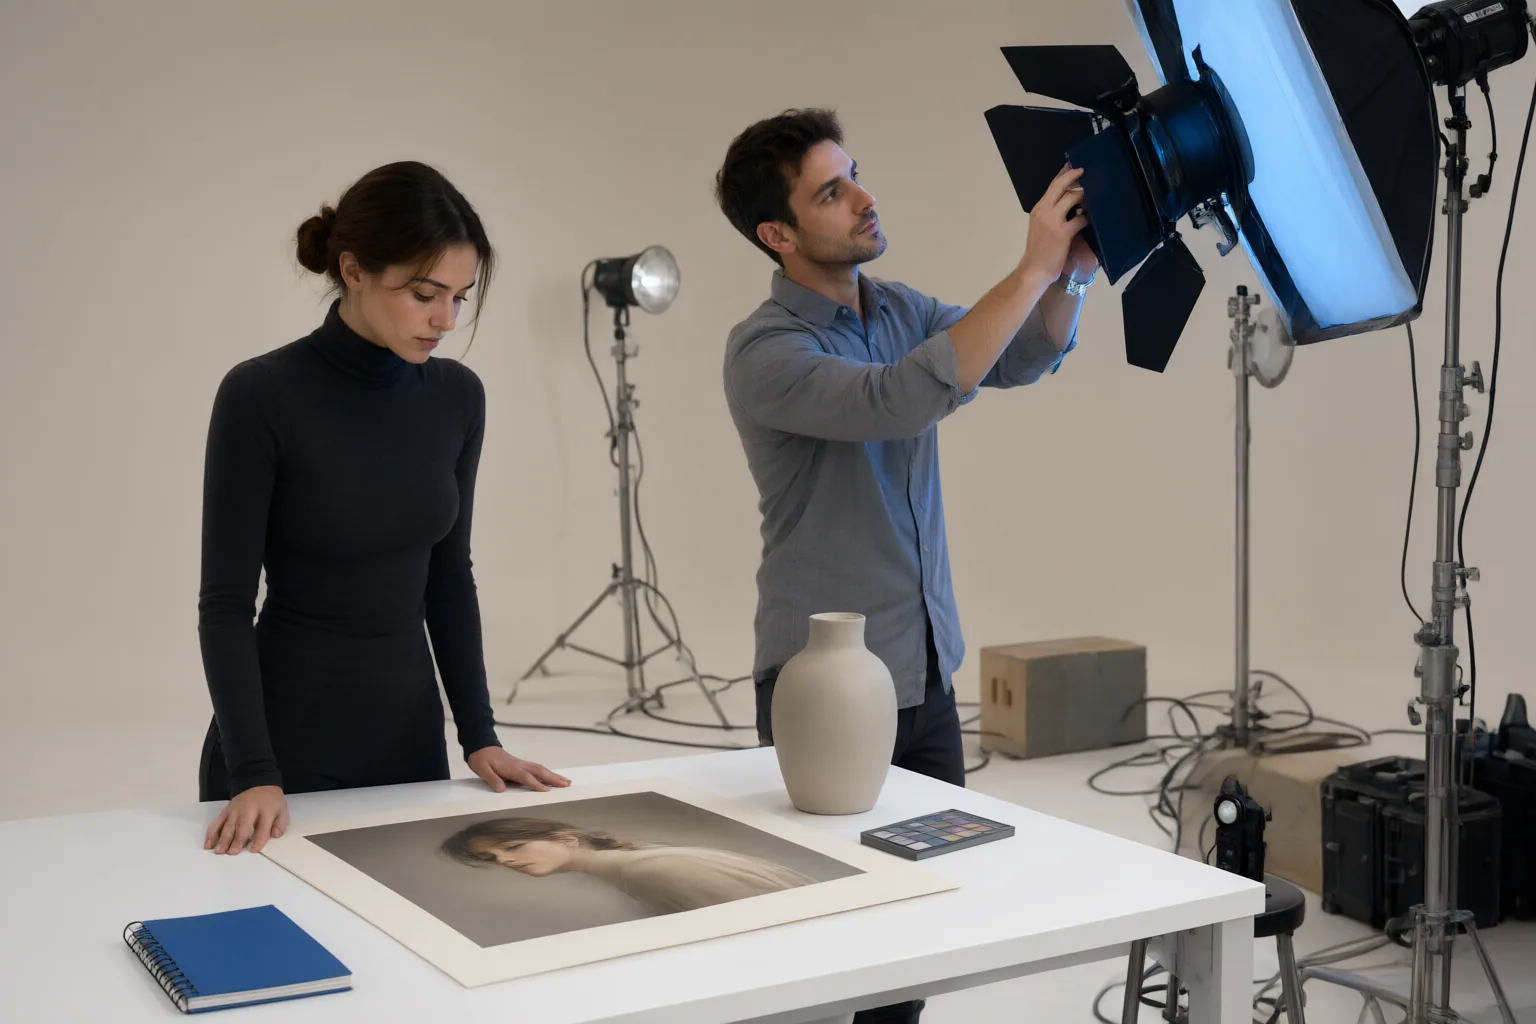
Test how each tool translates an intention into a result. Available interaction models can include presets, written lighting descriptions, automatic scene analysis, and manual adjustments. For example, one cited workflow asks users to upload an image, describe the desired lighting, and download the result, while another describes controls involving direction, intensity, spread, shadows, highlights, color temperature, ambient light, and multiple light sources.
Use the controls you would need in production. Try changes to direction, intensity, color, shadows, and highlights, and check whether foreground and background lighting can be treated appropriately. Record how much manual correction each output needs instead of judging the length of a feature list.
Repeat the same task across the full test batch and look for stable color, shadow direction, subject preservation, and lighting character. Also verify accepted file types, size limits, output resolution, watermark conditions, and download behavior for your delivery channel. A visually capable editor may still be unsuitable if its input, export, or batch behavior disrupts the workflow.
Conclusion
Compare tools with identical representative inputs, lighting goals, and inspection criteria. Review every result at delivery resolution, document visual failures and required corrections, and consider repeatability alongside manual control and file handling. Vendor demonstrations describe possible workflows, but the cited material does not provide controlled cross-tool benchmarks. Build a small portrait or SKU test batch, score the same checks for every tool, and adopt one only after its results remain suitable across that batch.
Disclosures and limitations
- This article was prepared with AI assistance from the cited research sources. Several sources are vendor pages or promotional roundups, and their performance claims were not independently verified.
- No controlled cross-tool benchmark or structured product data was supplied, so this guide does not rank tools or make product, pricing, rating, or performance recommendations. Any future commercial or affiliate relationship should be disclosed alongside the relevant recommendation.
Sources
- Best AI Photo Relighting Tools 2026: Sozee vs Top Options — Sozee
- AI Relighting Tool – Change Photo Lighting Free — GoStudio.ai
- Best AI Image Relighting Tools (2026): Lighting Control, 3D | Alignify — Alignify
- AI Relighting: Best Tools and How to Relight Photos & Video — DemoBook — DemoBook
- AI image relight: Studio-quality relighting for ad creative — GoCrazyAI
- AI Lighting Editor – Free Online Photo Relighting and Light Changer Tool — Krea
- Best AI Portrait Lighting Tools 2026: Sozee vs Competitors — Sozee
Improve this guide
Report a problem or suggest the next question
Submissions enter a private editorial queue. They are reviewed and deduplicated before any public update or new page is created.