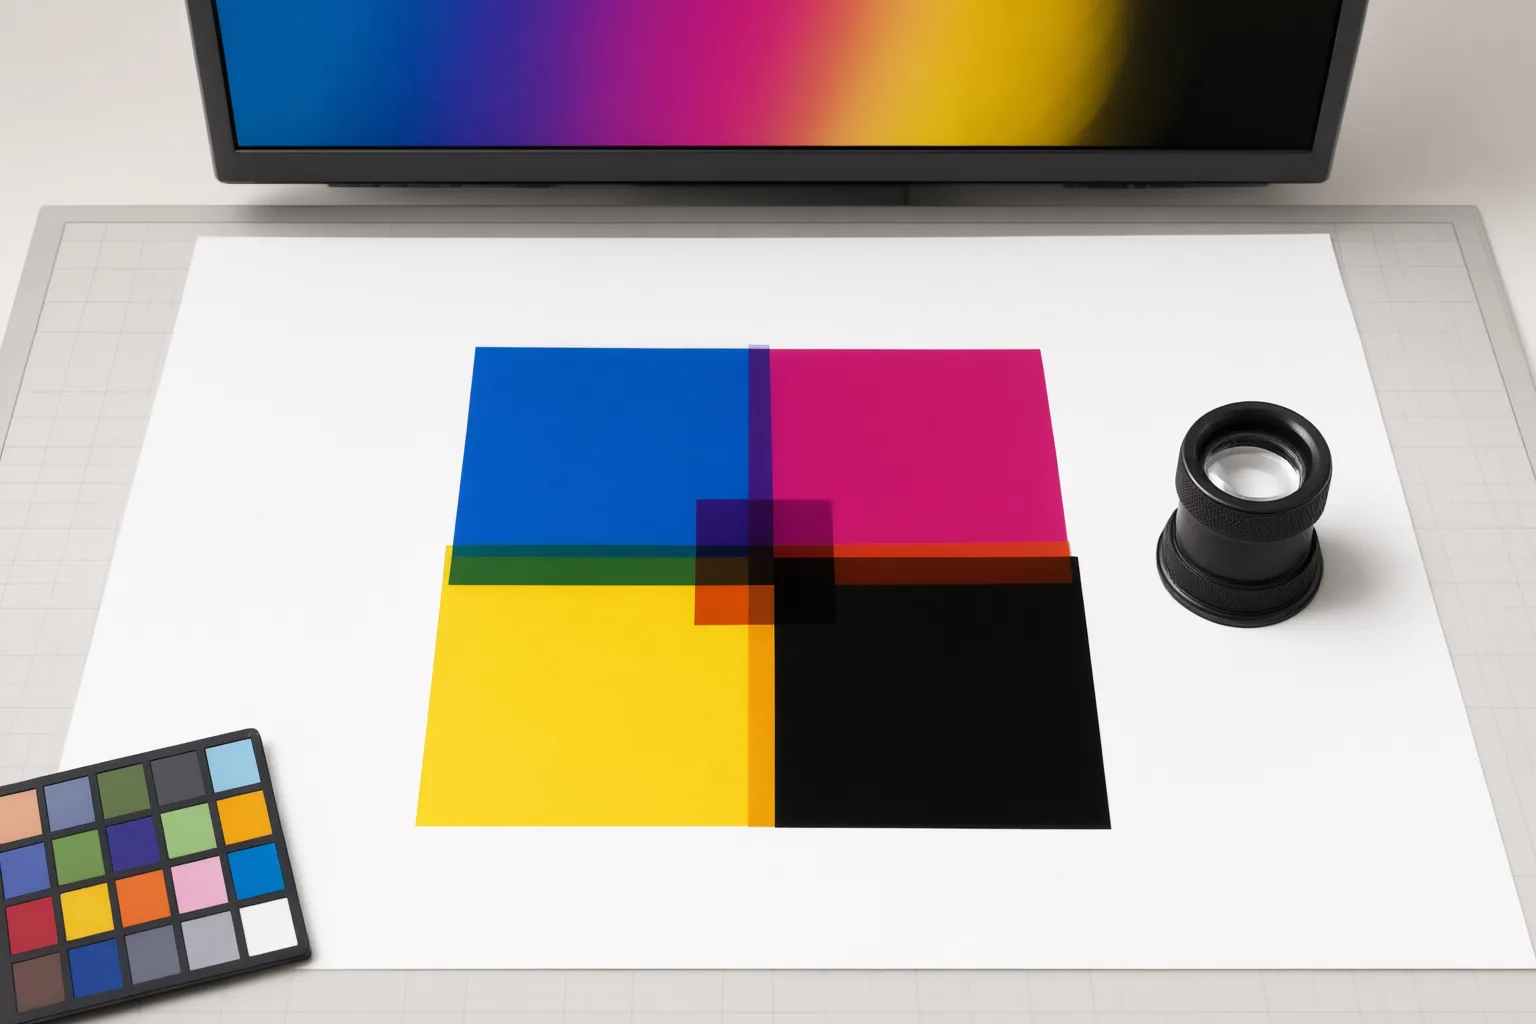
Evaluate an AI image tool against the requirements of a specific printer and production method. Check final-size resolution, CMYK and ICC controls, bleed, export formats, and proofing features separately; a CMYK label or product mockup alone does not establish print readiness.
Start With the Printer’s Production Requirements
Begin by asking the printer for the required physical dimensions, resolution, color space, ICC profile, bleed, and file format. These requirements can vary with the printing method, ink system, and substrate, so a tool is suitable only if it can support the specifications of the actual job.
Calculate pixel dimensions at the final output size before evaluating an AI-generated image. Rangy’s example shows that a 16-by-24-inch print at 300 DPI requires an image measuring 4,800 by 7,200 pixels. An image with fewer pixels may not provide the required resolution when enlarged to that size. For full-bleed work, also include the printer’s specified bleed; Rangy recommends 0.125 inches on every edge. Establishing these targets first gives you measurable criteria for comparing tools and helps expose limitations before production.
Check CMYK, ICC, Bleed, and Export Controls Separately
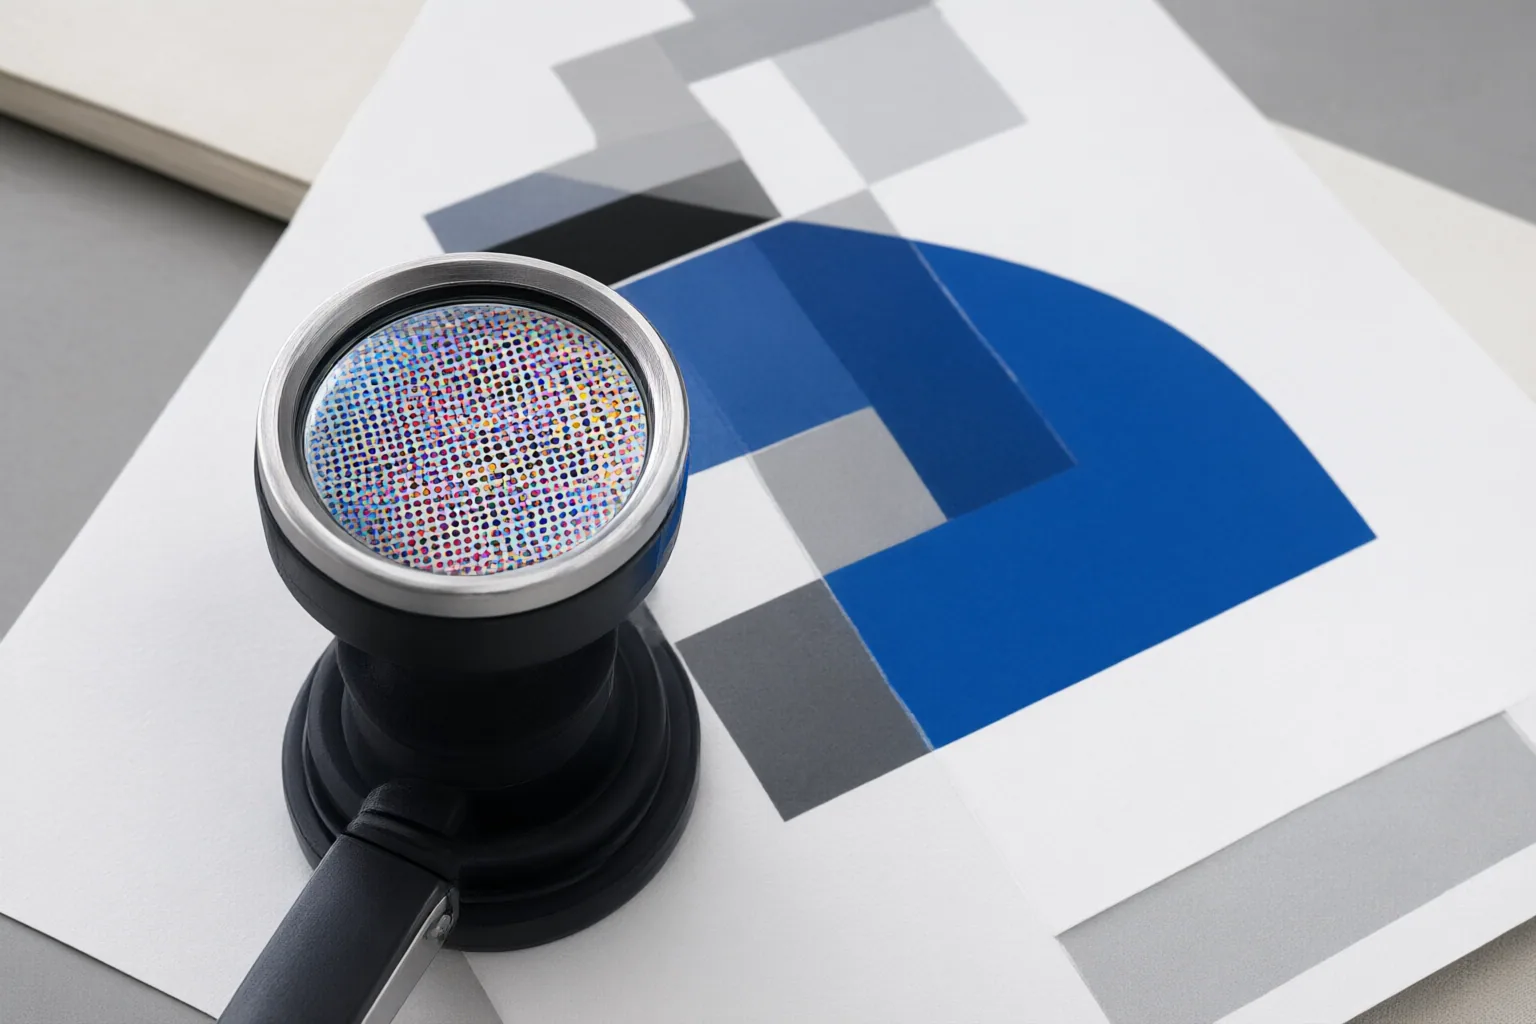
Do not treat “CMYK export” as a complete print-production feature. Confirm whether a tool merely converts colors or also lets you use the ICC profile requested by the printer. Rangy says the matching ICC profile matters in offset workflows and identifies TIFF, high-quality JPEG, and PDF/X-1a as outputs suited to different print contexts.
Inspect bleed and document metadata independently as well. PrintGo states that its workflow converts uploads to CMYK, embeds a color profile, adds bleed and registration crop marks, and produces PDF/X-1a:2001 files with TrimBox and BleedBox metadata. Recraft states that its export panel offers configurable resolution up to 300 DPI, CMYK conversion, and CMYK TIFF output. These are publisher capability claims, not independent performance findings. When comparing tools, verify that each required control is available, that the requested profile can be used, and that the resulting file passes the printer’s preflight rather than relying on a general “print-ready” description.
Distinguish Mockup Previews From Soft Proofing
A product mockup shows placement and context, but it does not necessarily predict printed color. Recraft describes a mockup generator that places artwork on products; the supplied information does not document ICC-based soft-proof settings, rendering intents, or gamut warnings. Evaluate that feature as a placement preview unless further evidence establishes color-managed proofing.
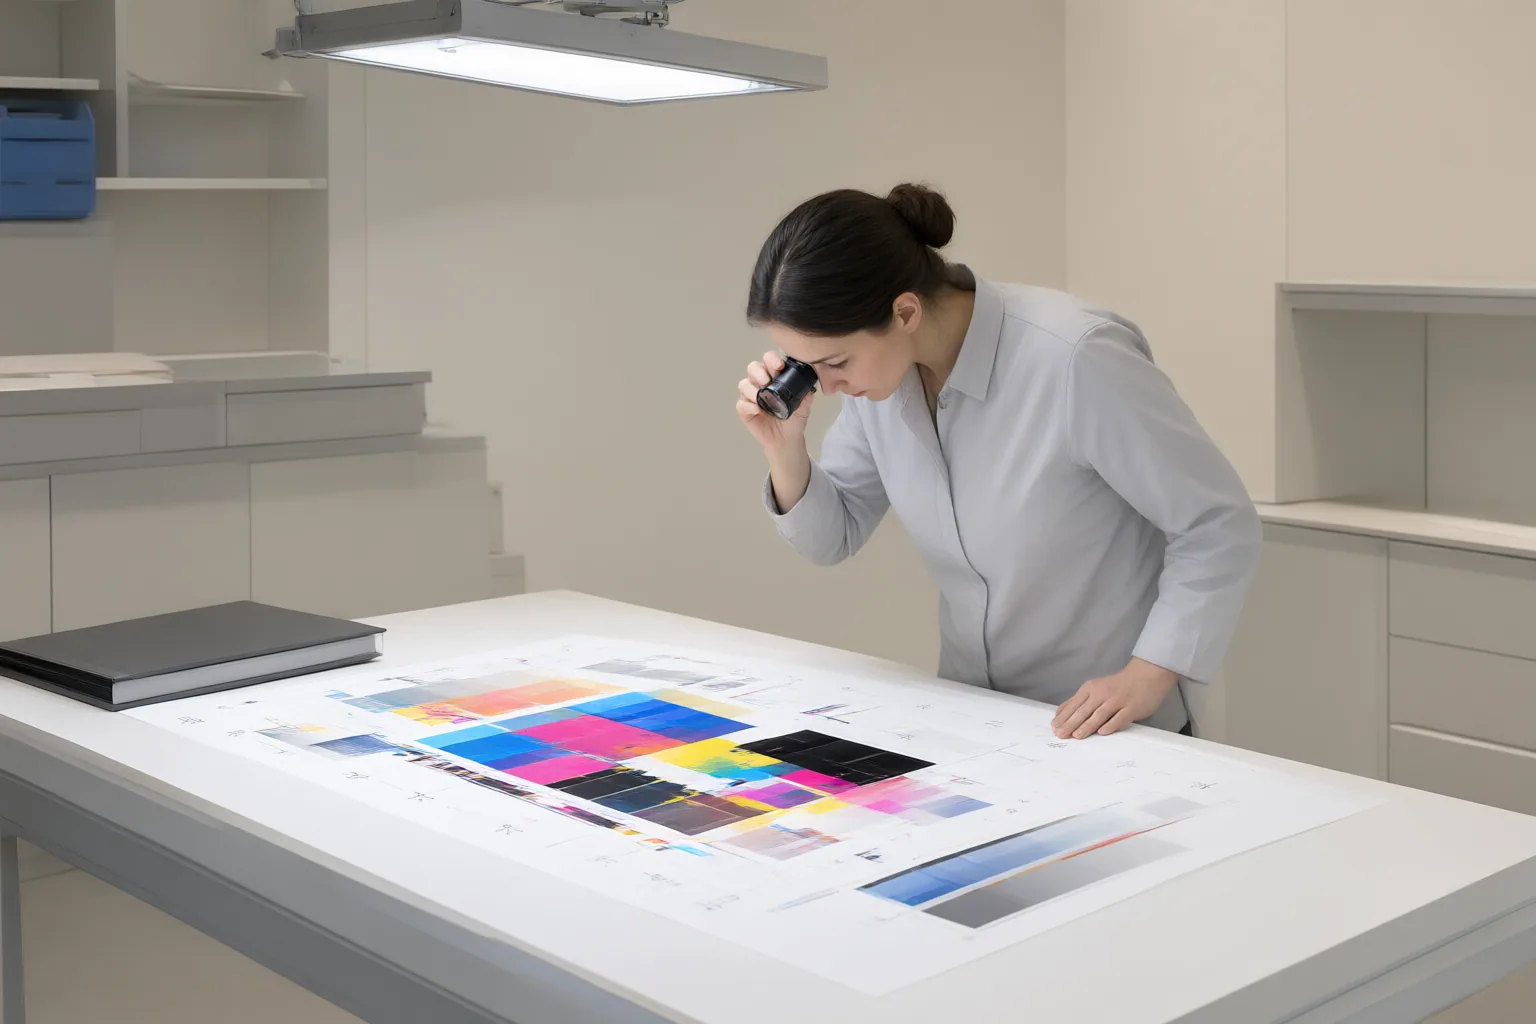
For proofing, look for controls or documented behavior relevant to the intended production conditions. LayerPrep recommends checking previews under different lighting and on different paper stocks, along with calibration for the intended ink system and printing method. It also identifies substrate absorption, dot gain, ink spread, typography legibility, and fine-detail rendering as print-specific concerns. These factors can produce results that an ordinary screen preview does not reveal. Because the supplied sources contain no independent comparison between screen previews and printed output, a physical proof remains important for judging color, small type, and fine detail on the selected substrate.
Conclusion
Make the decision as a production test, not a feature-count exercise. First obtain the printer’s specifications. Then verify resolution at final size, the requested CMYK and ICC workflow, bleed and page-box handling, crop-mark requirements, and an accepted export format. Assess mockup and proofing functions separately.
Next, prepare one representative design containing important colors, typography, and fine details. Export it using the proposed workflow, submit it for preflight, and request a physical proof. A generic CMYK option cannot demonstrate compatibility with every profile or process, and a mockup cannot by itself demonstrate color-managed soft proofing. Before adopting a tool for production, ask the printer for its required dimensions, resolution, ICC profile, bleed, and file format, then test the representative design through preflight and a physical proof.
Disclosures and limitations
- This article was created with AI assistance using only the supplied research package and publisher-sourced capability statements; the claims were not independently verified through product or print testing.
- No prices, ratings, rankings, or affiliate product recommendations are included. Any future commercial relationship should be disclosed before adding product recommendations.
Sources
- PrintGo — AI image to print-ready PDF/X-1a — PrintGo
- Upscale AI Images for Print — DPI Guide (2026) — Rangy
- Top AI print design examples for accurate color in 2026 — blog.layerprep.com
- Free 300 DPI and CMYK image export | Recraft AI — recraft.ai
Improve this guide
Report a problem or suggest the next question
Submissions enter a private editorial queue. They are reviewed and deduplicated before any public update or new page is created.