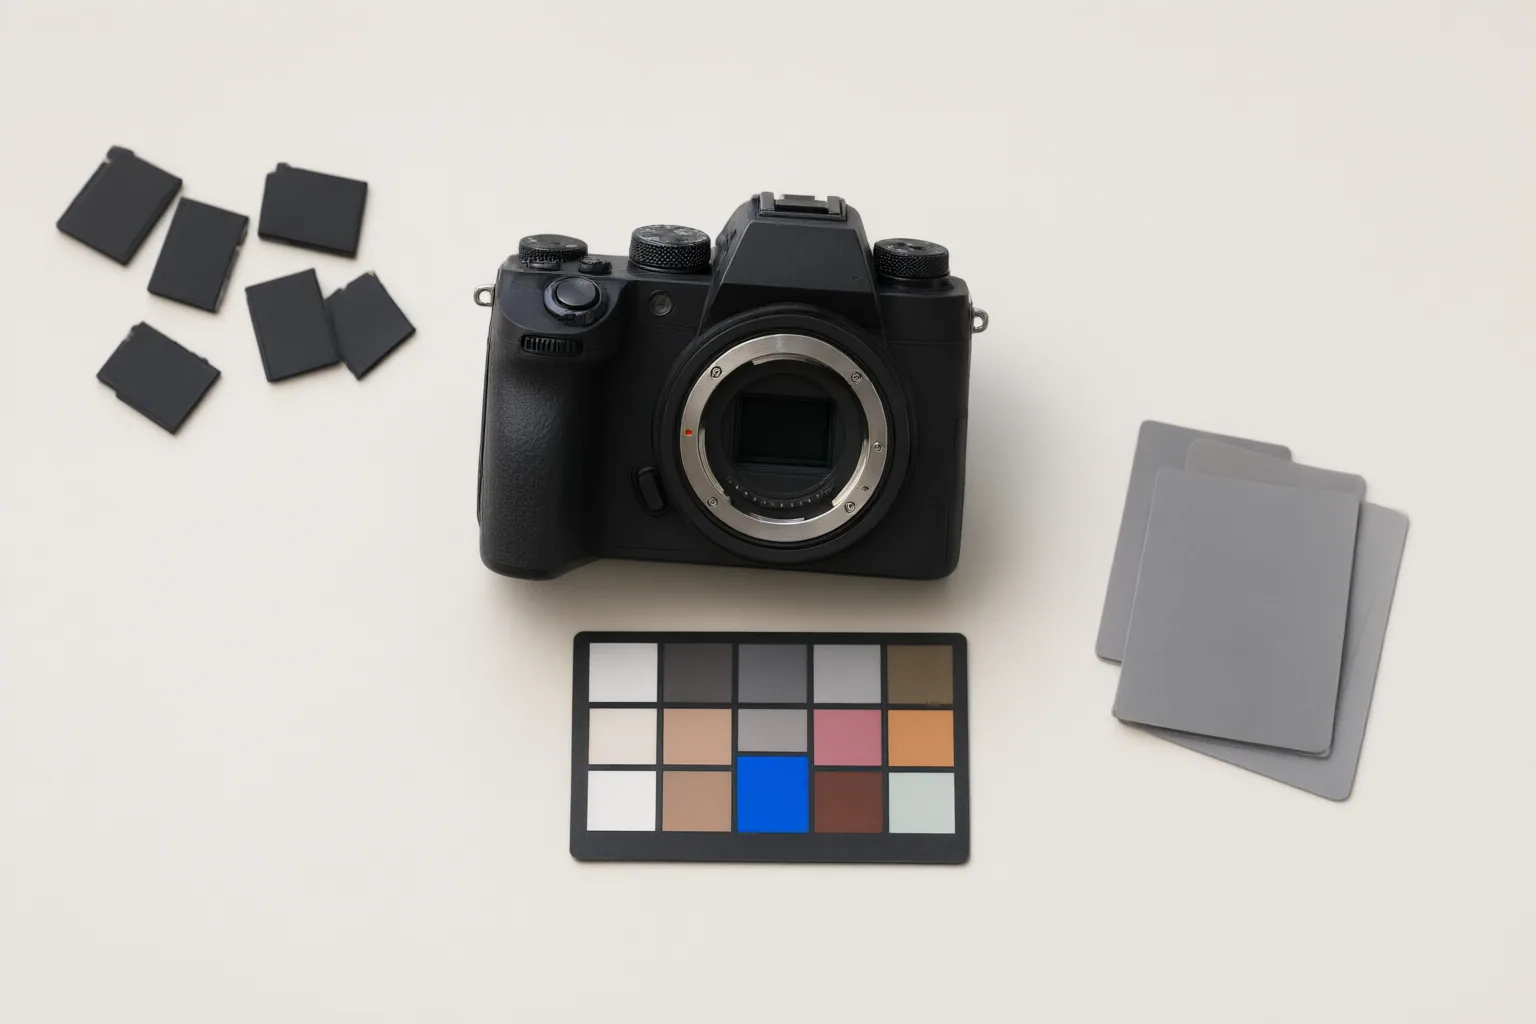
Choose an AI photo editor for its controllable RAW development, inspection tools, reversibility, and workflow fit—not simply its number of automated features. Test tone, color, detail processing, masks, corrections, and export behavior with representative files from your own camera.
Start With Core Tone and Color Controls
RAW files retain minimally processed sensor data, giving photographers more latitude than JPEG files for adjusting exposure, color, and contrast, but they require additional processing software. A capable editor should provide accessible controls for exposure, highlights, shadows, whites, blacks, contrast, and white balance rather than limiting the workflow to a one-click enhancement.
Check whether the editor displays a useful histogram and clipping warnings while you adjust tonal values. These inspection tools help reveal lost highlight or shadow detail that may be difficult to judge from the preview alone. Cropping should also be straightforward and reversible. During a trial, deliberately make substantial tone and color changes, then determine whether the controls are understandable, sufficiently precise, and easy to reset.
Examine Detail Processing, Corrections, and Local Masks
Evaluate noise reduction with high-ISO images, long exposures, and underexposed files brightened during development. Inspect the result closely: noise may be reduced at the cost of fine texture. Demosaicing also matters because weak processing can produce color fringing, moiré, or unnatural rendering of small details. Compare output at pixel level instead of accepting the automatic preview.
Also look for adjustable correction of lens softness, chromatic aberration, distortion, and perspective. Local masks should let you apply different exposure, color, or detail settings to selected regions without changing the whole frame.
Automated enhancement can behave differently across subjects. A supplied 2019 review reported more convincing enlargement results on natural textures than on faces, buildings, and straight lines, and found that a focus enhancement could introduce artifacts when applied across an entire image. Although these historical findings do not establish current product performance, they illustrate why trials should include faces, foliage, fine textures, high-contrast edges, and straight architectural lines.
Check Reversibility, Preview Tools, and Workflow Fit
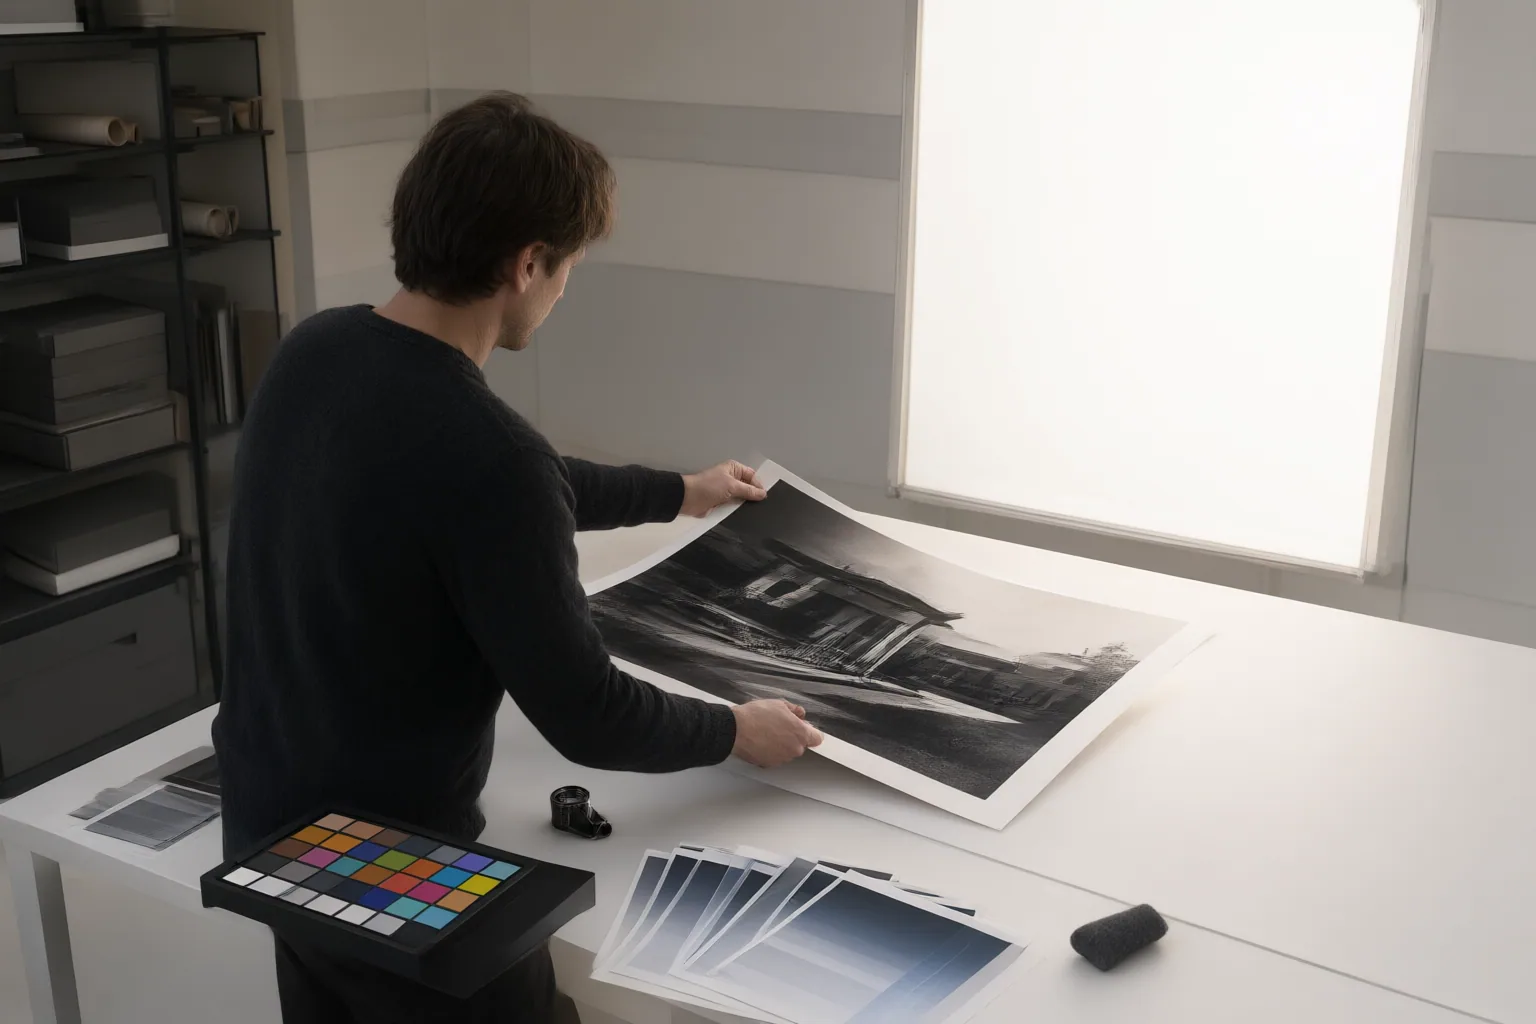
Non-destructive editing should preserve the original file while allowing adjustments to be revised or reset. Verify that this remains true across tone changes, masks, presets, and corrections. Before-and-after comparison views, responsive real-time previews, numeric histogram information, and camera-specific profiles can make evaluation more reliable, but confirm how each shortlisted editor implements them.
For larger collections, assess the complete workflow: importing, culling, organization, metadata management, preset application, batch editing, and batch export. Evoto advertises several of these functions, including direct RAW processing, tethering, batch edits, and batch export, but these are vendor claims rather than independent test findings. Confirm advertised capabilities directly with files and output settings relevant to your work.
Finally, distinguish original camera RAW data from converted files. A historical review described software that produced DNG files from JPEG sources to expose RAW-style controls. The supplied evidence does not establish such a converted DNG as equivalent to original sensor RAW data.
Conclusion
Run the same practical trial in every shortlisted editor. Open representative RAW files from your cameras; make reversible exposure, color, and white-balance changes; create local masks; and test noise reduction and corrections. Inspect fine textures, faces, edges, and straight lines at pixel level, then compare corrected and uncorrected versions. If you process many images, complete a realistic culling and batch-export job as well.
Choose according to verified output quality, control, and workflow fit rather than the breadth of AI labels. Before committing, confirm that the editor handles your representative files, preserves reversible adjustments, and completes your full import-to-export workflow.
Disclosures and limitations
- This article was prepared with AI assistance using only the supplied research package. Vendor capability statements are identified as claims and were not independently tested.
- No product ranking or specific purchase recommendation is provided. Any affiliate or commercial relationship should be separately disclosed before adding monetized product links.
Sources
- Using Artificial Intelligence to Help Edit Your Photos — Jim Babson Photography
- Topaz AI Software Review: How Smart Can Your Workflow Get? — Rangefinder
- Do You Consider Yourself a Serious Photographer? If So, DxO PhotoLab 8 Is Aimed at You | Fstoppers — Fstoppers
- AI Camera RAW Photo Editor – View, Edit and Convert RAW File — Evoto
- How to Edit Photos: Photo Editing Basics for Beginners | ON1 — on1.com
- Adobe CS3 First Look & New Public Betas @ NAB – fxguide — fxguide
Improve this guide
Report a problem or suggest the next question
Submissions enter a private editorial queue. They are reviewed and deduplicated before any public update or new page is created.