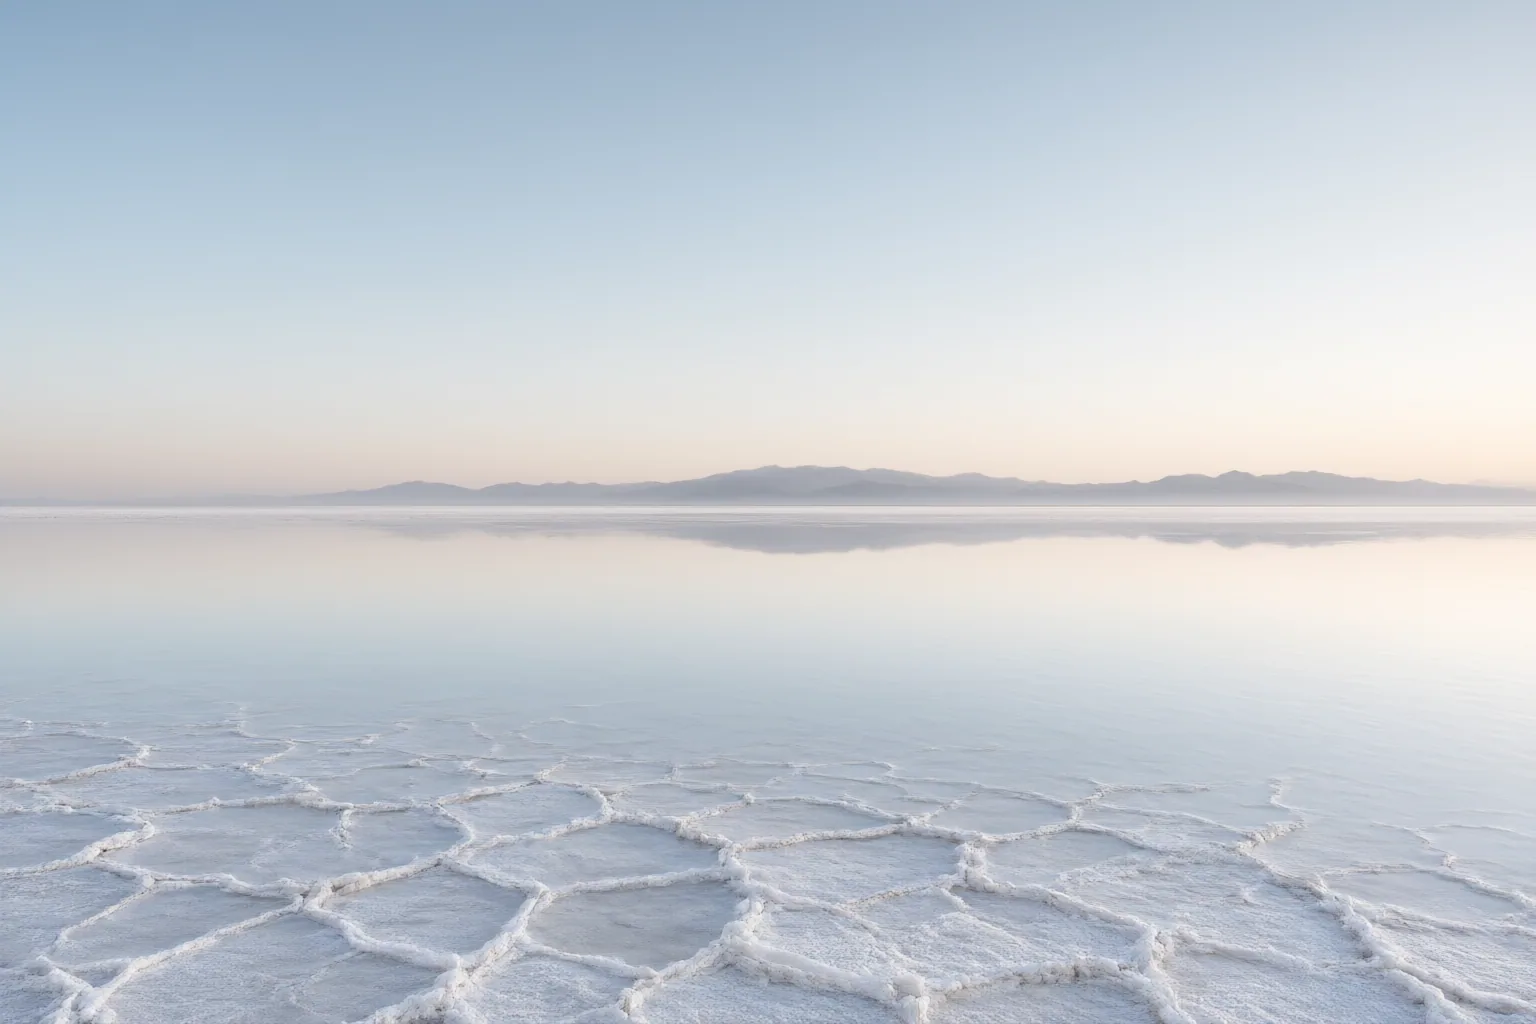
Define the final aspect ratio and placement first, then extend the canvas in small, controlled steps. Preserve the subject, horizon, perspective, light direction, and texture; adjust lighting only as needed and compare every result with the original at several viewing sizes.
Plan the Canvas, Composition, and Visual Constraints
Start by identifying where the finished image will appear—such as a banner, presentation, marketplace listing, or social post—and set the required aspect ratio before editing. This establishes how much new canvas is needed and where it should be added.
Decide what must remain fixed: the main subject, lens perspective, horizon, light direction, material texture, and intentional negative space. Also reserve enough margin for the intended crop or overlay. An extension can look plausible on its own yet fail in the final placement if the crop cuts into the subject, text becomes unreadable, or the composition lacks safe space.
Use the original as the visual reference throughout the process. The goal is not merely to fill empty canvas, but to make the generated area continue the existing scene without shifting its geometry or visual emphasis.
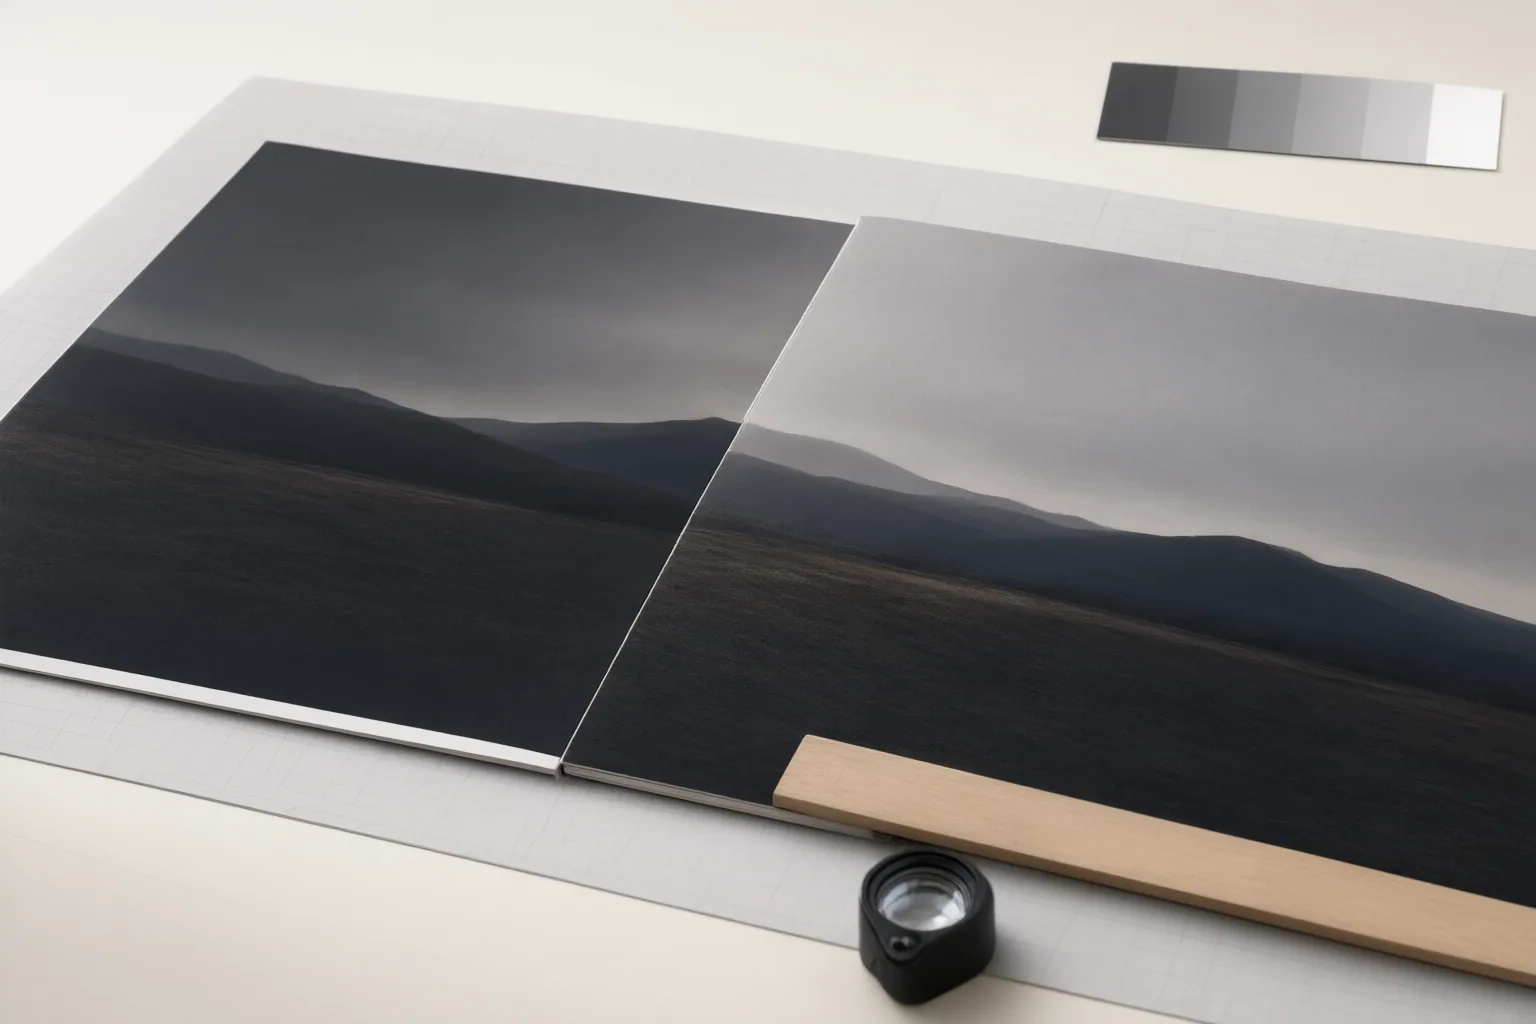
Extend the Image in Controlled Steps
Expand conservatively rather than generating a large new area at once. Make one controlled change, review it, and then continue. Keeping unrelated changes out of the same request makes it easier to identify where perspective, color, or texture began to drift.
Inspect both the generated area and the supposedly untouched portion of the image. Look for visible seams, repeated objects, distorted lines, horizon changes, inconsistent scale, and abrupt transitions in texture or color. If a local defect appears, repair that area separately instead of regenerating the entire composition. Repeated generation or compression can remove image information or introduce waxy textures, oversharpening, and decorative artifacts.
Give extra scrutiny to faces, hands, packaging, reflections, repeating patterns, architecture, and small text. These details can change during automatic generation even when the broader scene appears convincing. Before moving on, test the planned crop and confirm that the main subject, overlays, and required margins still work in the destination format.
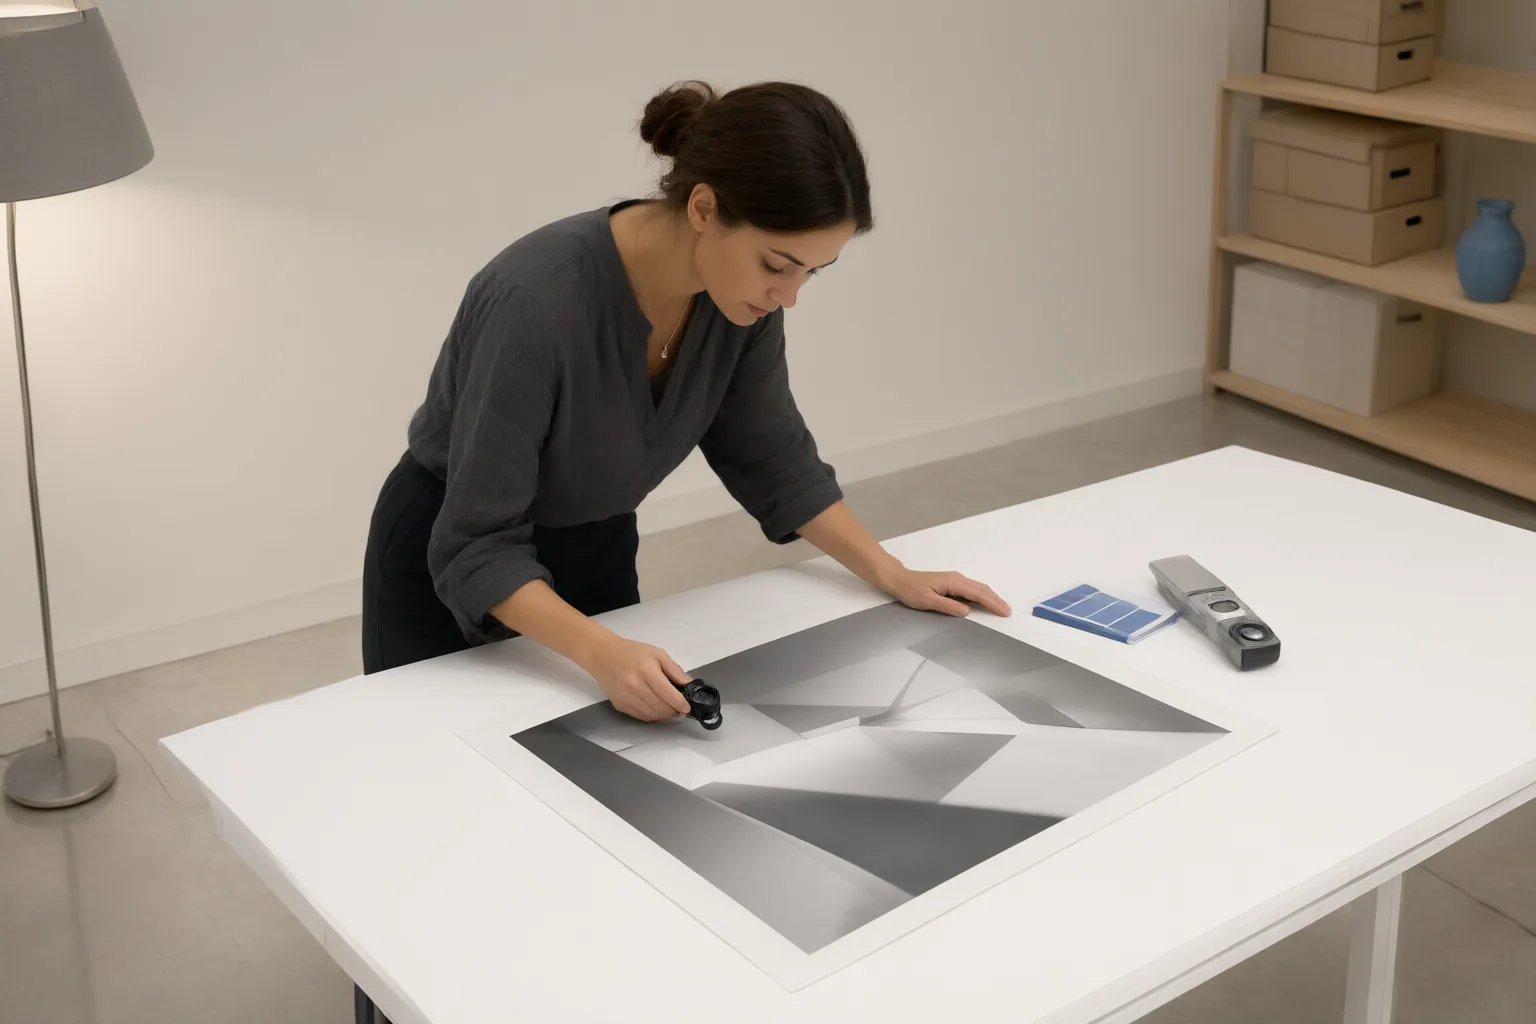
Match Lighting and Verify the Result
Once the extension is structurally sound, correct only the lighting differences that remain. Documented relighting workflows commonly involve uploading an image and describing a desired effect, such as studio lighting, softer shadows, stronger highlights, or changes to brightness and contrast. Krea says its editor adjusts shadows, highlights, and color temperature. Fotor documents an automatic relighting or enhancement stage followed by manual refinement through controls such as brightness, contrast, resizing, and upscaling.
Treat these descriptions as workflow options, not proof of output quality. The supplied sources contain no independent tests or comparative benchmarks establishing which tool best preserves perspective or lighting.
Review the edited image at full size, normal display size, and thumbnail size, then compare it directly with the original. Check the direction and softness of shadows, highlight placement, color temperature, reflections, background coherence, texture, subject identity, shape changes, missing parts, and color shifts. Complex multi-light scenes deserve particular attention because a relighting system may simplify several original lights toward one selected preset.
Conclusion
A cautious sequence is to define the destination, extend a limited area, correct local defects, relight only where necessary, and compare the result with the original. Finish by checking the actual crop rather than judging the uncropped edit alone.
As a practical next step, test one small extension and inspect its perspective, horizon, shadows, highlights, reflections, texture, sensitive details, and safe margins at multiple viewing sizes before exporting.
Disclosures and limitations
- This article was prepared with AI assistance from the supplied research package. Capability descriptions come from vendor- or publisher-controlled pages observed on October 13, 2026; no independent output tests, verified samples, or comparative benchmarks were provided.
- No product ranking or affiliate recommendation is made here. Any future commercial recommendation should disclose relevant affiliate relationships and be supported by independently verified evidence.
Sources
- AI Image Extender Guide: Expand Photos Without Awkward Edges | PerchanceAI Blogs — PerchanceAI
- AI Lighting Editor – Free Online Photo Relighting and Light Changer Tool — Krea
- PerchanceAI – #1 Free AI Image Generator | Unlimited Creations — PerchanceAI
- Relight Photo: Free to Adjust the Light | Fotor — fotor.com
- AI Lighting Editor & Relight Photos – starryai — starryai
- Free AI Photo Lighting Editor | Relight Photos, No Sign-Up — Upsampler
Improve this guide
Report a problem or suggest the next question
Submissions enter a private editorial queue. They are reviewed and deduplicated before any public update or new page is created.