
Review the full composite in motion before judging individual frames. Check it at normal speed, reduced speed, and frame by frame to find tracking, edge, lighting, shadow, reflection, and continuity errors that a paused image may conceal.
Start with playback, then inspect critical frames
Begin by watching the entire edited shot at normal speed. Look for obvious flicker, popping, unstable edges, or changes in the subject’s apparent shape. These defects may be difficult to detect in a paused frame but conspicuous during playback.
Replay the shot at reduced speed, noting when the camera changes direction, the subject accelerates, an object crosses the subject, or a corrected mask enters the frame. Then step through the frames around each event. Compare the frames immediately before, during, and after the transition to determine whether the replacement remains continuous.
Record defects with precise frame ranges instead of relying on a general note such as “the background flickers.” Frame-level records make it easier to distinguish an isolated error from a problem that persists throughout the shot.
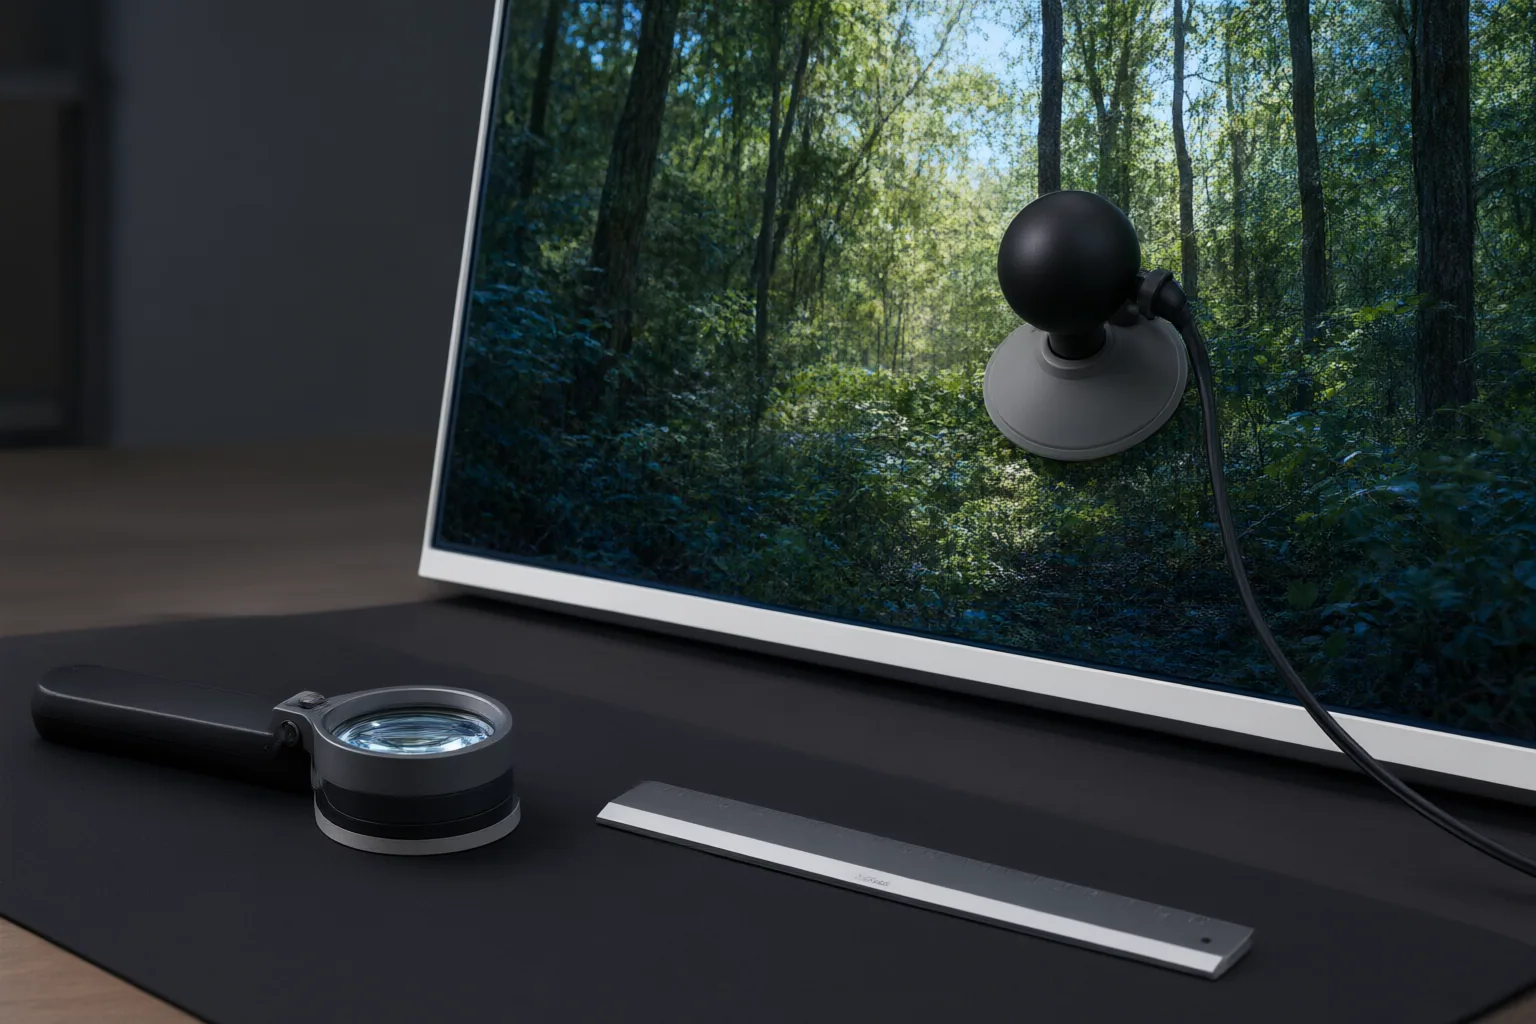
Check tracking, perspective, and frame-to-frame stability
For a moving-camera shot, confirm that the composite preserves the original camera path, parallax, framing, scale, perspective, and timing. The replacement should appear to belong to the recorded movement rather than behave like a separately generated shot. Watch for background features that slide, drift, resize unexpectedly, or move at an implausible rate relative to the foreground.
Alignment or motion tracking can make inspection clearer. Once the local background is stabilized or aligned, unexpected changes in the edited region are easier to separate from legitimate pixel movement caused by the camera.
Next, compare texture, brightness, grain, and geometry across adjacent frames. A surface that changes detail, bends, pulses, or varies in brightness can produce shimmer or flicker during playback. Inspect both steady movement and direction changes, because instability may appear only when tracking has to adjust.
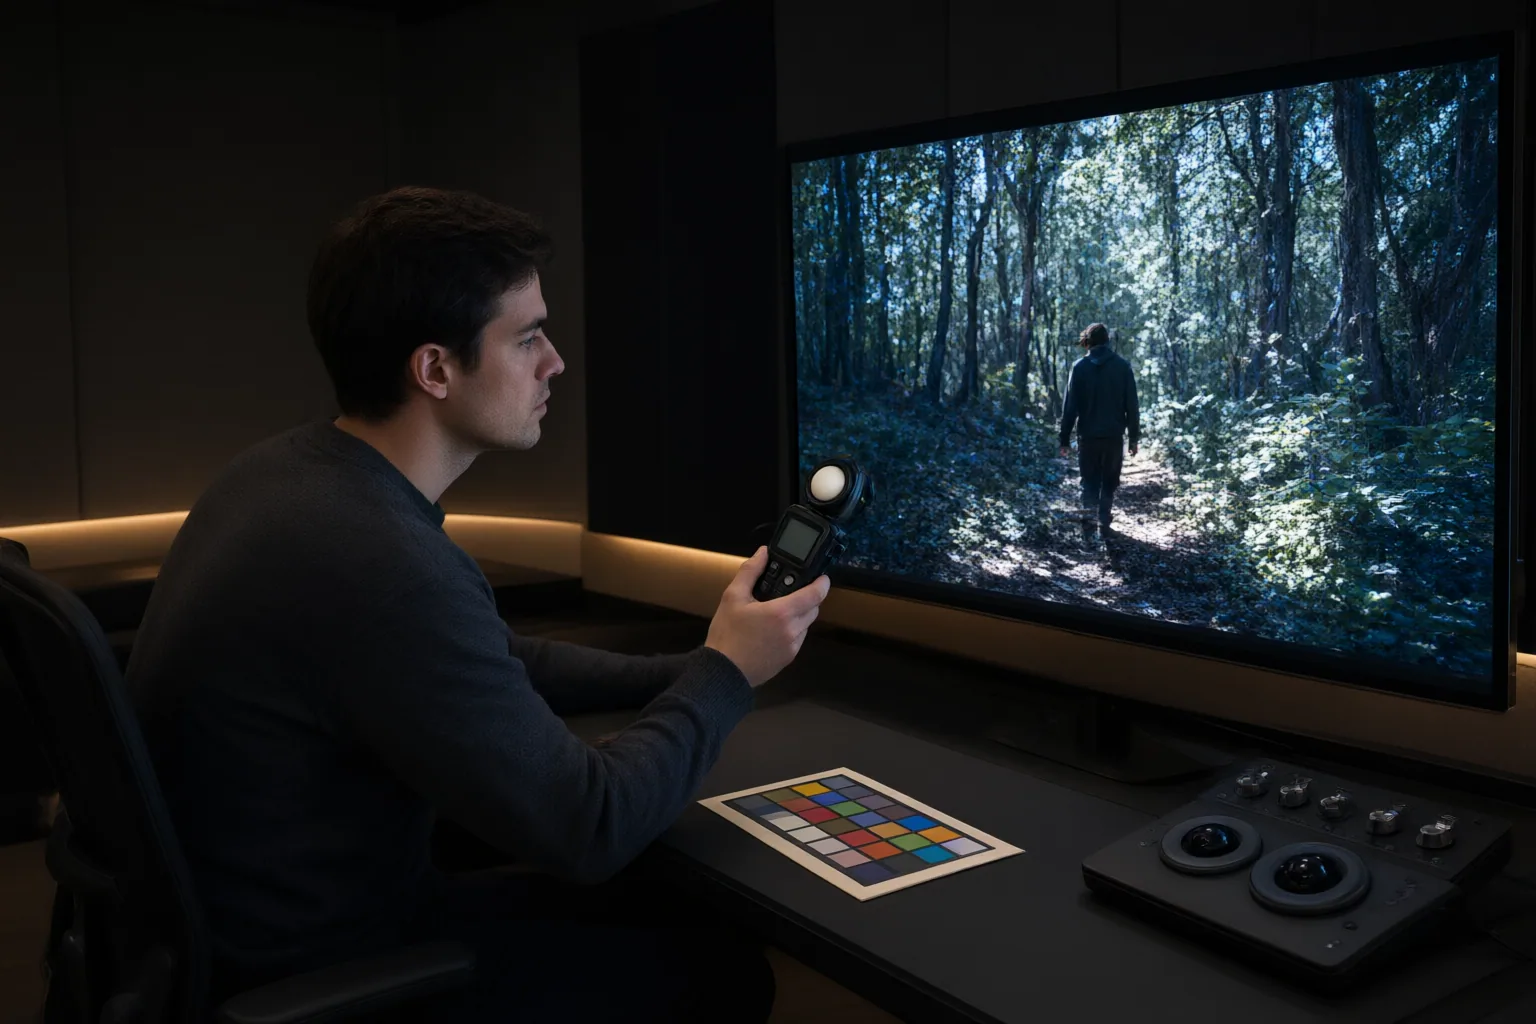
Inspect edges, lighting, and scene reactions
Examine difficult boundaries first: hair, clothing edges, overlapping subjects, transparent elements, and areas affected by poor or uneven lighting. Strong shadows and complex overlaps can contribute to inaccurate or unnatural separation. Look for remnants of the original background, missing foreground detail, halos, hard cutout lines, and boundaries that change width from frame to frame.
Mask width requires balance. A mask that is too narrow may leave seams or unwanted remnants. A mask that is too broad may alter acceptable pixels or remove context useful for reconstructing the area. Review the boundary during movement and occlusion rather than judging it from one clean frame.
Follow the subject as it moves between shade and highlight. Brightness and apparent material should change consistently with the shot; abrupt changes can undermine the composite. Finally, inspect cast shadows, contact shadows, reflections, displaced material, and other reactions in the surrounding scene. Contradictory remnants can reveal an edit even when the main subject boundary looks complete.
Conclusion
Approve the replacement only after confirming stable playback, preserved camera behavior, credible boundaries, consistent illumination, and corrected shadows and reflections. Automated subject separation or isolation is described in the supplied materials from Cubix, OpenArt, and Vivideo, but those descriptions are provider claims, not controlled comparative evidence of performance.
Review one representative shot at normal speed, reduced speed, and frame by frame. Log every defect with its frame range, then request targeted corrections before approval.
Disclosures and limitations
- This article was prepared with AI assistance from the supplied research package. Material claims are limited to the cited sources; provider descriptions were not treated as independent comparative findings. No product ranking or recommendation is presented.
Sources
- AI Video Inpainting 2026: How to Test Object Removal and Replacement Across Frames — DIY AI
- Free Video Background Changer – Remove & Replace Video Backgrounds — cubix.design
- How AI-Powered Background Removal Works in Video Editing – TechTaps — TechTaps
- Video Background Changer – Replace Video Backgrounds Online — OpenArt
- How to Edit AI Video Without Changing Camera Movement — Dreamina
- Video Background Remover — Vivideo
- AI Image Editing for Beginners: What It Is and How to Use It — invideo – Online Video Creator for Content and Marketing Videos
- Online Video Background Remover – Flixier — Flixier
- AI Background Generator for Video: 2026 Tools Compared — fluxnote.io
Improve this guide
Report a problem or suggest the next question
Submissions enter a private editorial queue. They are reviewed and deduplicated before any public update or new page is created.