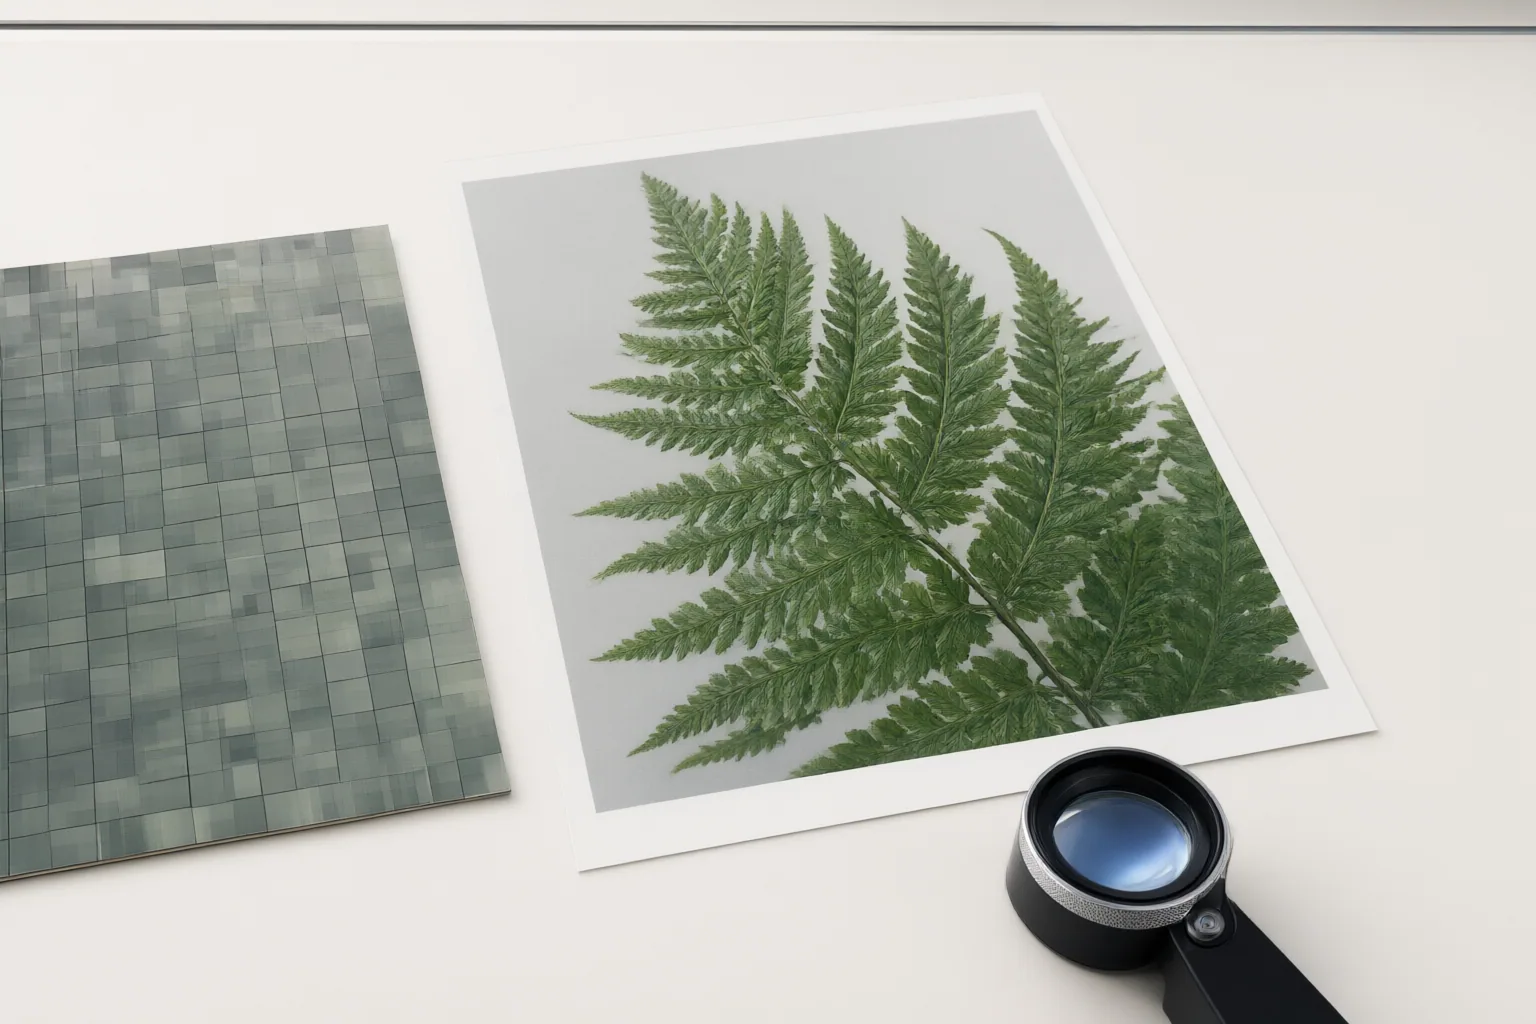
Compare compression-cleanup tools by testing the same image under consistent conditions, inspecting vulnerable regions closely, and choosing the mildest setting that reduces visible damage without erasing useful detail.
Identify the Compression Problems You Need to Fix
Start by naming the visible defect instead of treating every low-quality image as the same problem. Traditional JPEG compression processes an image in 8×8 blocks using the Discrete Cosine Transform. Aggressive quantization or removal of fine-frequency information can leave obvious block boundaries, ringing near sharp edges, overall softness, or damaged gradients. Other relevant failures include color changes, degraded textures, and corrupted text.
This diagnosis matters because a tool that hides blockiness may not repair fuzzy lettering or uneven color transitions. Lossy compression discards information, so cleanup cannot be assumed to recover the exact original detail. Depending on its method, a tool may smooth the damage or generate a plausible reconstruction. Judge the visible result accordingly, without interpreting newly produced detail as proof that the original information was restored.
Compare Detail Preservation Across Difficult Image Regions
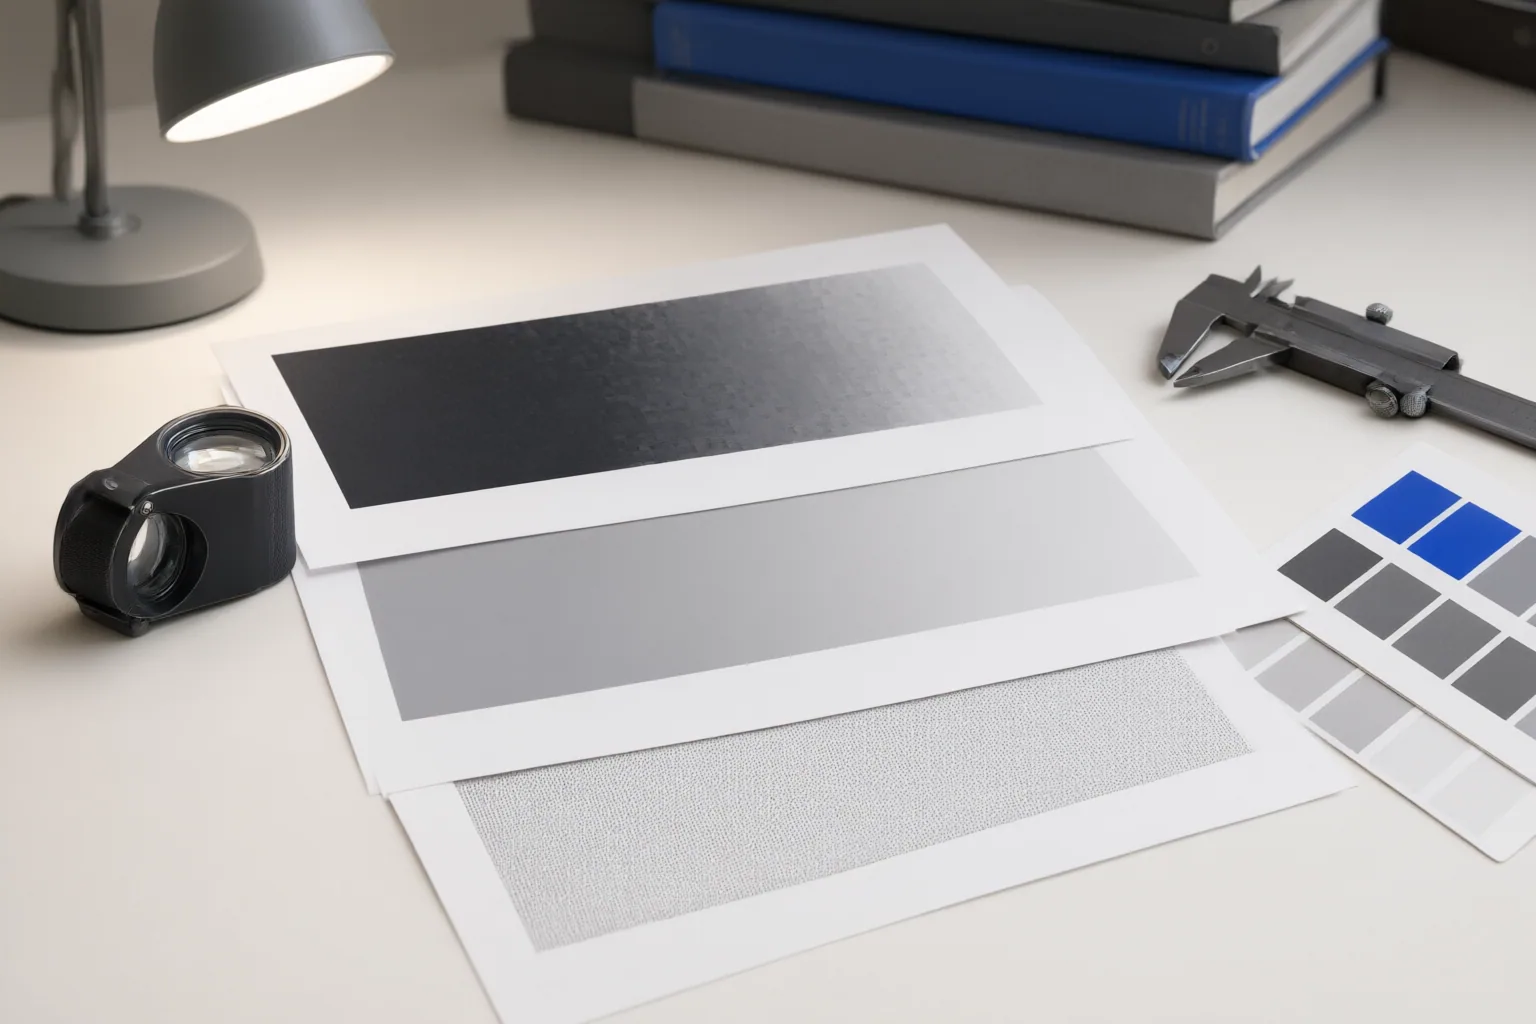
Do not rely only on a fit-to-screen preview. Examine smooth backgrounds for block boundaries or patchy tones; high-contrast edges for ringing and halos; text and thin lines for fuzziness or corruption; fine textures for lost structure; and gradients for banding, breaks, or color shifts. These regions can reveal failures that are easy to miss when viewing the whole image.
Compare both artifact reduction and preservation of legitimate detail. Smoothing can suppress block patterns while also softening hair, fabric, foliage, product edges, or small lettering. Inspect every candidate at the same zoom level and ask whether its cleaner appearance comes from removing damage or merely blurring difficult areas. A balanced result should reduce distracting artifacts while retaining useful edges and texture, although exact recovery of discarded information should not be expected.
Evaluate Controls, Previews, and Test Conditions
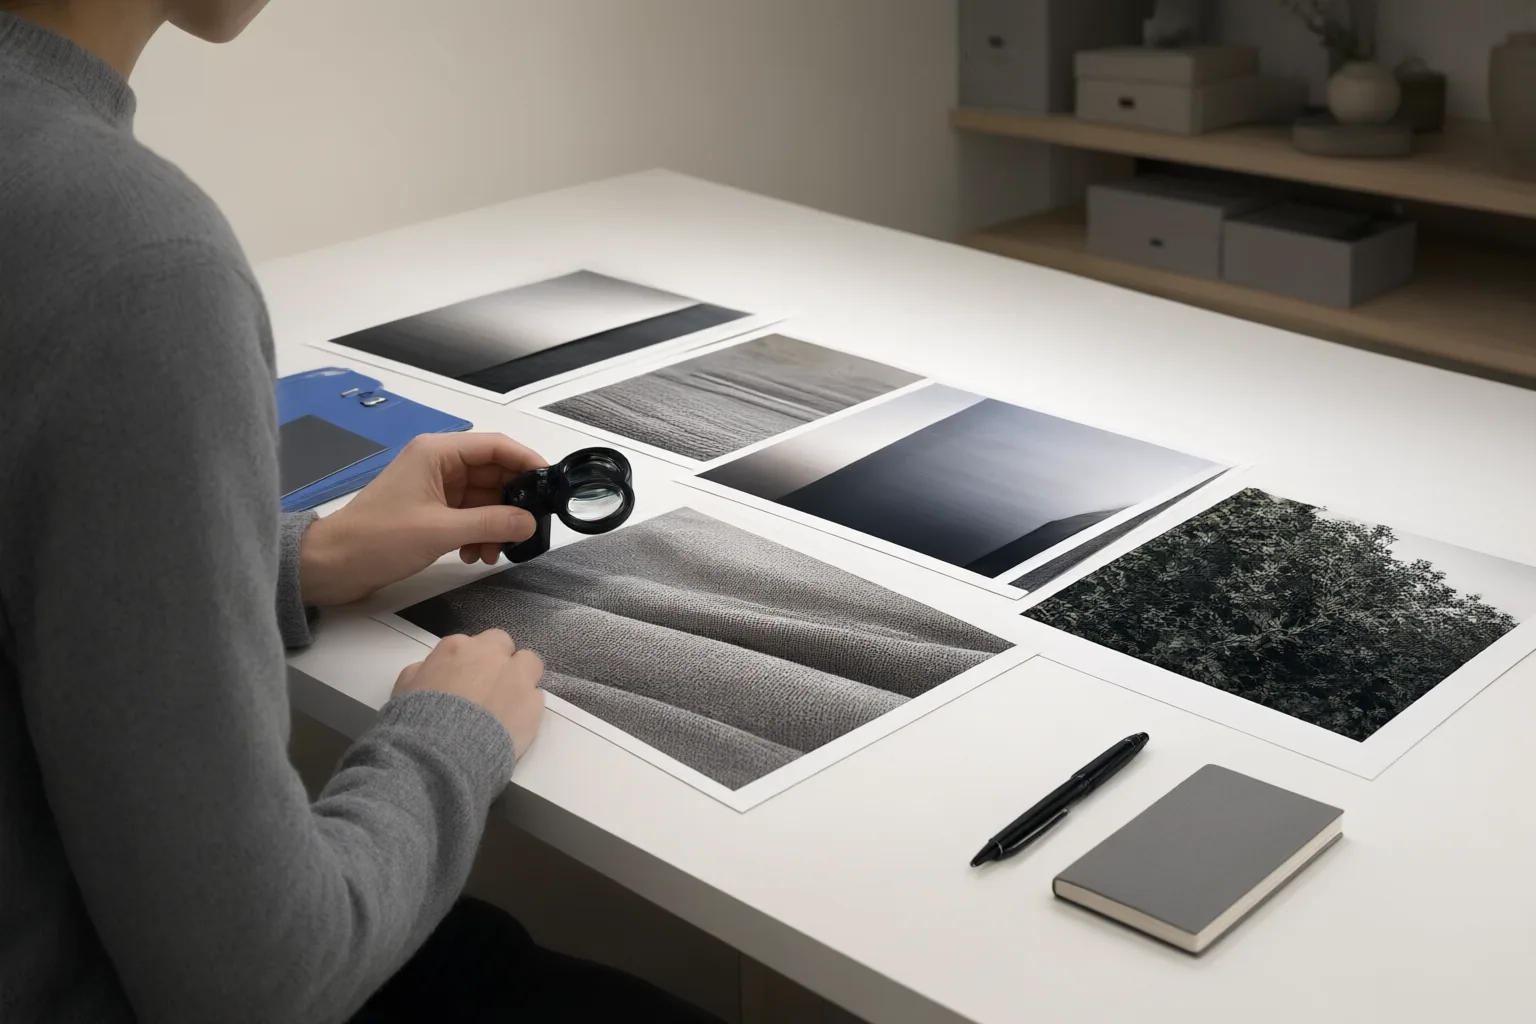
Useful controls make the cleanup tradeoff easier to manage. Online JPG Tools documents browser-based processing, a cleanup-effort setting from 0% to 100%, and an output preview. Musely states that its tool provides selectable restoration intensity, optional detail enhancement and color correction, and a live preview. These descriptions establish available workflow features, not independently verified output quality.
For a fair comparison, give every tool the same untouched input and use matching output formats and zoom levels. Avoid comparing files with different editing or compression histories: saving and recompressing an already compressed image can introduce additional artifacts. Keep a duplicate of the source, record the settings used, and inspect identical crops side by side. Test several strength levels because the most aggressive option may hide more damage while sacrificing genuine detail. The supplied evidence contains no controlled cross-tool benchmark, so comparisons should remain limited to results produced under your own consistent test conditions.
Conclusion
Choose a tool by first identifying the artifact, then checking text, edges, gradients, smooth areas, and textures under consistent conditions. Favor controls that let you reduce damage gradually and preview the tradeoff between cleanup and detail preservation. Because lossy compression removes information and repeated recompression can add defects, a dramatic-looking reconstruction is not necessarily a more faithful one. Test shortlisted tools on duplicates of the same source image, compare them at matching zoom levels, and select the mildest setting that reduces artifacts without unnecessarily softening genuine detail.
Disclosures and limitations
- This article was prepared with AI assistance using only the supplied research package. Tool features are attributed to their documented sources, and vendor claims are not treated as independent performance verification. No product-level recommendation, price claim, ranking, or affiliate endorsement is included.
Sources
- How to Remove JPEG Artifacts: AI vs. Manual Methods (2026 Guide) — artimagehub.com
- Image Compression Artifacts: Identify & Understand in 2026 — aiimagedetector.com
- Remove JPG/JPEG Artifacts — onlinejpgtools.com
- AI Image Detector – Free AI Photo Detection Tool — AI Photo Check
- JPEG AI Image Compression Visual Artifacts: Detection Methods and Dataset — arxiv.org
- Free AI JPEG Artifact Remover – Restore Image Quality — musely.ai
- How to Fix Compression Artifacts in Photos: AI Artifact Removal Guide — artimagehub.com
Improve this guide
Report a problem or suggest the next question
Submissions enter a private editorial queue. They are reviewed and deduplicated before any public update or new page is created.