
Compare AI video background removers with the same challenging footage, then assess fine edges, frame-to-frame stability, workflow controls, processing mode, and export support. Hair, transparent materials, and rapid movement should be examined separately because success on one challenge does not establish performance on the others.
What to Compare in an AI Video Background Remover
AI background removal uses semantic segmentation to separate foreground subjects from their surroundings frame by frame. A useful comparison therefore needs more than one attractive preview.
Assess fine-edge quality around hair and other small details, then evaluate temporal consistency during playback. Flickering and ghosting may appear even when an individual frame looks clean. Also compare processing speed, supported subjects, replacement-background choices, and export quality.
Keep the strength of the evidence in view. The supplied material combines vendor descriptions with publishers’ observations rather than a shared controlled benchmark. For example, one publisher reported that Runway retained thin hair and avoided visible flicker during rapid hand movement in its test clip, but it did not provide source clips, quantitative measurements, or a reproducible protocol. Treat that result as an observation to investigate, not a universal ranking.

Test Hair, Glass, and Motion Separately
Build a representative test clip containing loose hair, visible hands, quick movement, motion blur, and transparent or semi-transparent objects. Use the same source file and replacement background with every shortlisted tool.
Pause on difficult frames and inspect them at full size. Around hair and fine boundaries, look for halos, softened edges, missing strands, or background remnants. During fast hand or body movement, watch the complete sequence for flicker, ghosting, or an outline that shifts from frame to frame. This separates still-frame edge quality from temporal stability.
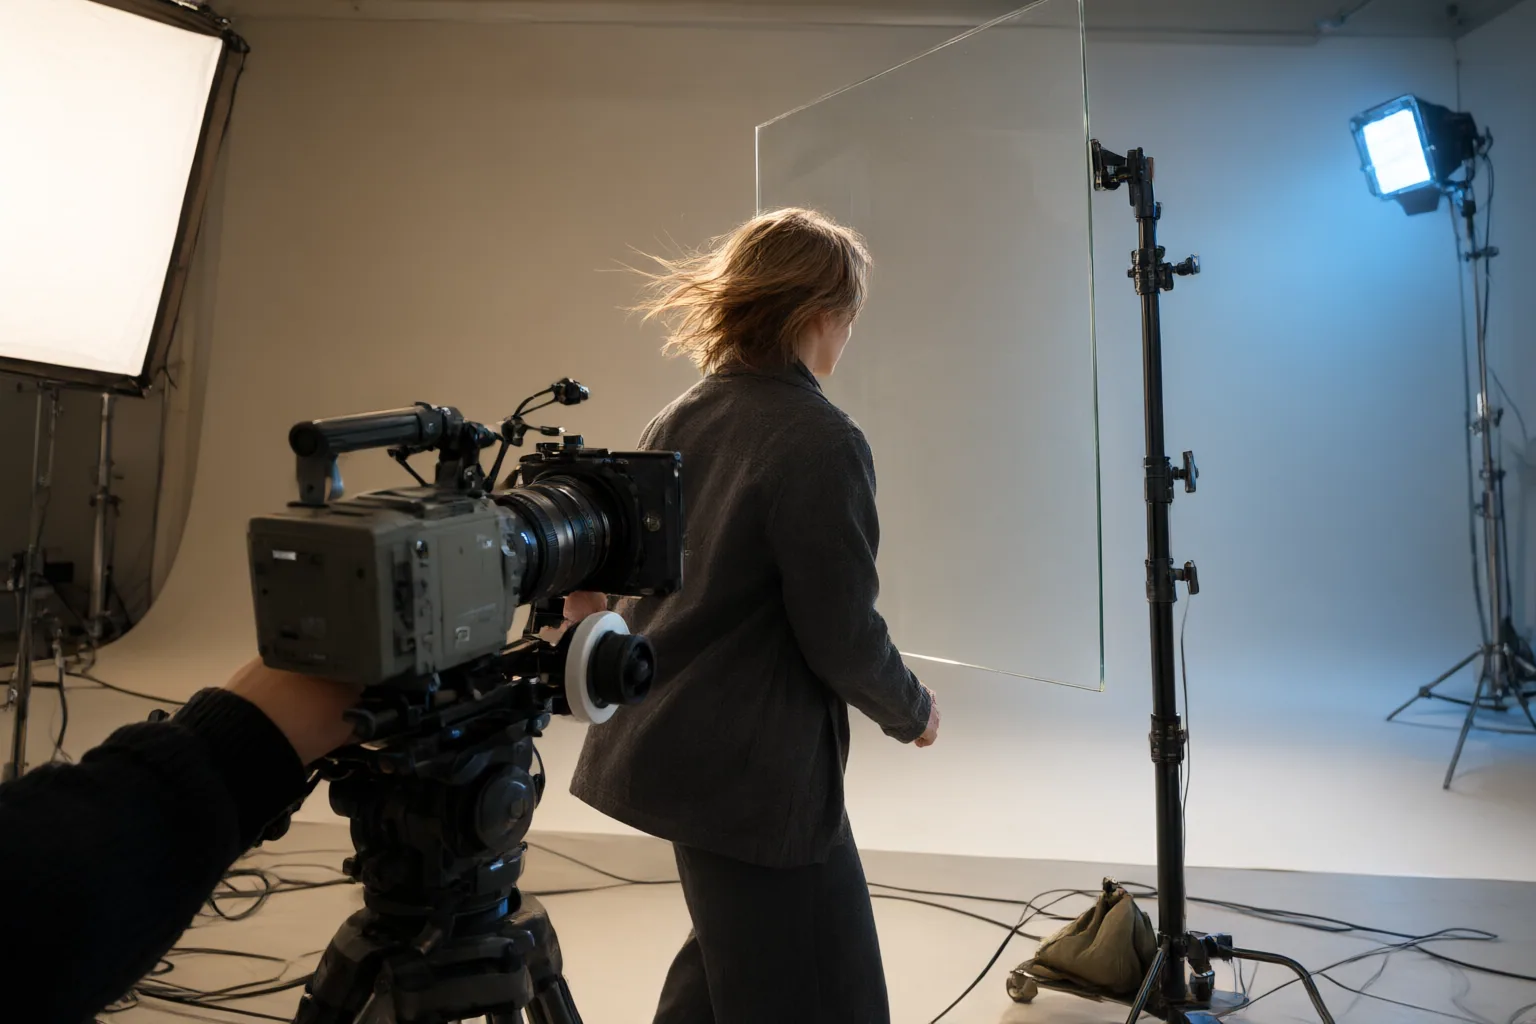
Glass deserves its own test because transparent objects are identified as a difficult boundary case. However, the supplied evidence contains no controlled, tool-by-tool results using glass footage, so it cannot support a claim that any named tool handles glass reliably.
Footage quality also matters. Poor lighting or weak subject-to-background separation can make extraction harder. Avoid creating a large lighting mismatch between the subject and the replacement scene, and keep test conditions consistent across tools.
Match the Tool to the Editing Workflow
A universal winner is less useful than a tool that fits the intended workflow. One-click removal may suit a quick social clip, while demanding compositing may require manual refinement, integration with an existing editor, or an alpha-channel export. Wideframe identifies alpha support as important for professional compositing and distinguishes real-time processing for live applications from batch processing for post-production.
Replacement options also differ. Vivideo says its browser tool accepts MP4, WebM, and MOV files, separates the subject frame by frame, and allows a solid color or another background before export. It also claims processing happens in the browser and uploaded video does not leave the device. That privacy description is a vendor statement in the supplied material, not an independently verified finding.
Before selecting a workflow, confirm whether the tool provides enough correction control for difficult edges, supports the required processing mode, and produces the export needed by the next editing or compositing stage.
Conclusion
Use a repeatable comparison instead of relying on a polished demonstration or an unsupported ranking. Run identical footage through each shortlisted tool, include difficult edges and rapid motion, and examine both paused frames and normal-speed playback. Where possible, control lighting and maintain clear separation between the subject and the original background.
Record edge defects, flicker, ghosting, processing behavior, available refinement controls, and export compatibility separately. A clean result in one category should not erase a weakness in another. Most importantly, test shortlisted tools with your own representative clip, inspect the hardest frames and motion sequences at full size, and confirm refinement and export options before committing to a workflow.
Disclosures and limitations
- This article was created with AI assistance from the supplied research package. Material claims are attributed to vendor or editorial sources where relevant, and the available evidence does not constitute a shared controlled benchmark.
- No affiliate relationship or commission influenced a product ranking or recommendation in this article; readers should independently verify capabilities, privacy claims, export support, and any commercial terms before choosing a tool.
Sources
- Best AI Video Background Removers and Scene Editors in 2026 – High On Films — High On Films
- Video Background Remover — Vivideo
- Top 10 AI Tools for Video Background Removal — try.wideframe.com
- Video Background Remover – Erase Video Backgrounds for Free — Picsart
- How to Remove Video Backgrounds Using AI Tools — aivideoss.com
Improve this guide
Report a problem or suggest the next question
Submissions enter a private editorial queue. They are reviewed and deduplicated before any public update or new page is created.