First identify whether the footage is interlaced, telecined, mixed, or already progressive. Then compare one deinterlacing setting at a time on the same demanding sample, checking both moving playback and individual frames before processing the full video.
Diagnose the Footage Before Applying Deinterlacing
Interlaced video represents each image through alternating odd and even fields captured at different moments. When shown on a progressive display, differences between those fields can become horizontal comb-like lines or jagged edges around moving subjects.
Do not rely on metadata alone. A previous transcode may have preserved an incorrect interlaced flag or removed a valid one, so inspect representative motion frame by frame. Distinguish fully interlaced footage from film material with a telecine cadence, mixed footage, and video that is already progressive. These cases can require different treatment: inverse telecine may suit film cadence, selective decomb processing may suit mixed material, and deinterlacing may suit fully interlaced footage. Applying deinterlacing where it is unnecessary can reduce detail.
Check field order as part of this diagnosis. Choosing the wrong order can make motion appear to step backward and forward, even if visible combing has been reduced.
Build a Short, Repeatable Deinterlacing Test
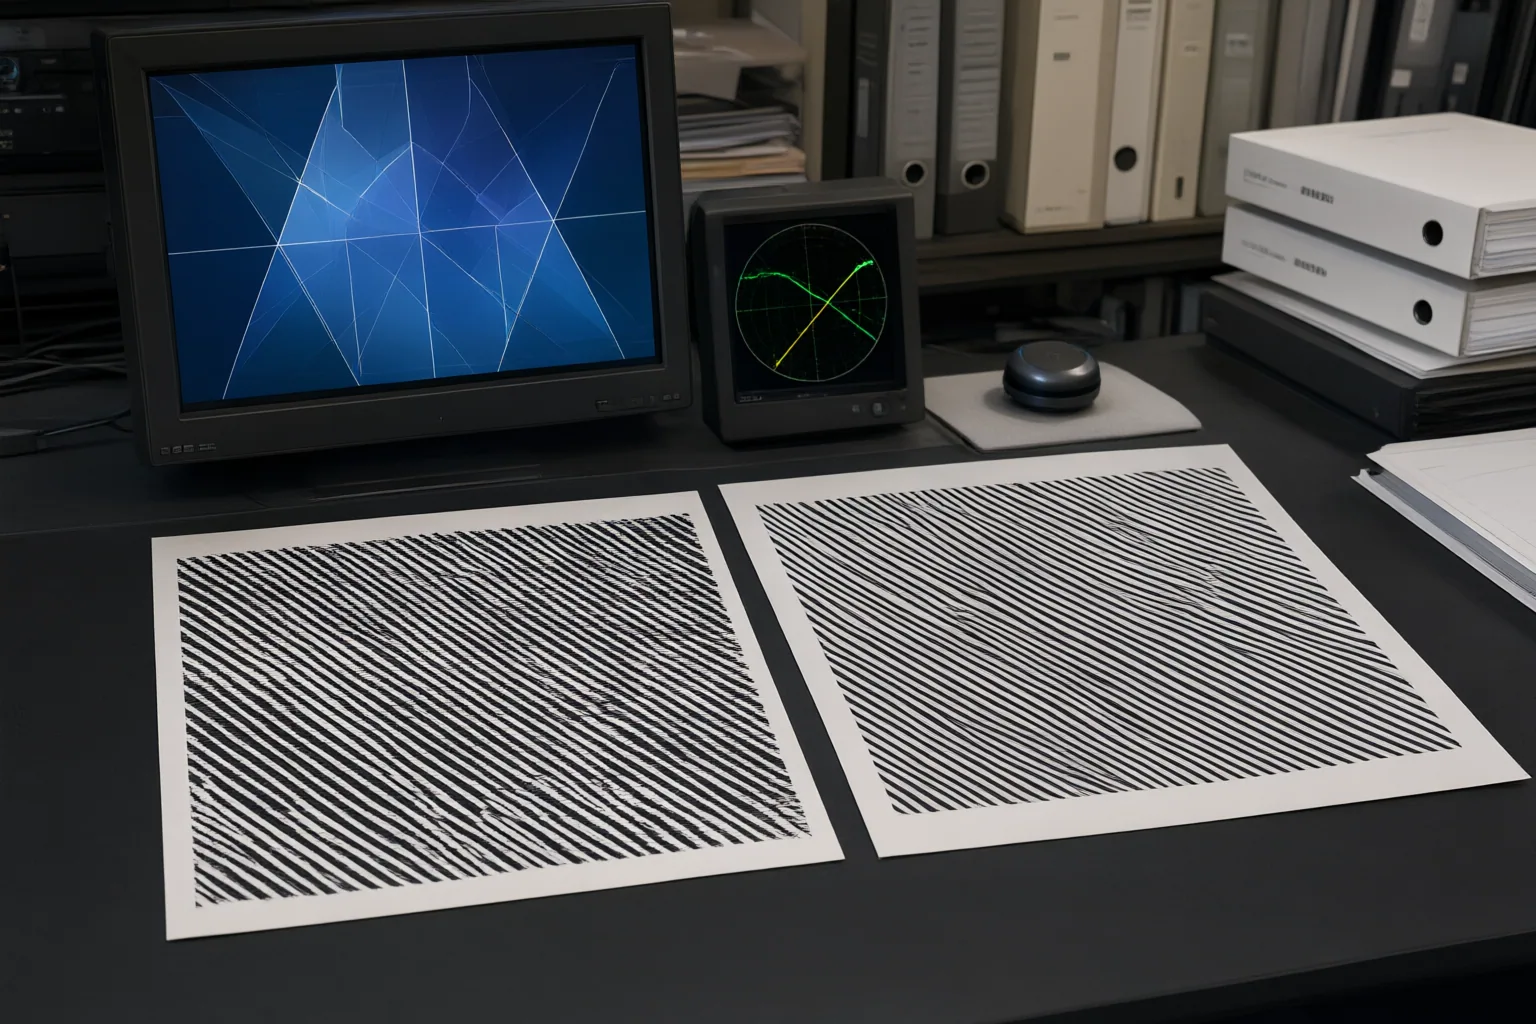
Create a short test segment that represents the hardest parts of the source. Include demanding motion, moving text, diagonal edges, and fine texture when they are available. Process the identical segment with each candidate setting so differences are attributable to the setting rather than to different scenes.
Keep the processing chain controlled. Apply deinterlacing separately from denoising and upscaling; stacking all three at once makes it difficult to determine which stage introduced blur, halos, or unstable edges. Inspect the deinterlaced result at its native resolution before adding enlargement or other enhancements.
Use both normal-speed playback and frame-by-frame inspection. Playback reveals whether motion, flicker, and cadence look stable over time. Individual frames make residual combing, jagged diagonals, ghosting, and softened texture easier to locate. Preserve the same viewing conditions across candidates and record the selected treatment, field order, cadence behavior, and output frame rate for a repeatable comparison.
Check Combing, Detail, Motion, and Output Behavior
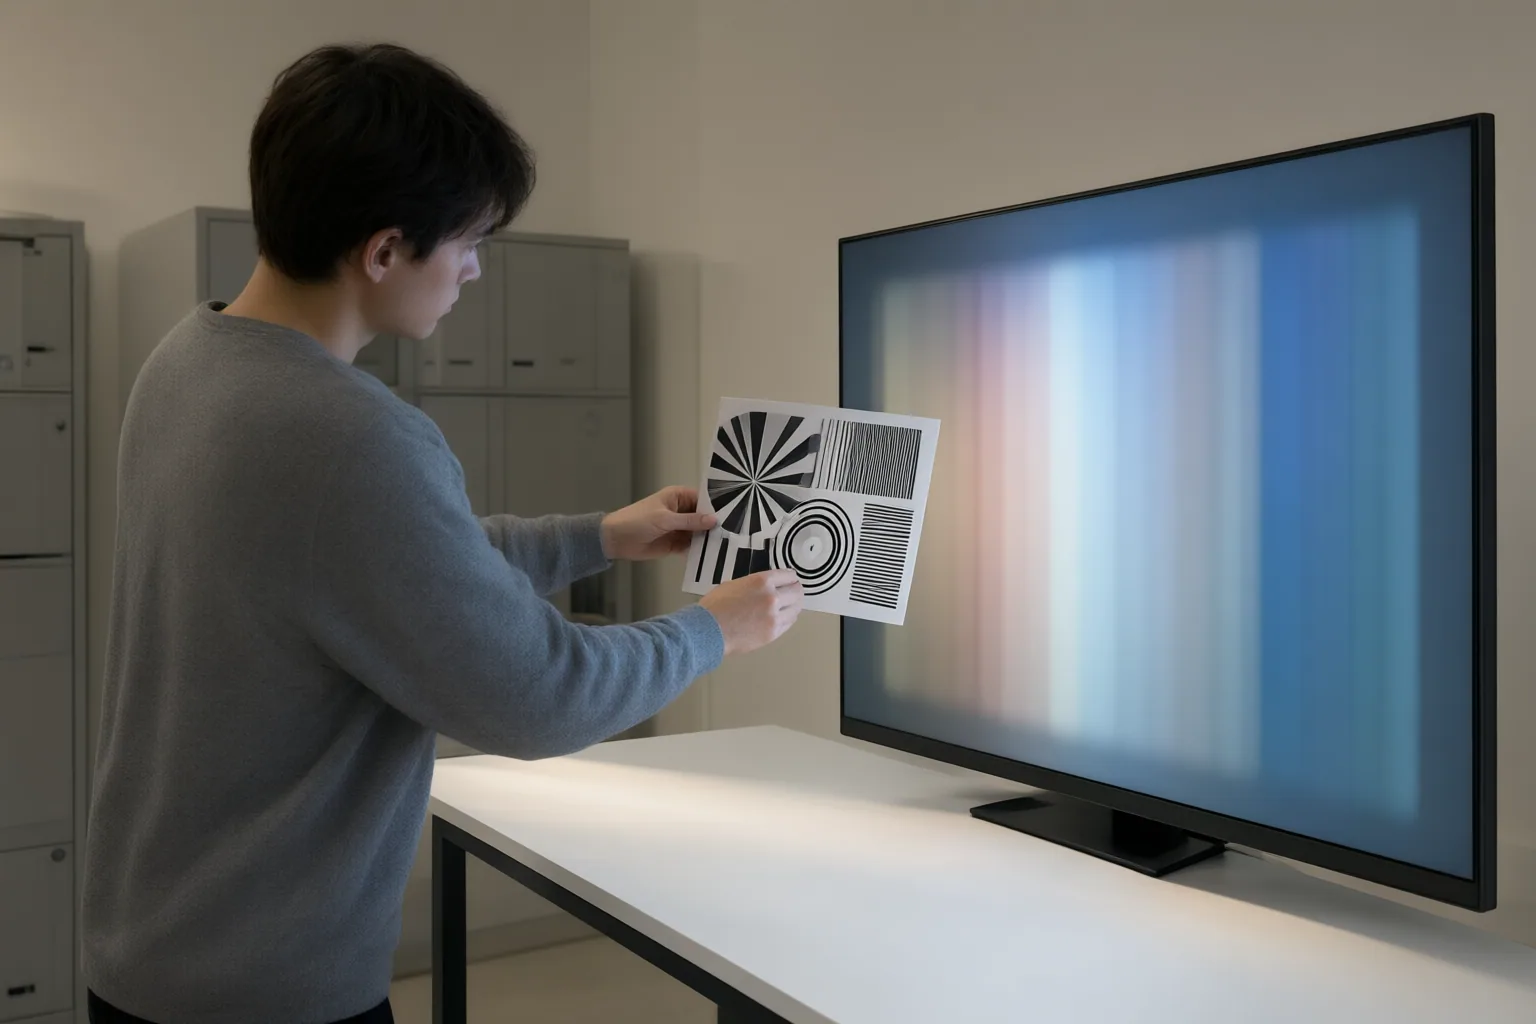
Start by checking whether combing has disappeared from moving subjects, text, and diagonal edges. Then look beyond that obvious symptom. A result can appear clean in a still frame while producing flicker, ghosting, halos, blur, unstable outlines, or implausible motion during playback.
Evaluate four areas:
- Artifact removal: Look for remaining horizontal lines, jagged edges, or flicker.
- Detail retention: Compare fine texture and edge definition with the source. Deinterlacing reconstructs progressive frames; it does not inherently recover source detail that was never present.
- Motion reconstruction: Watch for ghost trails, wavering boundaries, incorrect geometry, or backward-and-forward movement associated with incorrect field order.
- Output behavior: Verify cadence and frame rate instead of assuming that an artifact-free frame proves the deliverable is correct.
Also separate preview behavior from export behavior. VLC’s deinterlacing feature changes real-time playback rather than creating a permanently deinterlaced file. A useful preview therefore does not replace testing the actual progressive export. Because the supplied evidence does not establish that AI methods are universally better than traditional approaches, judge each candidate by the source condition and required output.
Conclusion
The appropriate treatment depends on whether the source is interlaced, telecined, mixed, or already progressive and on the intended deliverable. AI processing should not be assumed to outperform every traditional method, and no deinterlacing approach can escape limitations in the input. Product-specific controls may also vary by software version.
Before committing a full export, process one short, motion-heavy sample with one deinterlacing setting at a time. Inspect it at native resolution during normal playback and frame by frame, then confirm field order, cadence, and output frame rate.
Disclosures and limitations
- This article was prepared with AI assistance using only the supplied research package. The underlying guidance is primarily vendor-authored or commercially affiliated and does not provide an independent benchmark proving a universally best deinterlacing method.
- No products, prices, rankings, or affiliate recommendations are included. Product-specific controls and workflows should be verified against the software version being used.
Sources
- How to Test AI Deinterlacing on Fast Motion and Diagonal Edges — eWiki
- How to maximize deinterlacing using AI — TensorPix
- How to Deinterlace Video: Fix Interlaced VHS, DVDs & 1080i Footage — aiarty.com
- 6 Ways to Deinterlace Video for Clean Progressive Output — unifab.ai
- Smart Video Interlacing Removal: Deinterlace with Minimal Artifacts — reelmind.ai
- 5 Best Ways to Deinterlace Video in 2026 – VideoProc — videoproc.com
- Deinterlace Video Online – AI Video Deinterlacer — videoqualityenhancer.com
- The Smart Editor's Guide to AI-Powered Video Deinterlacing — reelmind.ai
Improve this guide
Report a problem or suggest the next question
Submissions enter a private editorial queue. They are reviewed and deduplicated before any public update or new page is created.