Test AI generative expand by creating several variations from the same source image and target canvas, then inspecting each at 100% zoom. Check perspective lines, edge objects, repeated textures, skin tones, and lighting continuity before approving or refining the result.
Set Up a Controlled Generative Expand Test
AI image expansion, also called outpainting, creates content beyond an image’s original boundaries instead of stretching the existing frame. This can adapt a square, portrait, or landscape image to a different aspect ratio without immediately cropping important content.
For a consistent test, keep the original image, canvas dimensions, crop position, and expanded area unchanged. Generate several variations under those same conditions. Comparing like-for-like results makes recurring failures easier to notice than judging a single output in isolation.
Include images with useful stress points: a visible horizon or roofline, detailed objects near an edge, and areas with recognizable texture or lighting. Do not treat the outcome as a tool ranking. The available sources support this inspection method but provide no controlled, independent benchmark showing that one product performs best.
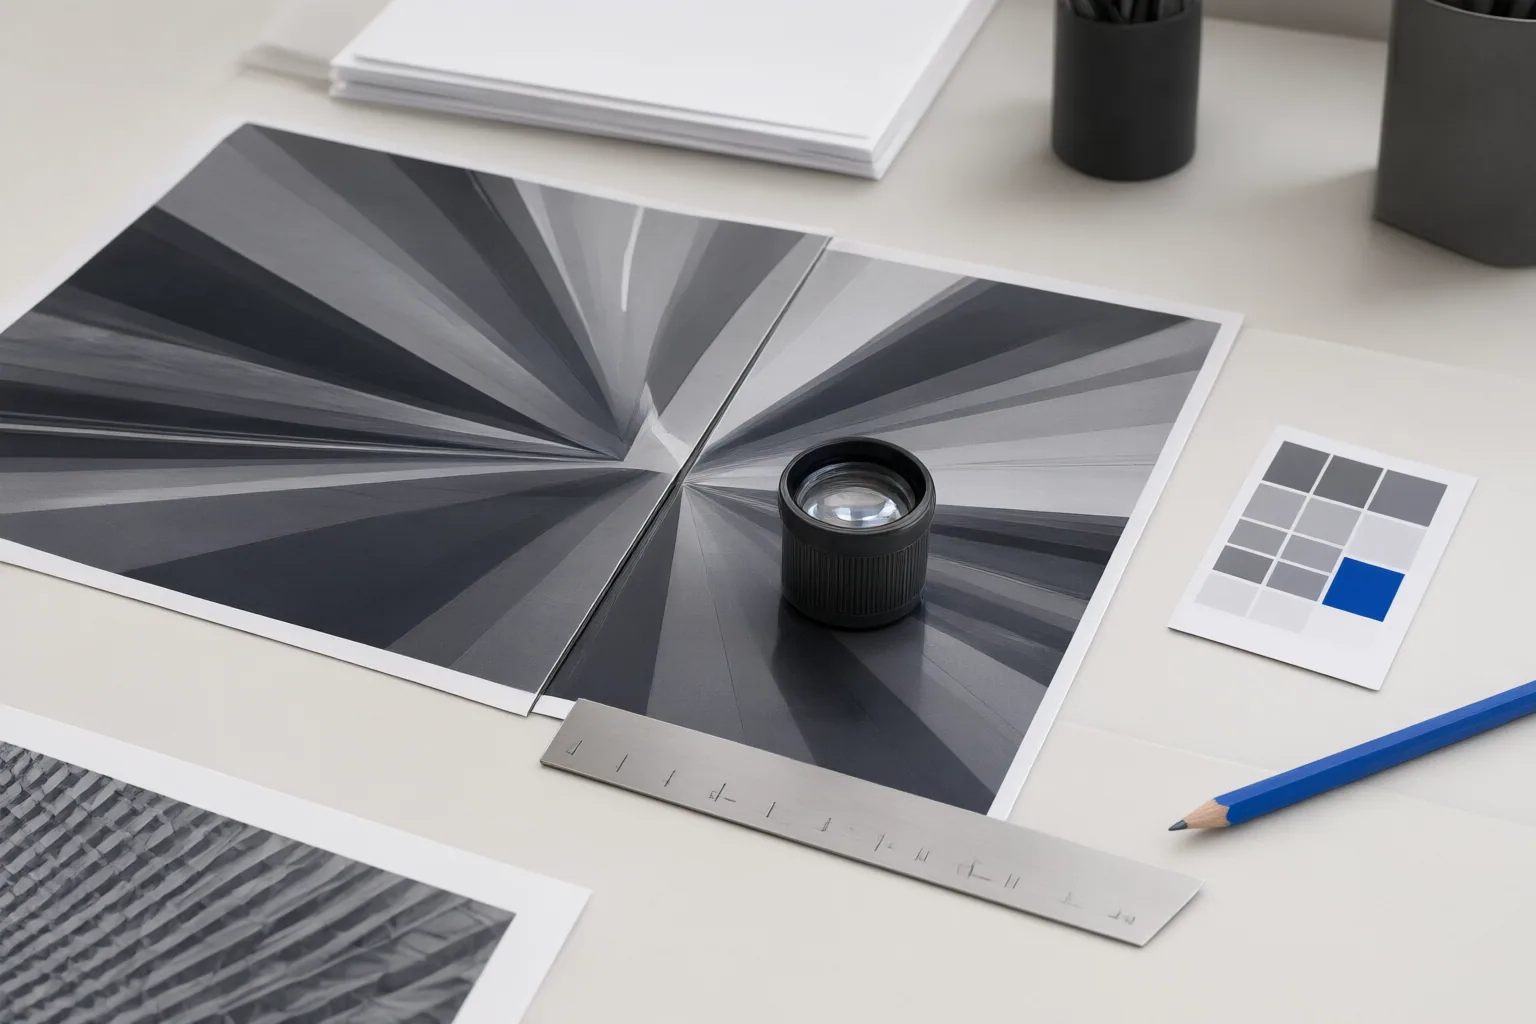
Check Perspective, Lighting, and Texture at 100% Zoom
Inspect the seam between the original and generated areas at 100% zoom, then follow important lines from the original image into the extension.
- Check whether horizons remain level and continuous.
- Trace roof angles and other straight structures for bends, breaks, or conflicting directions.
- Look for perspective lines that stop abruptly or no longer converge consistently.
- Compare skin tones near the new border with those in the original area.
- Examine brick, fabric, foliage, paving, and other repeating textures for obvious loops or sudden changes.
- Compare brightness, shadow direction, color, and contrast across the boundary.
One publisher says generative fill examines existing texture, lighting, and perspective, and characterizes a selected outpainting model as maintaining perspective and vanishing points. Those are publisher descriptions, not independent test findings. Use visible continuity in the actual output—not the description—as the pass criterion. If repetition or lighting discontinuity appears, compare another variation or plan a manual correction.
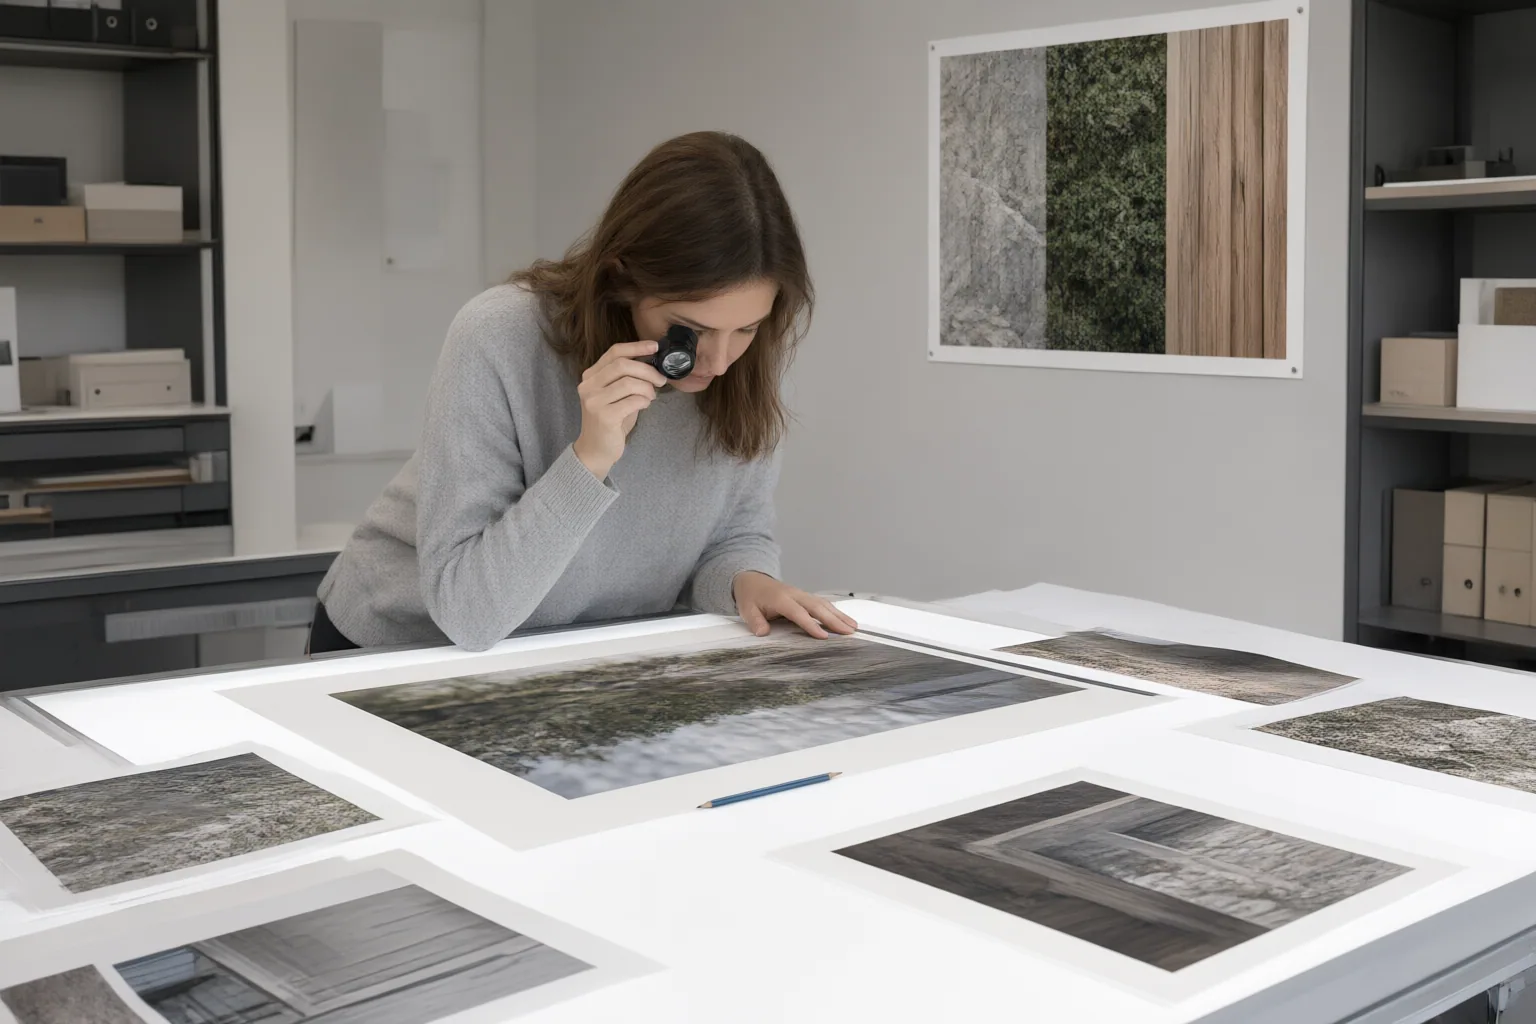
Look for Duplicated or Invented Edge Objects
Objects touching the original frame deserve separate scrutiny because the model has limited evidence about how they continue outside it. Complex overlapping foreground elements, crowds, branches, fence grids, text, and logos are especially difficult conditions identified in the supplied guidance.
First, mark every object that crosses or approaches the old boundary. Follow each one into the generated area and ask whether its shape continues logically. Look for doubled people or limbs, repeated branches, copied fence sections, malformed overlaps, and extra objects that have no clear origin in the source. For text and logos, check whether the expansion invents characters, duplicates marks, or creates details that could be mistaken for part of the original design.
Also inspect empty-looking borders. A duplicated object may appear farther from the seam, while an invented detail may be visually plausible at normal size but obvious at full zoom.
Conclusion
Approve an expansion only when its perspective, edge objects, textures, and lighting remain coherent at full zoom. Compare several variations made from the same source and canvas rather than relying on the first result.
If a version contains bent lines, repeated objects, lighting discontinuities, or invented edge details, revise it. The documented workflow allows generated areas to be masked, retouched, removed, or replaced with another variation, and describes expansion as a starting point that still needs creative review.
Run this checklist on your own image at 100% zoom now, then regenerate or manually refine every visible continuity failure before approving the image for use.
Disclosures and limitations
- This article was prepared with AI assistance from the supplied research package and content plan. Material claims are attributed to vendor or publisher sources; no independent hands-on benchmark was provided.
- No product ranking or recommendation is made, and no affiliate relationship is asserted from the supplied information.
Sources
- AI Generative Fill: How to Extend, Expand, or Fix Any Image Using AI — invideo
- Generative Expand | AI Image Extend & Expand | Affinity — Affinity
- AI Image Extender Free – Uncrop & Expand Images (No sign up) | PxBee — pxbee.com
- Extend Photos with AI Generative Fill — PixiqueAi
- AI Image Extender – Uncrop and Expand Images for Free | Picsart — Picsart
- Free AI Image Extender – Online & No Sign-Up | Fotor — fotor.com
Improve this guide
Report a problem or suggest the next question
Submissions enter a private editorial queue. They are reviewed and deduplicated before any public update or new page is created.