Test AI deinterlacing with a short clip containing fast motion, pans, moving text, and diagonal edges. Diagnose the source first, change one processing stage at a time, and inspect native-resolution output frame by frame for motion, detail, geometry, and timing errors.
Diagnose the Footage Before Deinterlacing
Interlaced video records alternating odd and even fields at different moments. When those fields are shown on a progressive display, moving objects can develop horizontal, comb-like teeth or jagged edges.
Confirm that the source is genuinely interlaced before choosing a filter. Review representative motion frame by frame instead of trusting metadata alone: previous transcoding may leave an incorrect interlaced flag or remove a useful flag. Telecined, mixed, and already-progressive footage can require different treatment, and applying deinterlacing indiscriminately may be inappropriate.
During diagnosis, note the field order and identify where artifacts occur. If combing is absent, do not assume that decomb processing is necessary. This baseline review also gives you an untreated reference for judging whether later changes improve motion without sacrificing useful detail.
Build a Motion-and-Edge Test Sample
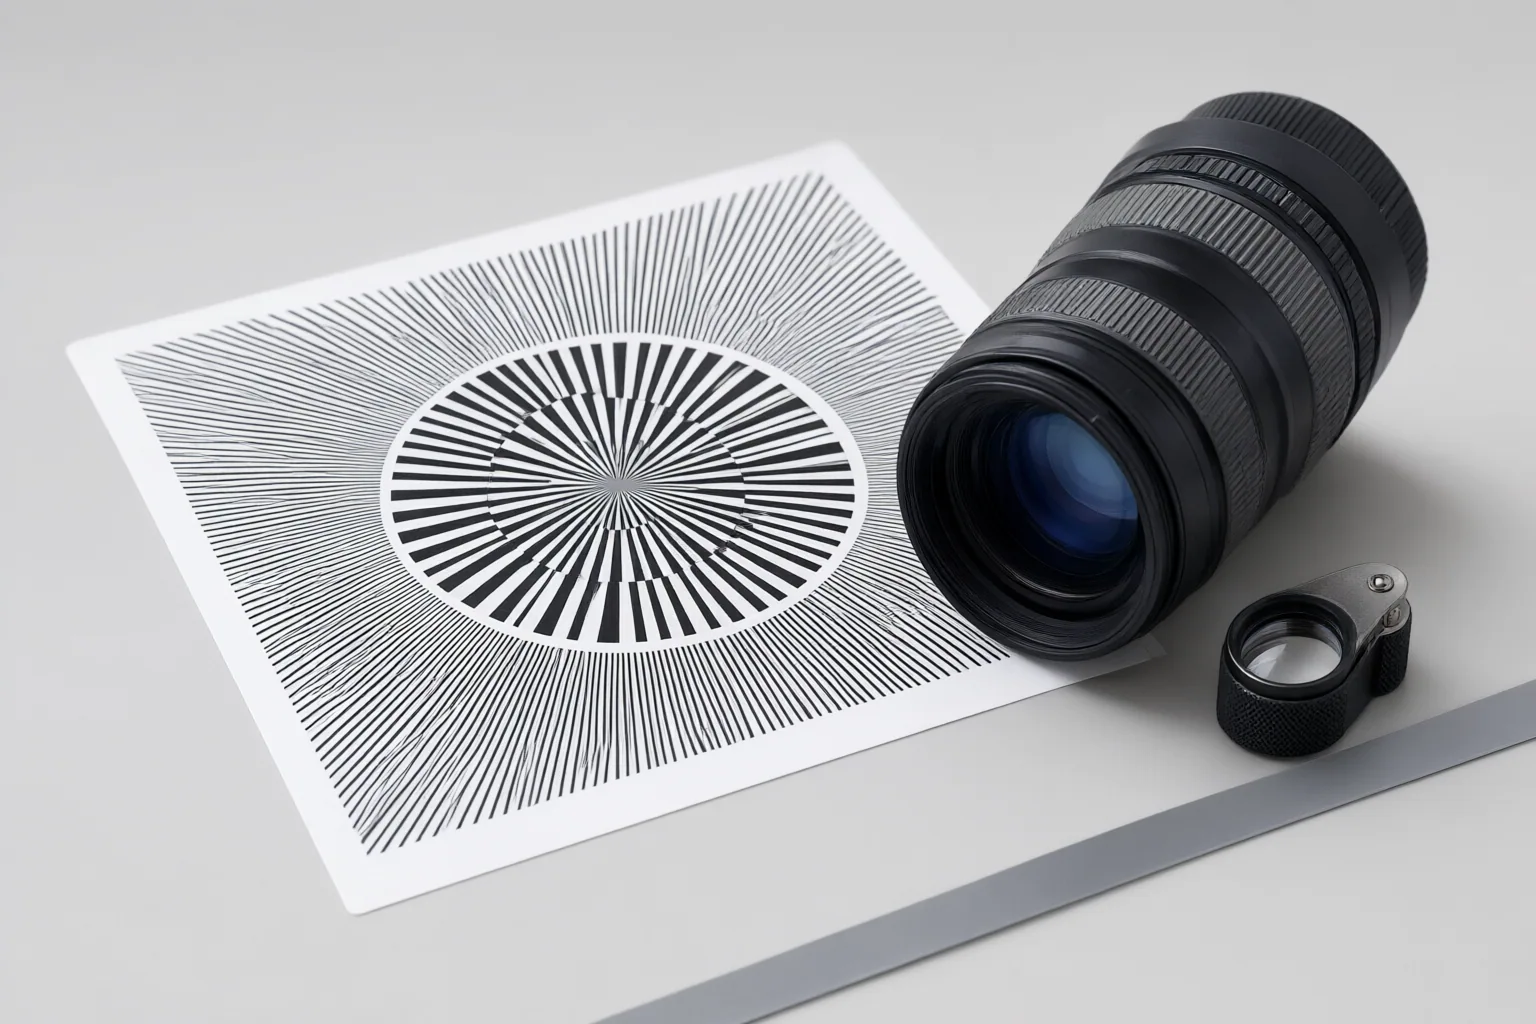
Create a short sample that represents the most demanding parts of the source. Include camera pans, fast-moving subjects, moving text, and diagonal or low-angle edges. Static frames are insufficient because the odd and even fields were captured at different times; movement is what makes many interlacing and reconstruction errors visible.
Use several types of motion rather than relying on one favorable shot. Inspect boundaries around subjects, lettering, railings, rooflines, flags, court markings, and similar angled structures. The supplied MSU project, for example, uses motion-oriented sequences and comparisons focused on diagonal and low-angle edges.
Keep the same sample for every candidate setting. That creates a repeatable comparison and makes it easier to spot horizontal teeth, jagged diagonals, edge instability, flicker, or inconsistent detail from one frame to the next.
Preview and Inspect the Result Systematically
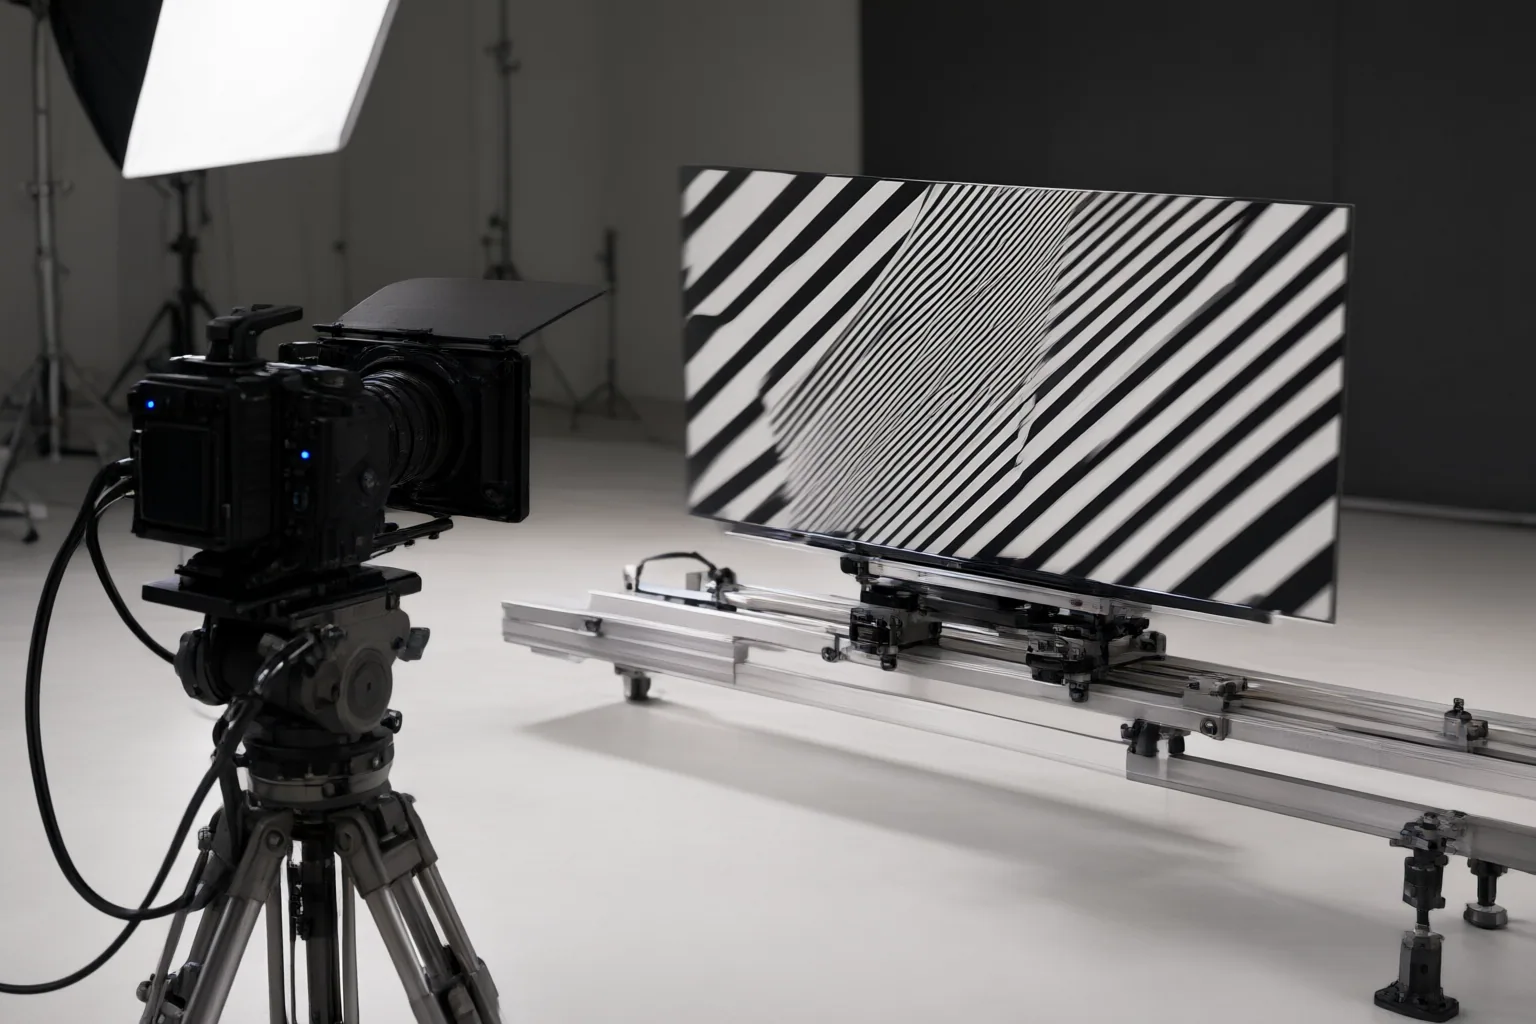
Generate a preview before processing the complete video. Zoom in on the motion-and-edge areas, then review the sequence at normal playback speed and frame by frame. Topaz’s documentation recommends previewing and using its zoom tool, while TensorPix recommends checking the final deinterlaced result at native resolution before upscaling.
Use a consistent inspection checklist:
- Check whether comb-like teeth and jagged moving edges have been removed.
- Look for flicker, unstable outlines, or softness across consecutive frames.
- Compare fine texture with the untreated source.
- Watch for smoothed detail, warped geometry, or phantom reconstructed shapes.
- Verify that motion direction and cadence are plausible for the selected field order.
- Confirm the output frame rate. Topaz notes that its documented Dione workflow can double the frame rate unless another rate is selected.
Test deinterlacing separately from denoising and upscaling. Apply one enhancement at a time so that an unwanted artifact can be traced to a specific stage. The supplied evidence describes different failure patterns for traditional and AI methods, but it does not establish that either approach is universally superior.
Conclusion
A useful AI deinterlacing test asks more than whether combing disappeared. First confirm that the footage needs deinterlacing. Then prefer the least aggressive process that produces stable progressive frames, judging motion, diagonal edges, texture, geometry, field handling, and frame rate together.
Create a short representative test clip, process one change at a time, and compare its native-resolution output frame by frame. Only after the settings remain stable across demanding shots should you apply the workflow to the full source.
Disclosures and limitations
- This article was prepared with AI assistance from the supplied research package. Material claims are limited to its cited vendor-authored, project, and comparison sources; no independent product test or universal performance ranking was available.
- No product ranking or affiliate recommendation is made. Product-specific workflow details are attributed to the supplied documentation and should be verified against the software version being used.
Sources
- How to maximize deinterlacing using AI — TensorPix
- QTGMC vs AI deinterlacer comparison: which method actually preserves video quality better? — aivideoupscale.com
- 6 Ways to Deinterlace Video for Clean Progressive Output — UniFab
- Deinterlace and Upscale Noisy Footage | Topaz Video — docs.topazlabs.com
- MSU Deinterlacer / New MSU Full FPS High Quality Deinterlacer — videoprocessing.ai
Improve this guide
Report a problem or suggest the next question
Submissions enter a private editorial queue. They are reviewed and deduplicated before any public update or new page is created.