
Evaluate AI video cleanup by comparing it with the earliest available source, checking both individual frames and normal-speed playback, and confirming that reduced blocking, ringing, or noise does not come at the cost of authentic detail.
Identify the Compression Damage Before Applying Cleanup
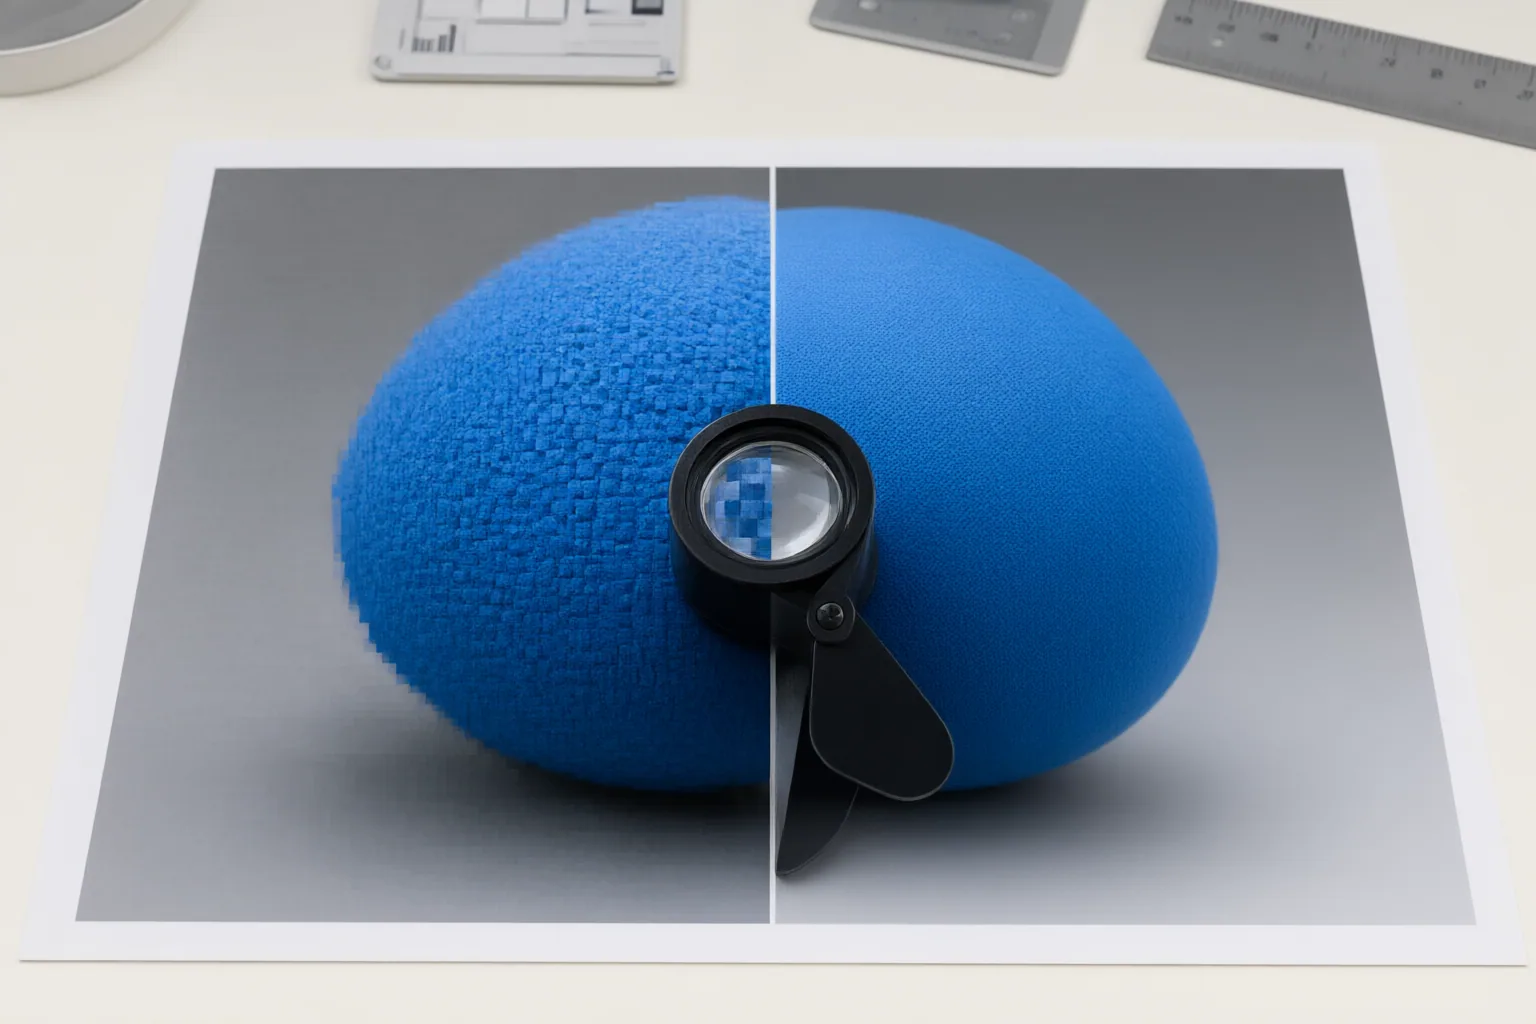
Lossy compression reduces storage or transmission demands by discarding media data. When too little useful data remains, the picture may show blocks, banded gradients, halos near strong edges, mosquito noise around text and outlines, or smeared detail during motion.
Identify which defects are present before adjusting cleanup strength. Their location and behavior provide useful diagnostic clues: compression damage often follows block structure, bitrate pressure, movement, complex textures, or high-contrast boundaries in both foreground and background areas.
Do not treat these patterns as proof that footage was AI-generated or manipulated. Compression defects can resemble AI-related anomalies, especially around faces, hands, hair, and text. Visual inspection can suggest a likely cause, but it cannot establish the clip’s origin by itself.
Inspect Faces, Text, and Textured Surfaces
Review vulnerable regions with the clip paused and playing. A single frame may hide defects that appear only as the image changes over time.
For faces, examine hair, teeth, skin detail, and facial edges. Low-bitrate footage may smear these features, temporarily erase texture, or divide moving regions into patches. After cleanup, check whether facial detail remains consistent during movement rather than merely looking smooth in one frame.
Inspect captions, logos, and other high-contrast elements at their edges. Look for halos, ringing, and flickering mosquito noise. Cleanup should reduce these distractions without softening characters or altering outline clarity.
Finally, study difficult surfaces such as grass, rain, smoke, water, grain, and hair. Compression can make them chaotic, blocky, smeared, or unstable. Strong filtering may create a calmer image while removing real texture, so apparent smoothness is not sufficient evidence of improvement.

Use a Controlled Before-and-After Review
Begin with the cleanest or least-compressed source available. Repeated compression leaves less reliable information for any later process to work with, so finding an earlier source or producing a less-compressed export should come before aggressive restoration.
Apply restrained, artifact-specific cleanup to a short segment that includes representative motion, edges, faces, text, and textures. Compare the processed segment with the earliest source frame-by-frame, then watch both at normal playback speed. This reveals whether a static improvement becomes flicker, patching, smearing, or lost texture during motion.
Stabilize the artifact pattern before upscaling. Sharpening or enlargement can make blocks, ringing, and mosquito noise more conspicuous rather than restore missing information. After processing and export, inspect the final encode again because the last compression stage may introduce or expose defects.
Conclusion
Accept AI-assisted cleanup only when it removes distracting compression artifacts while preserving more important facial, textual, and surface detail. No post-processing method improves every compressed image, and severely damaged or unstable material may not be cleanable without visible losses. Because discarded source information cannot be guaranteed to return, stop increasing the effect when filtering removes more authentic detail than it preserves.
Before processing an entire video, test restrained cleanup on a short representative segment. Compare it with the earliest available source during playback and frame-by-frame, and proceed only when the result retains more useful detail than it loses.
Disclosures and limitations
- This article was prepared with AI assistance using only the supplied research sources. It does not present controlled tests or recommendations of specific restoration products, and no affiliate relationship is implied.
Sources
- Video Compression Artifacts vs AI: How to Tell — DetectVideo AI – Online AI Video Detector & Deepfake Checker
- Compression artifact – Wikipedia — en.wikipedia.org
- Forensic Video Analysis – Detection Methods | AFIP — AFIP
- Recognizing Video Artifacts — guide.encode.moe
- What Are Video Compression Artifacts? How to Fix & Avoid Them — aiarty.com
- Why AI Video Artifacts Happen, and the Fixes That Work — Versely
- Video compression artifacts explained: blocks, bands, ringing and smearing — videoupscaler.dev
- Video Compression Artifacts: Causes & AI Fixes in 2026 | Vmake Labs — Vmake Labs
Improve this guide
Report a problem or suggest the next question
Submissions enter a private editorial queue. They are reviewed and deduplicated before any public update or new page is created.