The tool in this tutorial
Create with AIAI.com
A creative workspace for AI images, videos, and editing tools. Open Background Remover and follow along with your own image.

Follow a real AIAI session from image upload to download, then learn how to check what the exported file actually contains. This beginner tutorial pairs an English narrated screen recording with illustrated instructions.
Disclosure: eWiki has a business relationship with AIAI. This guide reports the observed result, including its limitations. Read our disclosure.
- Beginner
- Video + illustrated guide
- Tested September 18, 2026
- One recorded generation
Watch the walkthrough
Continuous live screen capture, edited with 8× waiting segments, English synthetic narration, and English captions. Zooms and pointer highlights are editorial annotations. The illustrated steps below cover the same workflow.
1. Open the current tool and prepare an image
Sign in to AIAI, open Tools, then choose AI Background Remover. The working tool address during this test was aiai.com/image/ai-background-remover. The older /tools/background-remover address returned a 404 during our session.
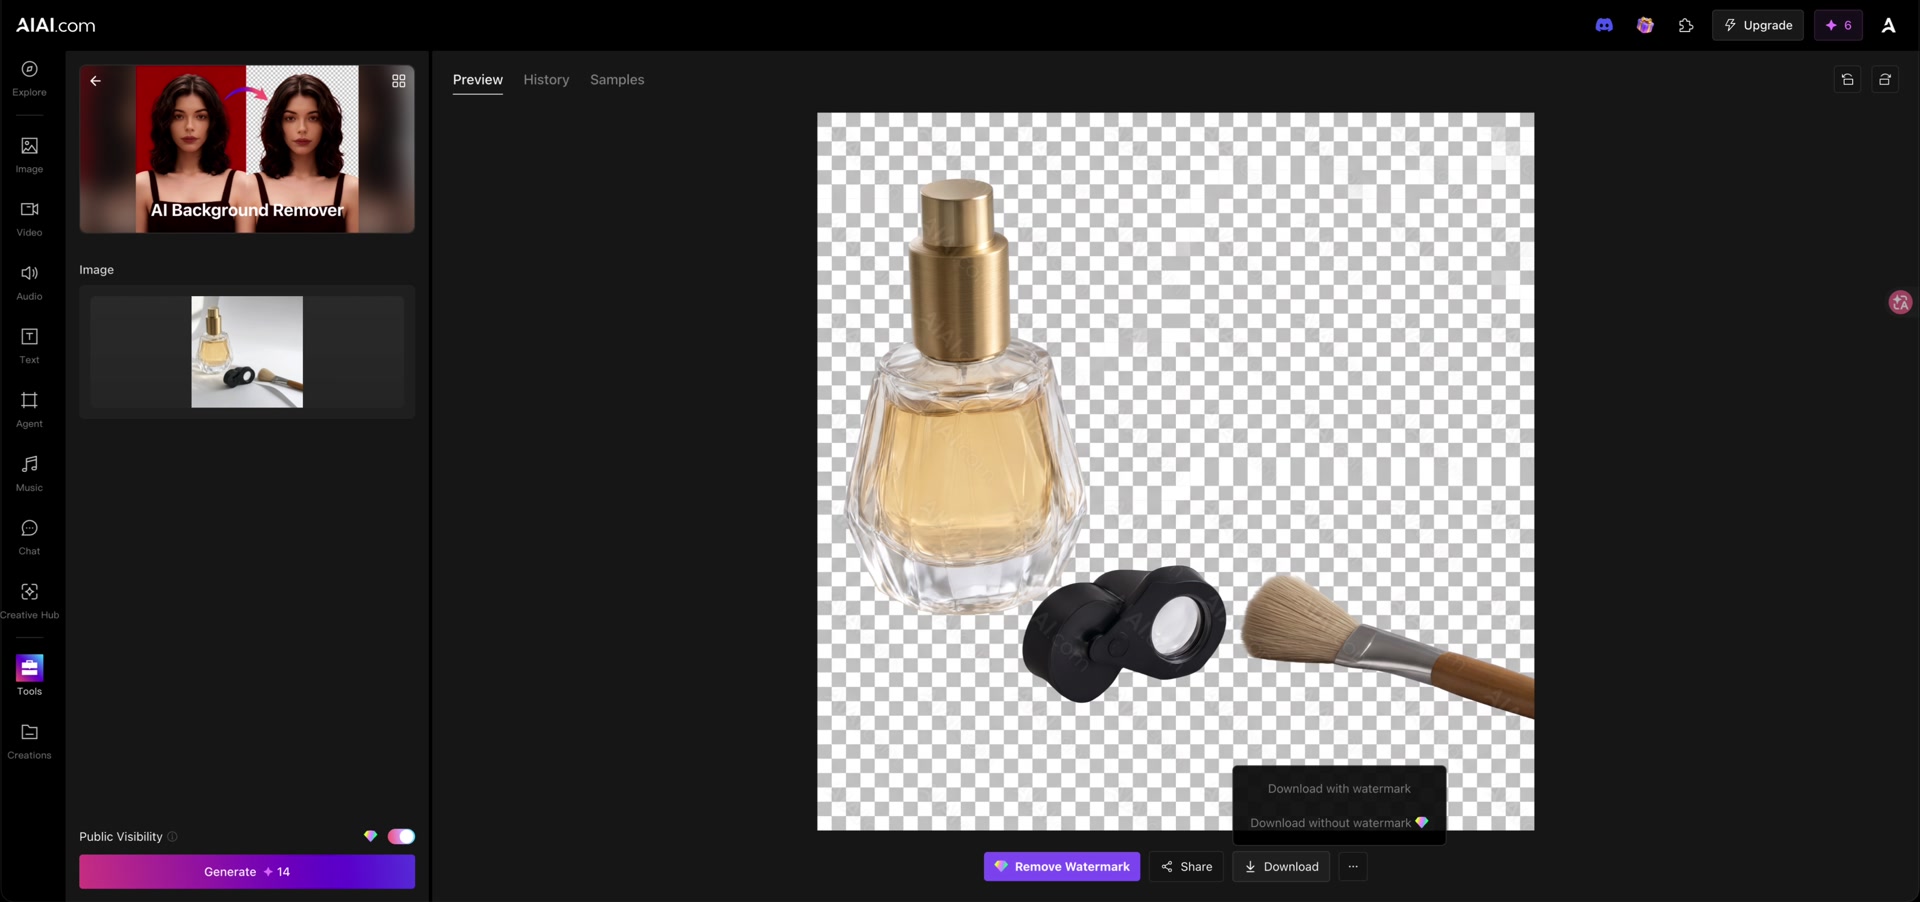
Have an image you own or have permission to upload. The upload control listed PNG, WEBP, JPG, and JPEG, with a 20 MB limit. Our sample was a 1024 × 1024 WebP showing an AI-generated perfume bottle, cosmetic compact, and makeup brush. It contains no customer material or real-person portrait.
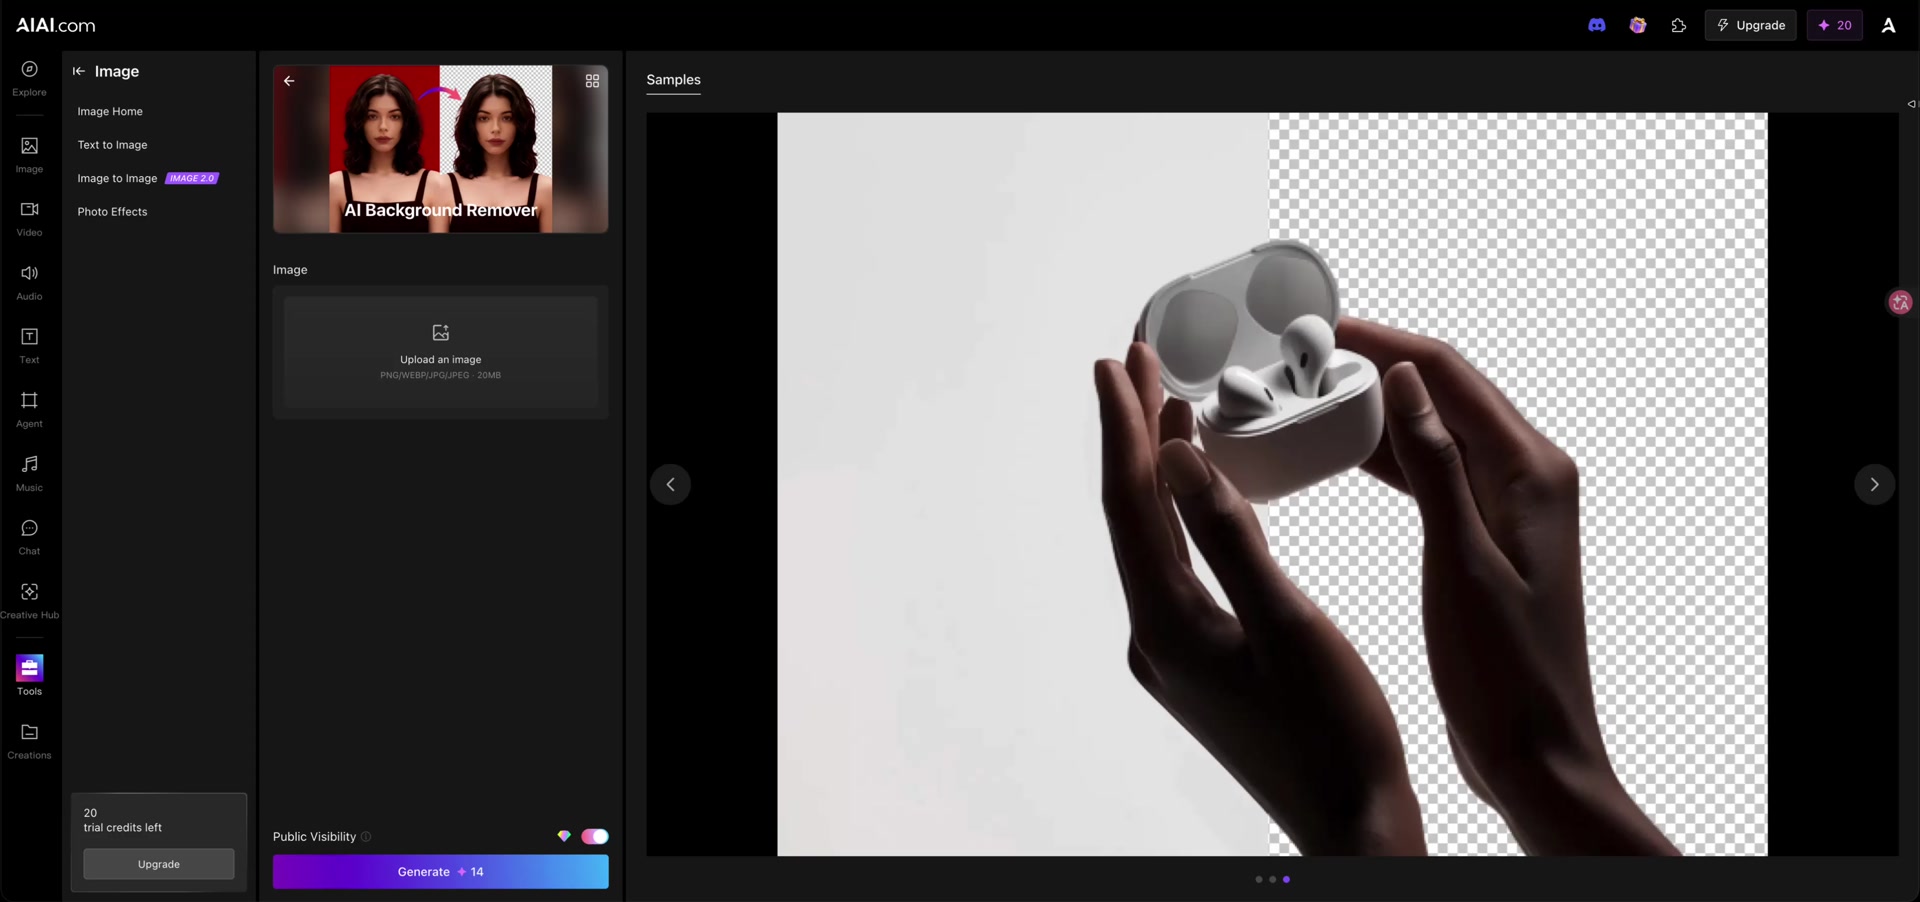
2. Upload and check the input preview
Click Upload an image, select your file, and wait until its thumbnail appears in the left input panel. Check that this is the image you intended to process. The large panel on the right may still display a sample until you generate your own result.
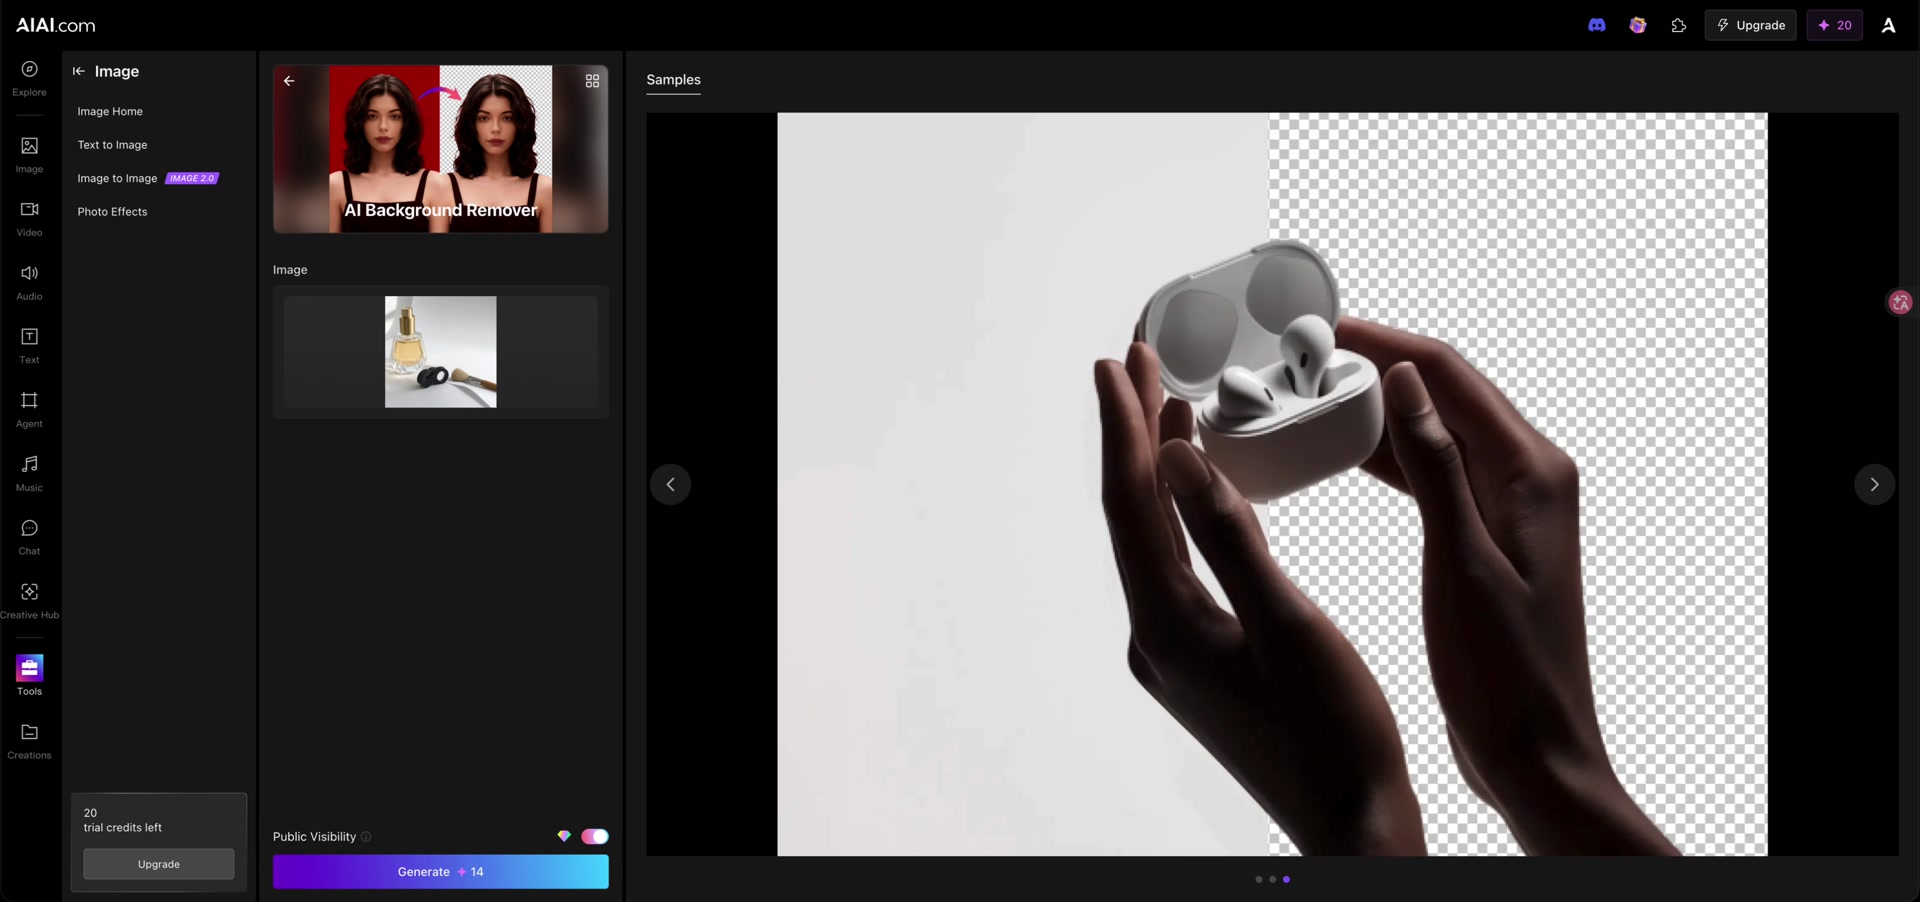
3. Check visibility and credits, then generate once
Review Public Visibility before submitting. It was on in this recorded session, so we deliberately used a sample intended for public demonstration. We did not test private generation. Do not upload confidential material with this setting enabled.
The button showed Generate 14. Our trial balance changed from 20 to 6 after one submission. That is the observed cost for this tool and session, not a promise of current pricing or free access for every account. Check the amount displayed in your own interface.
Click Generate once. The button changes to Generating…, and the result panel displays a progress screen. Let the job finish before deciding whether another attempt is needed. The waiting period in our video is accelerated and explicitly marked.
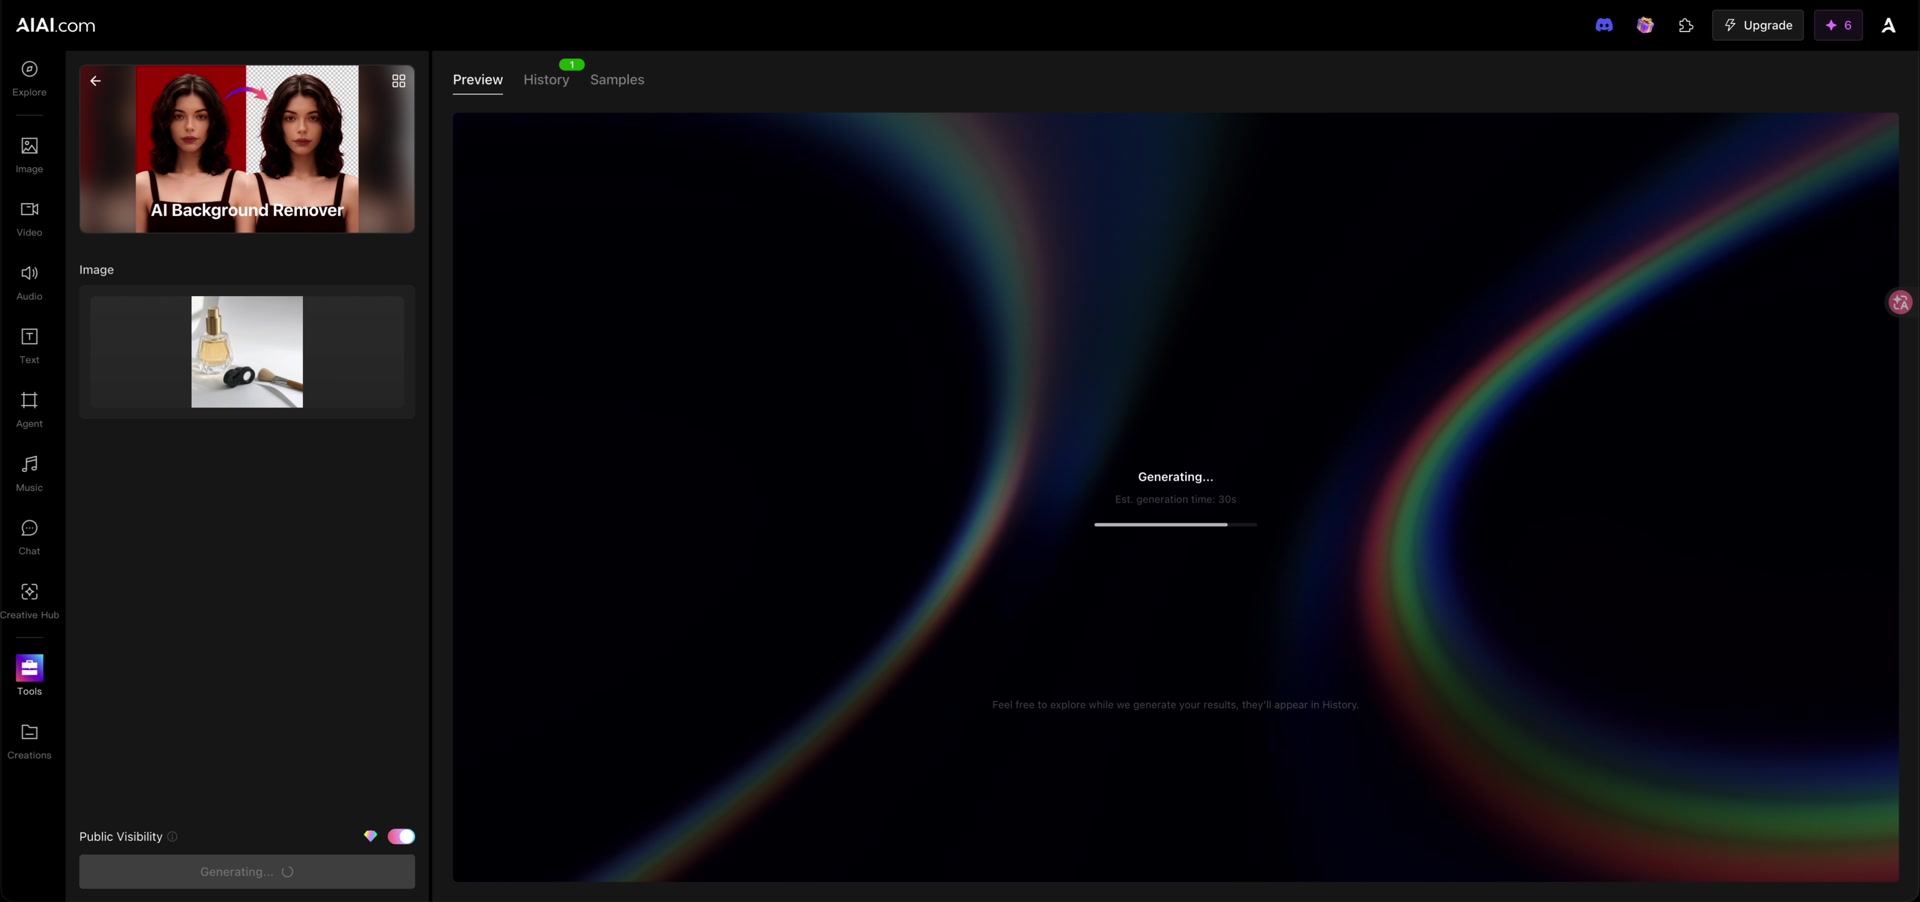
4. Inspect Preview and download the available version
When the result appears in Preview, compare the subjects with your input. Inspect thin edges, glass, reflections, and gaps between objects. Our preview showed the three objects against a checkerboard. It also offered rotate controls, Share, Download, and Remove Watermark.
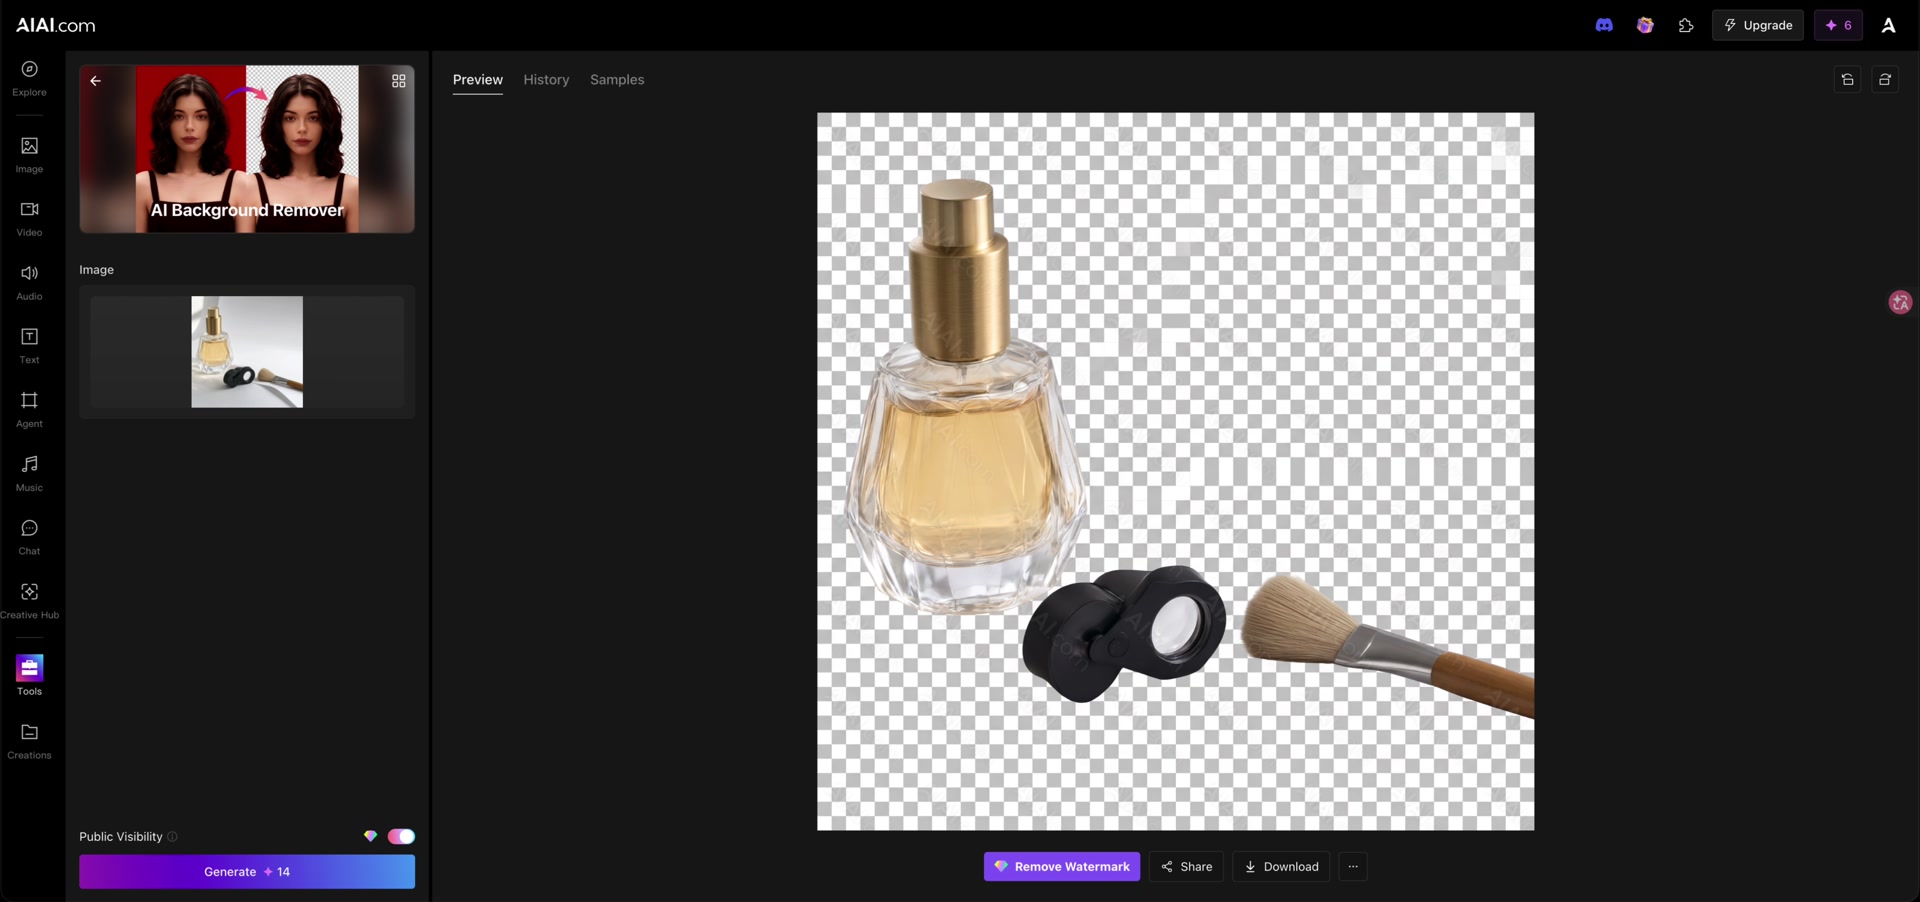
Open Download. We selected Download with watermark. The menu also displayed Download without watermark, but we did not use or verify that option and did not upgrade the account.
5. Check the exported file, not just the preview
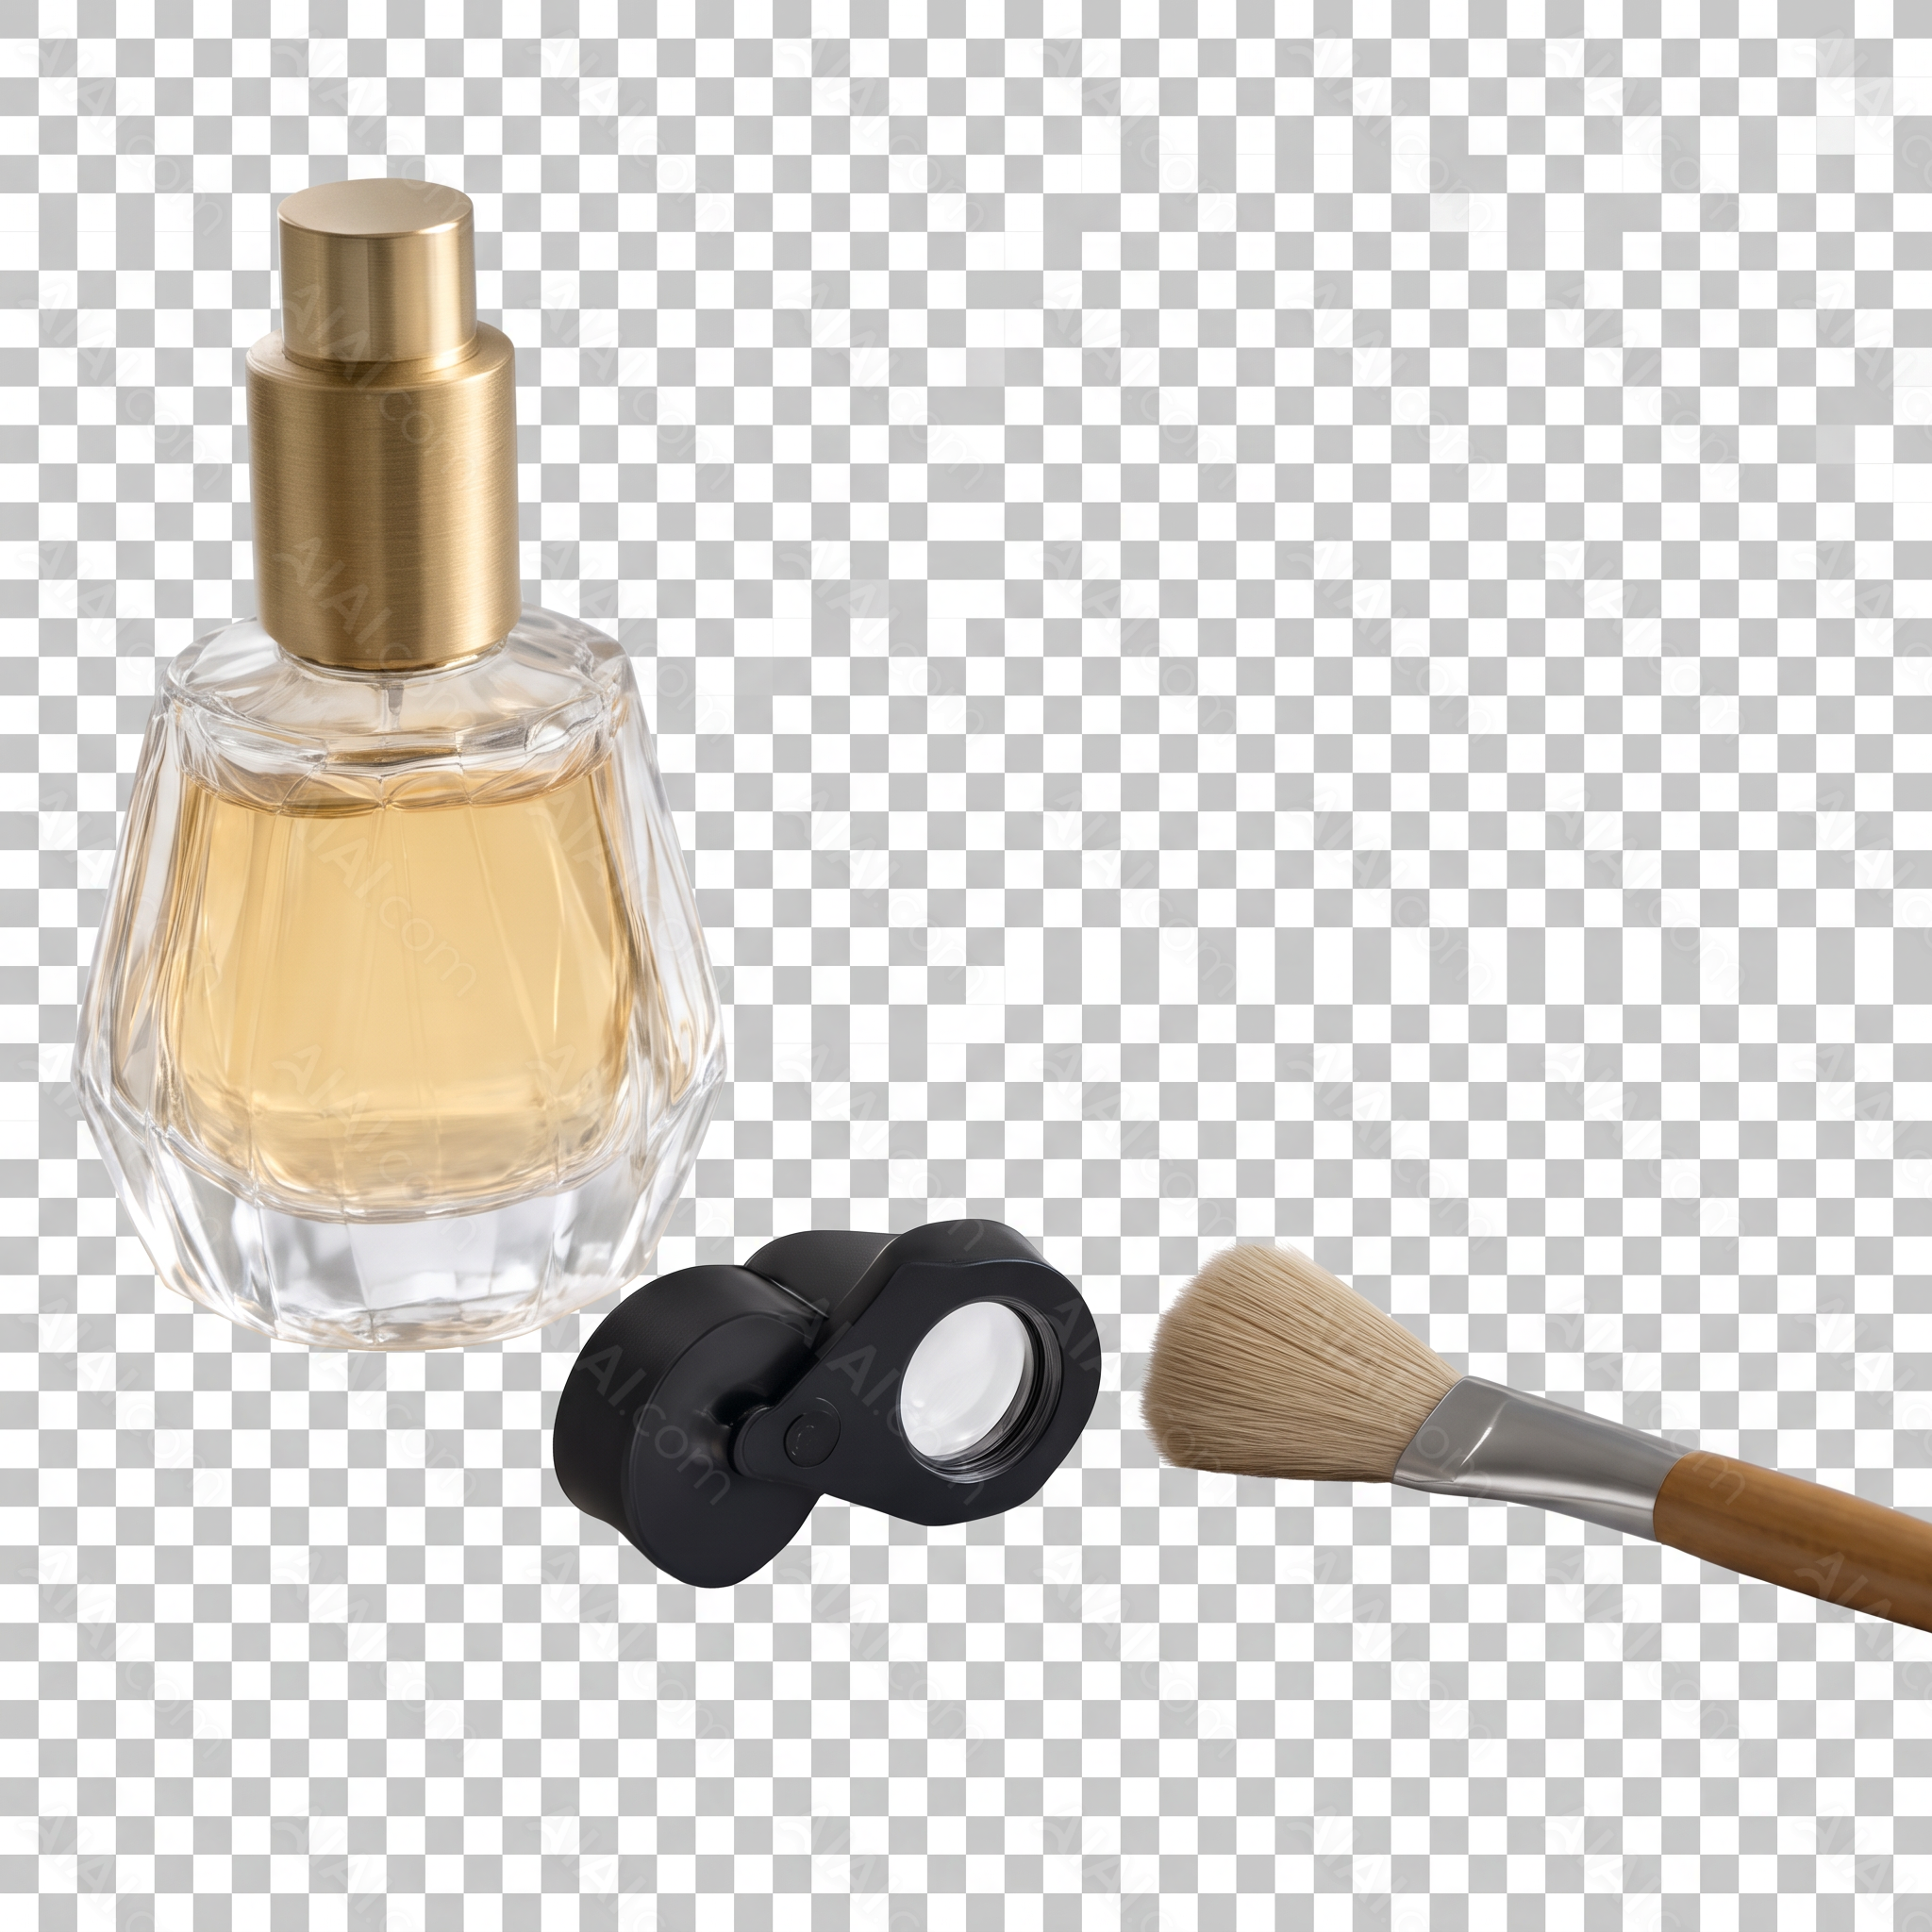
Reopen the downloaded file in an editor that supports transparency, and place a solid color underneath it. A genuinely transparent region should reveal that color. If the gray squares remain, they may be image pixels. A PNG filename by itself does not establish that the file contains transparent pixels.
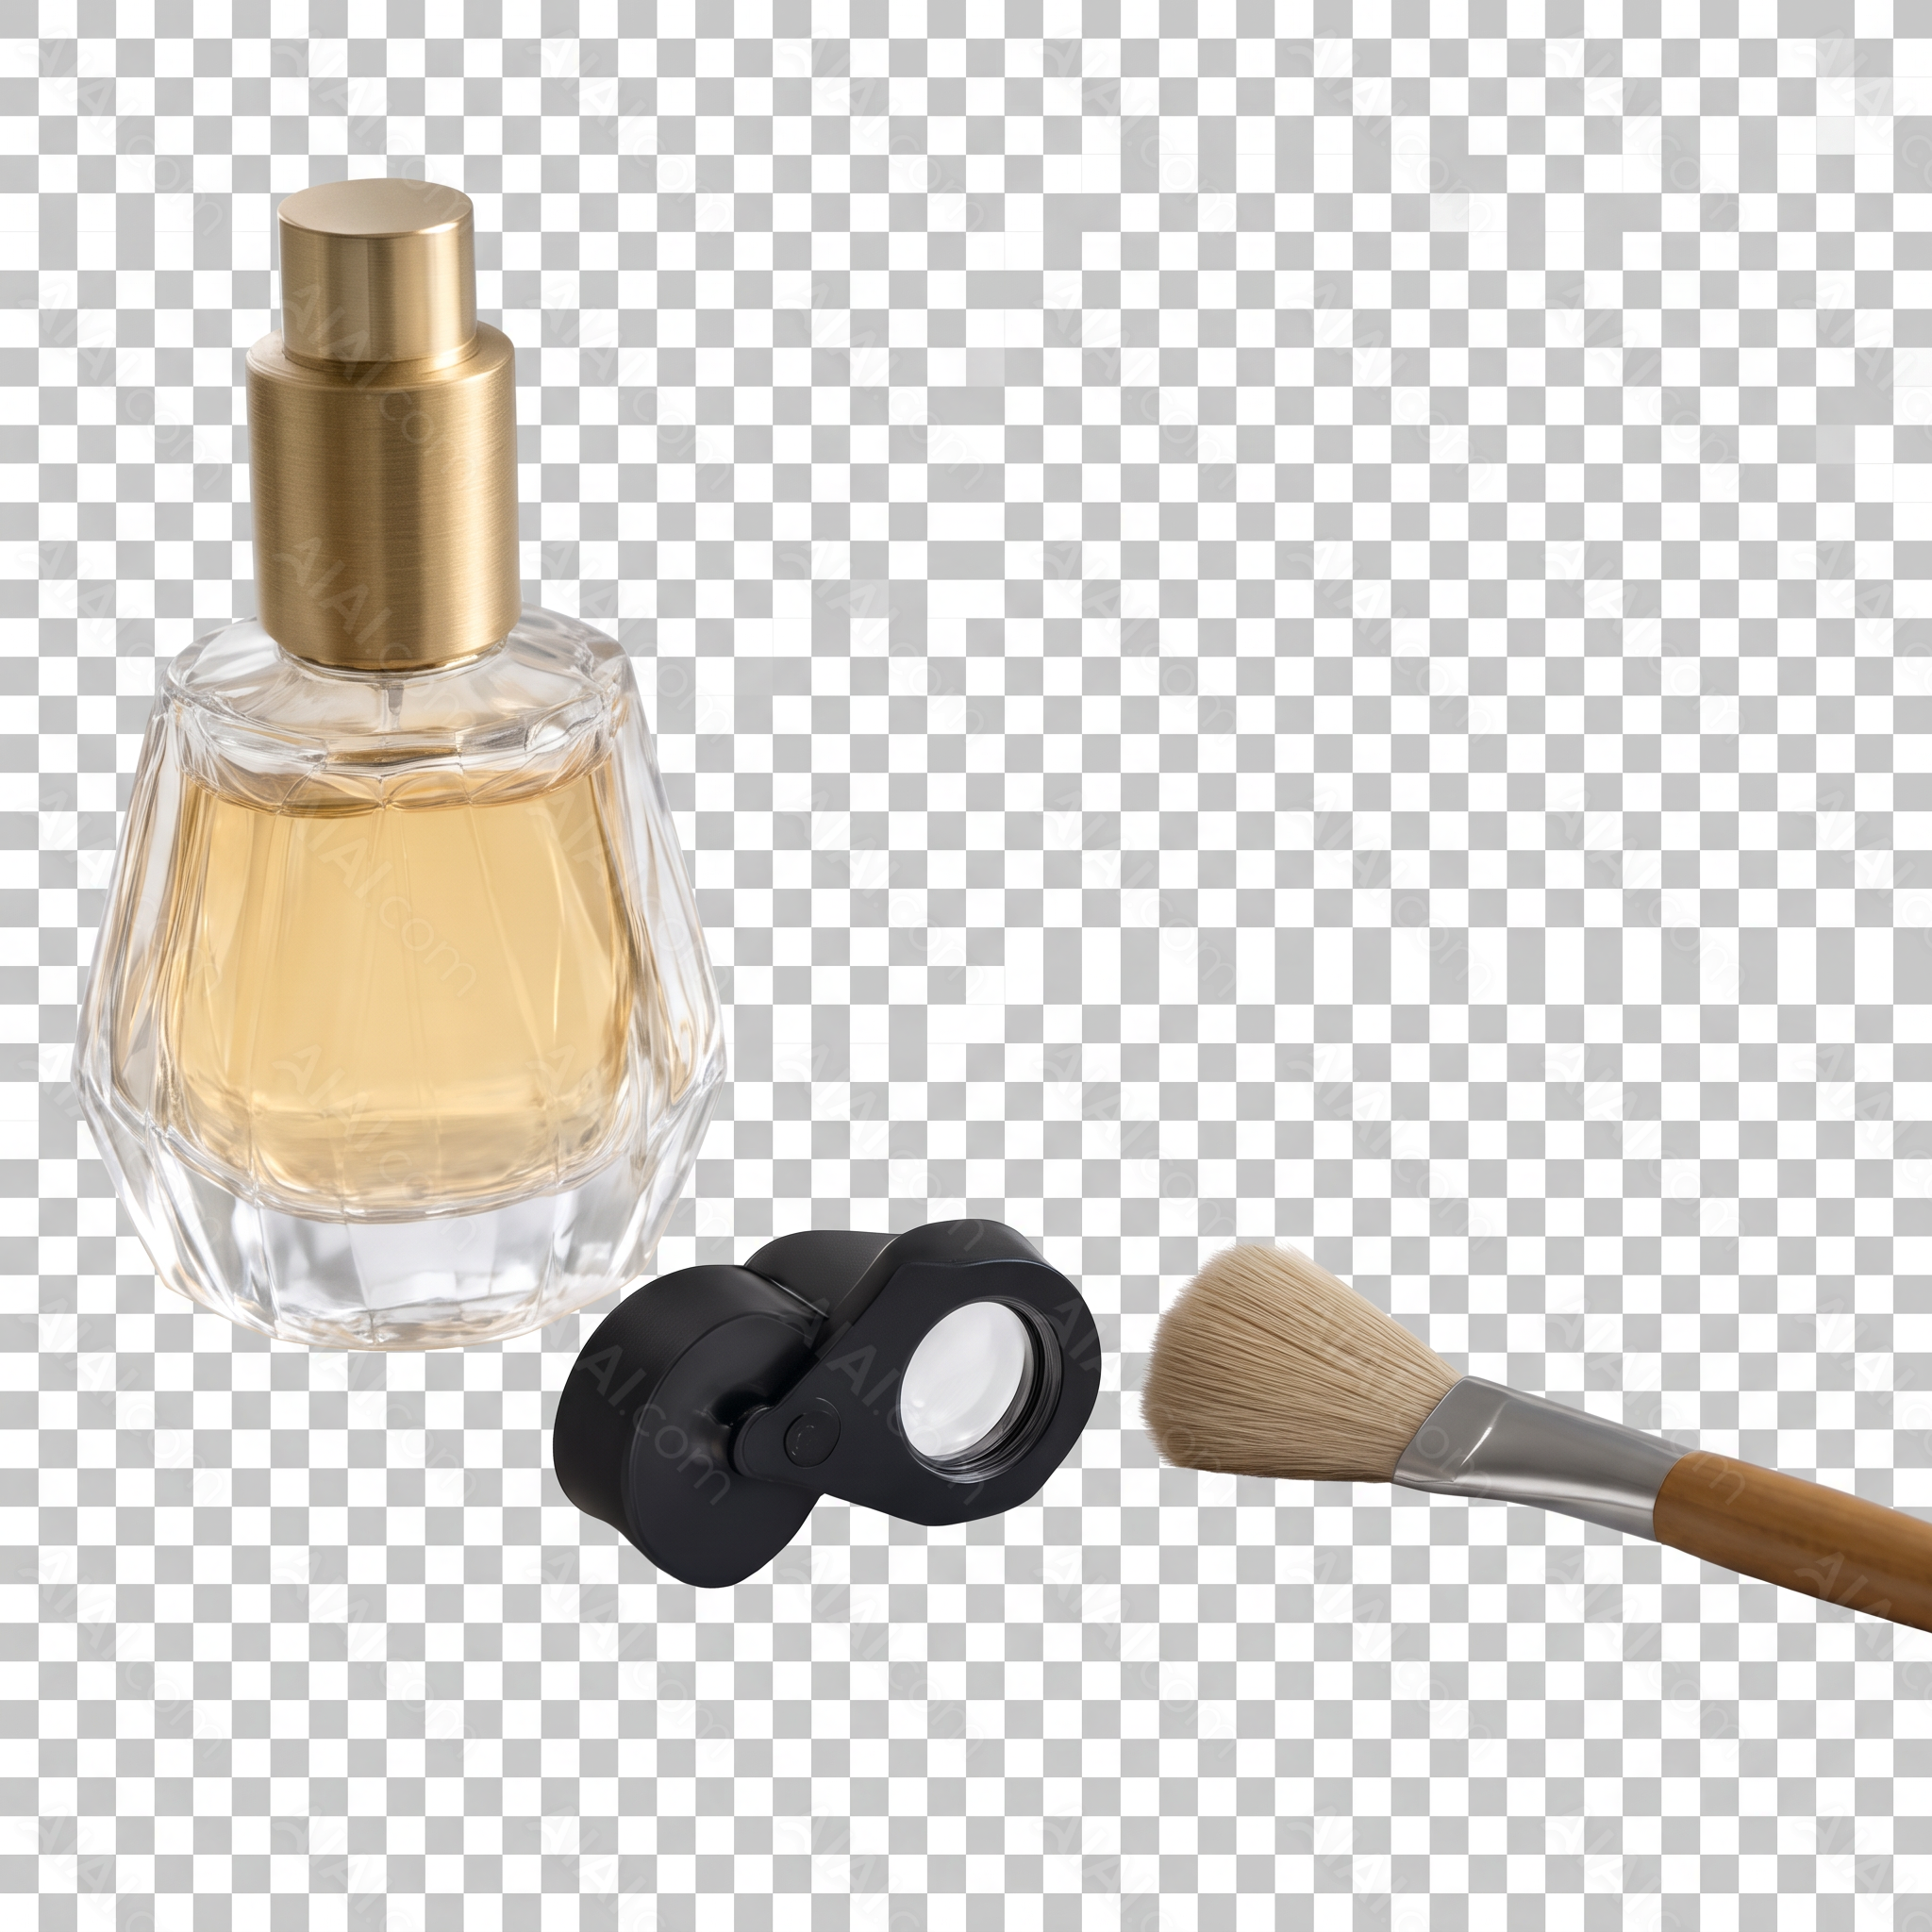
We inspected the original download’s file data as well as its appearance. It was PNG, RGB, 2048 × 2048, with no alpha channel and no PNG transparency metadata. The gray-and-white squares and repeated AIAI watermarks were visible in the file itself. We therefore did not use this export as a transparent product asset.
Inspect the original AIAI download · Open the sample input
Open AIAI, upload your image, and follow the steps above. Explore its image and video tools when you are ready for your next project.
If your result does not meet the task
| What you see | What to check next |
|---|---|
| The old tool URL returns 404 | Navigate from Tools to AI Background Remover and verify the current address. |
| Generate is unavailable | Confirm sign-in, a completed upload, and enough credits for the amount shown. |
| A checkerboard remains after import | Test the actual downloaded file on a colored layer and inspect transparency. Do not rely on the preview or extension. |
| You need a clean, transparent production asset | Verify an export that actually preserves transparency and meets your licensing needs. This tutorial does not establish what the untested watermark-free option delivers. |
For the underlying file-format concept, read what a transparent background means. For broader methods and alternatives, use the background remover guide.
Test notes and disclosure
This guide documents one signed-in desktop Chrome session on September 18, 2026, using one public demonstration image and one generation. It does not benchmark all subjects, plans, or export paths. The original input and downloaded output are linked above; the video records the same operation. Interface labels and credit costs can change.
Disclosure: eWiki and AIAI have a business relationship. This tutorial was prepared with AI assistance and synthetic English narration. The reported limitation comes from the downloaded file in this test and is retained in the published guide. See our disclosure and testing method.
Improve this guide
Report a problem or suggest the next question
Submissions enter a private editorial queue. They are reviewed and deduplicated before any public update or new page is created.