Remove an image background, then check what remains. A background remover isolates a person, product, or other subject so you can save a transparent cutout or place it on a new background. Start with an external tool, or use the example below to learn what a usable result looks like.
The tool opens on its provider’s website. eWiki does not process your image here. Check the provider’s current login, export, and privacy conditions before uploading.
A real background-removal example
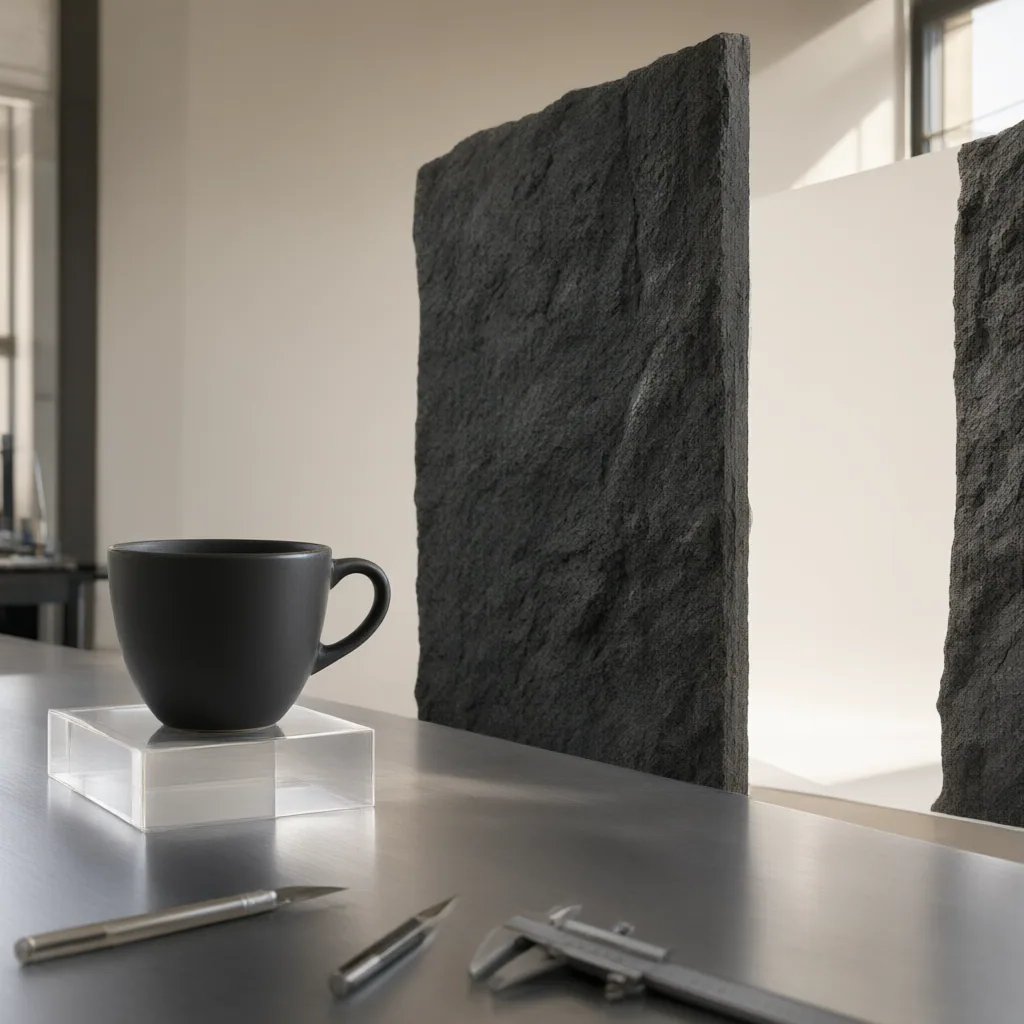
These images show one controlled eWiki test completed on . The input is an AI-generated product scene containing a glass bottle, a black accessory, and a brush. The output was produced by remove.bg; the source image was artificial, but the removal and downloaded output were real.

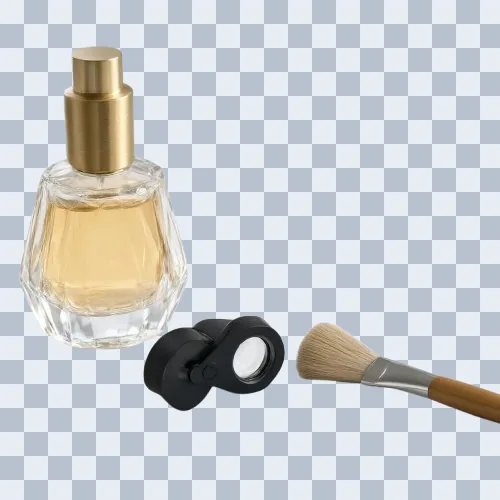
Download the actual transparent PNG · See the recorded workflow and result screenshot

The output keeps the three main objects and removes the surrounding surface. That alone does not prove perfect separation: inspect the glass, brush tips, and object openings at full size. The transparent PNG was reconstructed from the provider’s downloaded color and alpha files without retouching. This one sample is not a quality ranking, a speed test, or proof of reliable results on hair and other difficult subjects.
Choose a workflow for your image
Product photos
Keep the original proportions, openings, labels, and accessories. Decide whether you need a reusable transparent master or a finished white-background listing image.
Portraits, hair, and fur
Inspect flyaway strands and soft boundaries against both light and dark backgrounds. If the automatic mask removes detail, use a workflow that lets you restore it from the original.
Logos and illustrations
Use the original vector or design file when available. With a raster logo, check thin strokes, pale lettering, and spaces inside letters after removing white pixels.
A clean white background
Remove the old background first, inspect the cutout, and add a separate white layer. A white background is a finished composition; it is not transparency.
Background-remover tools: what we checked
Choose by the job you need to finish and the evidence available. Only remove.bg has a completed output in the controlled example above. Photoroom and Adobe descriptions below come from their official pages; they are not eWiki hands-on comparisons.
remove.bg
Evidence: one completed eWiki product-scene test with a downloadable result, dated September 13. Useful as a starting point if you want to inspect our actual sample before trying your own image.
Service change: the live site announces a move to Canva and says its standalone website will become unavailable on December 1, 2026, at 09:00 CET. Read the provider’s transition information before relying on it for a continuing workflow.
Check today’s export size and account conditions in the tool. Our recorded 500 × 500 download does not establish its current maximum resolution.
Photoroom
Official-page review: its workflow starts with a photo upload and offers a transparent, white, or replacement background. Its instructions describe PNG, JPEG, and WebP downloads.
Consider it when you want to continue composing a product image after the cutout. We have not tested this sample in Photoroom; check the export and plan conditions yourself.
Adobe Firefly
Official-page review: Adobe’s background-remover page currently describes Firefly, transparent PNG downloads, and further image editing. Its Firefly instructions require an Adobe account; free usage has limits.
Consider this route if you already use Adobe’s editing workflow. We have not completed an eWiki output test in Firefly.
AIAI
Recorded walkthrough: our September 13 test reached a sign-in prompt after Generate. It did not produce a downloadable output, so we cannot judge removal quality or speed from it.
Relationship disclosure: eWiki has a relevant business relationship with AIAI. Check the current login, credit, and public-visibility settings before using it.
How to remove a background and keep a usable cutout
- Choose your original. Start with the largest clear source available. Keep an untouched copy so you can compare details or retry.
- Choose a tool and check the upload conditions. For confidential assets, first review local versus cloud image-editing workflows.
- Run the removal. Follow the provider’s upload and processing steps. Treat the preview as a first pass.
- Check the complete subject. Compare against the original: hands, handles, straps, brush tips, lettering, openings, and anything else that must remain.
- Inspect the edge on different backgrounds. A light halo can disappear on white and show on black. Restore missing detail or refine the affected mask rather than erasing the whole edge.
- Export and reopen. Use a PNG with transparency when you need a reusable cutout. Check its actual pixel dimensions and place it on a colored layer to confirm the background is transparent. Use JPEG only for a finished image that does not need transparency.
For a batch, repeat these checks on an easy image, a typical image, and a difficult image before committing a whole catalog. Record the manual correction each needs; a fast preview can still leave substantial cleanup.
Fix a background-removal problem
- Why are there white edges? Old background color can remain along the mask boundary. Inspect on a dark layer and follow the white-edge and halo troubleshooting guide.
- Why is part of the subject missing? Compare with the original before exporting. Check why a remover cuts off the subject and when to restore the mask or retry.
- Why does my transparent PNG look white? A viewer may display transparency on white, or the background may have been flattened. Check the file rather than relying on the preview.
- What controls transparency? Learn how an alpha channel stores opacity and how an image mask controls what stays visible.
Evidence, sources, and review notes
Reviewed September 17, 2026. This guide was prepared with AI assistance and checked against the saved test artifacts and the provider pages linked above. The original test date remains September 13; updating this guide does not turn that historical test into a new test.
- eWiki product-photo test: original input, result screenshot, transparent output, and recorded walkthrough. The generated source scene contains no real customer photograph.
- remove.bg official tool, Photoroom official instructions, and Adobe official background-remover instructions: provider workflows reviewed September 17. Provider descriptions are not independent performance evidence.
- AIAI recorded login boundary: no completed output was obtained in that test. Current pricing and availability are not established by the historical walkthrough.
- How eWiki tests tools · About eWiki and its relationships. Use the feedback form below to report a changed tool condition or a problem with these instructions.
Questions and practical answers
- Why Does a Background Remover Cut Off Part of the Subject?
- Why Does a Transparent PNG Show a White Background?
- How to Remove a White Background from a Logo and Keep It Transparent
- Why Is My Background Black? Fix Windows and Image Transparency Problems
Terms explained
Improve this guide
Report a problem or suggest the next question
Submissions enter a private editorial queue. They are reviewed and deduplicated before any public update or new page is created.