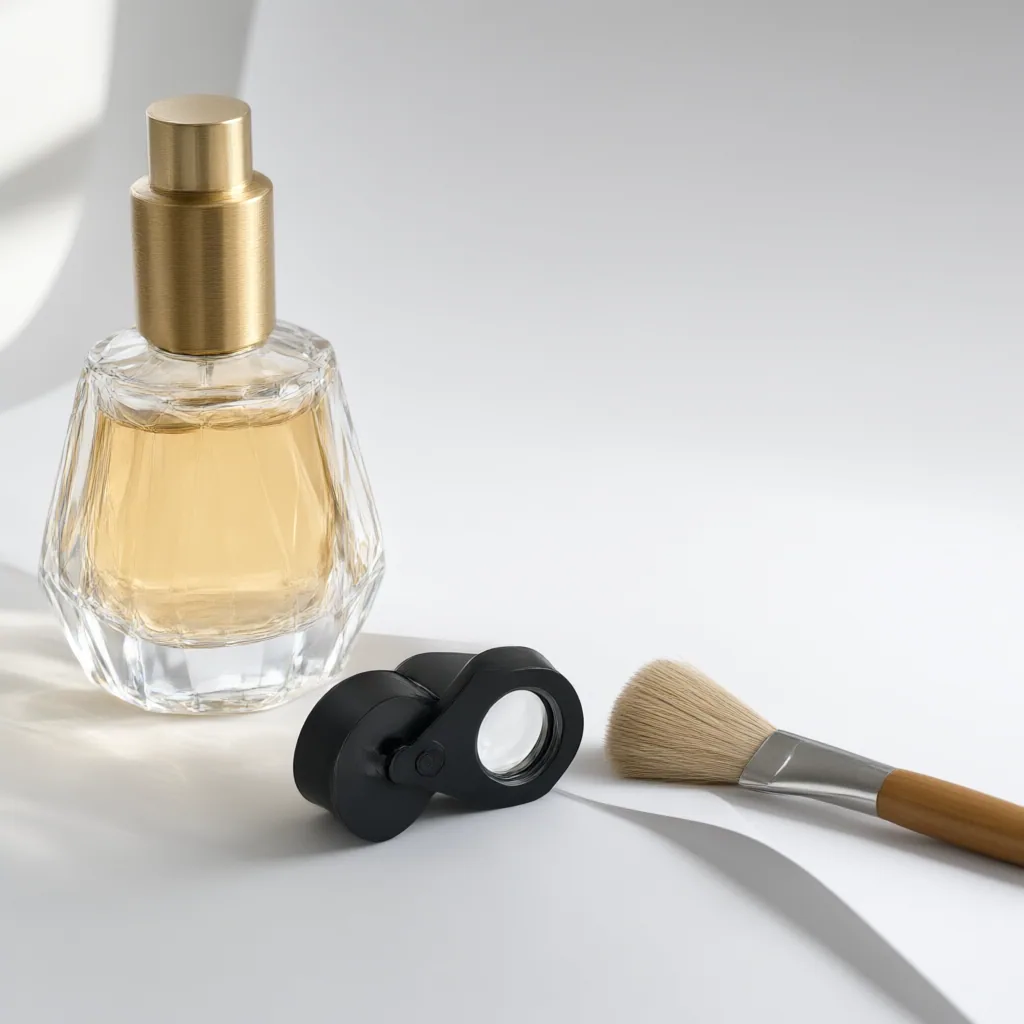
Prepare a clean source photo, remove its background, correct missing or contaminated edges, choose a transparency-capable format, and inspect the exported product image before publication or batch processing.
For other image types and direct tool options, start with the background-remover tools and workflow guide.
Start With a Photo That Is Easier to Separate
Begin with a sharp product photo, even lighting, and a simple backdrop that contrasts clearly with the subject. These conditions make it easier to distinguish the product boundary from the background.
Pay particular attention to products whose color or brightness resembles the backdrop. Similar-looking areas can be mistakenly removed, sometimes leaving missing details or an empty result. If the separation remains unreliable, taking a new photo with greater contrast may be more effective than repeatedly correcting the same difficult mask.
Remove the Background and Inspect the Initial Cutout
Run the automatic background-removal process, but treat the first result as a draft. Inspect the product boundary closely before accepting or exporting it.
Look for pale halos, color fringing, jagged boundaries, clipped product edges, and fine details that have disappeared. Check the complete outline rather than reviewing only the most obvious problem area. Thin structures and partially transparent features deserve particular attention because an initially convincing result can still contain defects that become noticeable in its final setting.
Restore Missing Product Areas
If the mask has removed part of the product, use a restore or add-to-mask brush to paint the missing area back into the cutout. Apply the correction selectively around the affected boundary or detail instead of changing the entire mask.
This step is especially important when the product and original backdrop have similar colors or brightness levels. Inspect the restored area again to confirm that the product boundary has returned without also restoring unwanted background pixels.
Refine Jagged Edges Without Blurring the Product
Use restrained smoothing or feathering when a product boundary looks rough or unnaturally jagged. The goal is to reduce visible irregularities while preserving the intended shape of the item.
Avoid applying heavy feathering across the complete cutout. Excessive softening can blur edges that should remain crisp and may make the product look less precisely defined. Review each corrected section closely and keep adjustments limited to areas that genuinely need them.
Remove Halos and Background Color Spill
A cutout may retain a pale outline or a colored rim from its original backdrop. These defects often become more visible when the product is placed against a new background with a contrasting tone.
When the problem is residual edge color, use targeted edge-color decontamination or a similar spill-correction control. Broadly softening the entire outline is not an equivalent fix: it may hide some contamination while weakening otherwise accurate product edges. After making the correction, inspect the affected boundary again on contrasting backgrounds to see whether the rim remains visible.
Handle Fine, Reflective, and Transparent Details
Fine or partially transparent structures require additional inspection and may need selective mask corrections. Examples include hair, fur, lace, mesh, and thin straps. A hard mask can make these features look clipped or unnaturally sharp.
Glass, acrylic, liquids, glossy packaging, metal, and other reflective or translucent materials are also difficult cases. Background removal can damage believable edges, reflections, or internal detail. Review these areas individually rather than assuming that one global adjustment will work throughout the image. Restore missing portions where necessary, remove only confirmed background remnants, and preserve the visible structure that defines the product.
Test the Cutout on Light and Dark Backgrounds
Place the cutout temporarily on both a light background and a dark background. This two-background check can expose pale halos, dark outlines, color contamination, and other edge defects that are difficult to recognize on a transparency checkerboard alone.
Inspect the entire silhouette in both views. A boundary that blends into one test background may stand out clearly against the other. Return to the mask or edge controls if either version reveals a visible defect.
Choose an Export Format for the Intended Use
Use PNG or WebP when the deliverable needs to preserve transparency. If the destination requires an image with a solid background, export a separate solid-background version instead of assuming that the transparent file will be accepted.
Check the destination platform’s current requirements before publication because marketplace rules can change. Confirm the required format and other delivery conditions for the actual destination rather than relying on settings from an earlier project.
Run a Final Product Image Quality Check
Review the exported asset rather than relying only on its appearance inside the editor. The final check should cover both the cutout and the complete product presentation.
Confirm that the mask does not clip the product or retain unwanted background. Review product color, shadows, framing, background consistency, and whether the image accurately represents the item’s condition. Then check the technical delivery details: dimensions, color profile, file format, and file size. Finally, view the image at thumbnail size to make sure the product remains clear and readable in a smaller presentation.
If the export reveals artifacts or technical problems, correct the source and export it again before publication.
Reproducible test case: a real transparent PNG output
On September 13, 2026, eWiki ran one controlled product-scene image through the public remove.bg workflow without logging in. The input is AI-generated test material and contains no personal data or third-party brand.
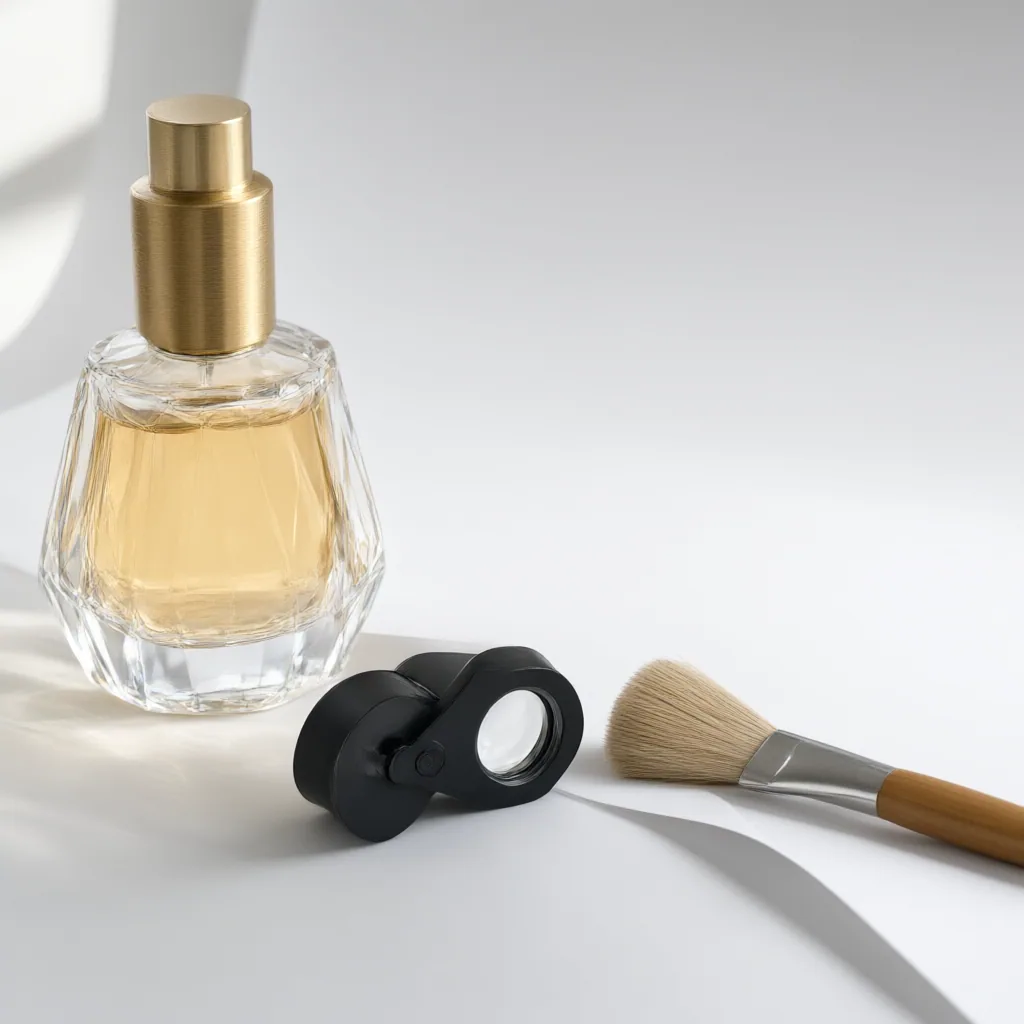
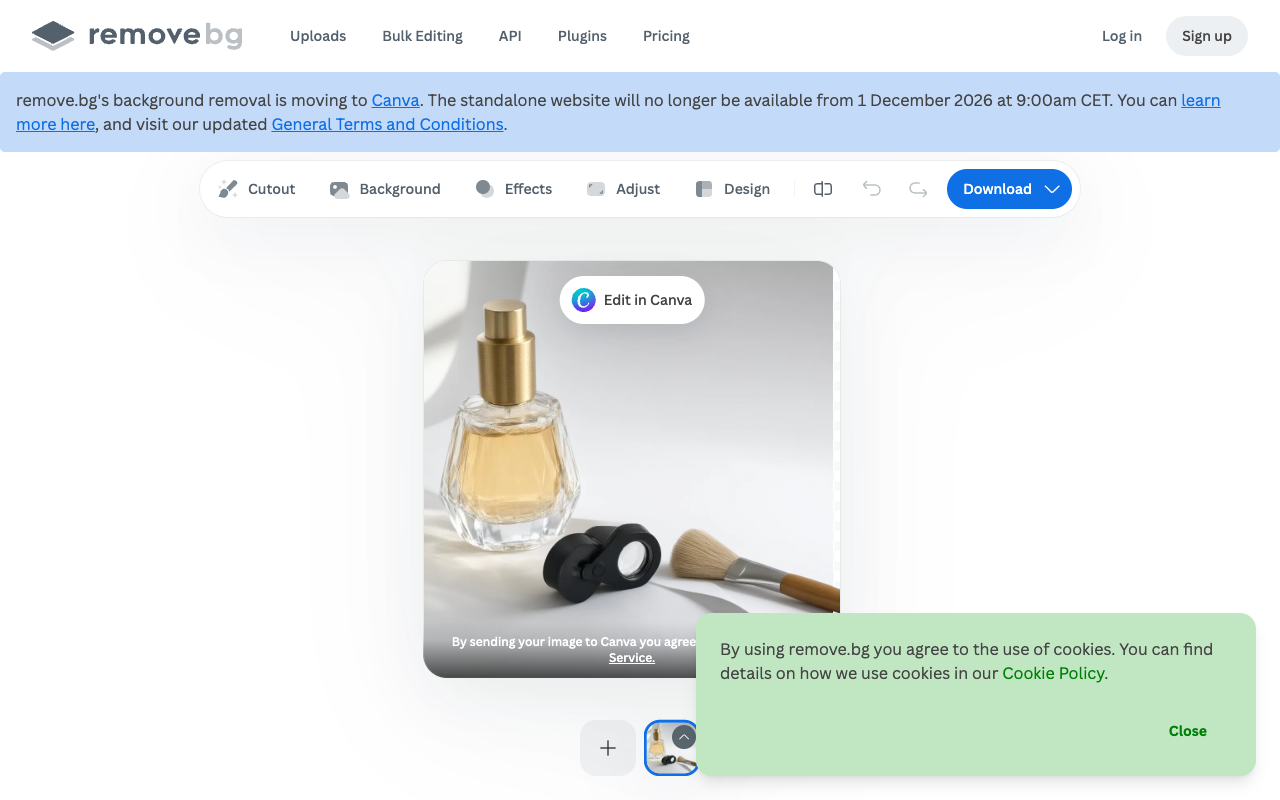
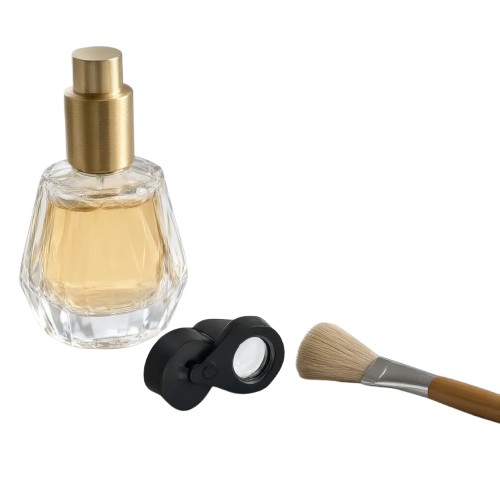
The downloaded result package contained a 500×500 color layer and alpha mask. eWiki applied that returned mask to the returned color layer without retouching. The resulting RGBA PNG contains 197,998 fully transparent, 48,082 fully opaque, and 3,920 partially transparent pixels.
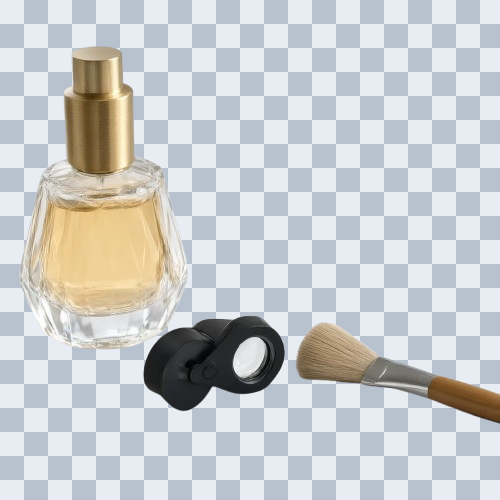
Download the exact transparent PNG sample and inspect it on both light and dark backgrounds.
Watch the 62-second evidence walkthrough
This silent recording shows the published tutorial, its generated on-page navigation, all three evidence-image zoom states, and the exact transparent PNG download entry. It was recorded from the real WordPress preview rather than a mockup.
The sample demonstrates a real end-to-end output, not a general success rate. The perfume bottle’s glass, narrow gaps around the compact, brush hairs, and retained shadow treatment still deserve human review before commercial use.
Service-change note: the live remove.bg page stated that background removal is moving to Canva and that the standalone website will no longer be available from December 1, 2026 at 09:00 CET. Treat this as a time-sensitive control run, not a permanent tool recommendation.
Check a Representative Sample Before Batch Processing
When working with a new lighting setup, product type, or processing preset, review representative outputs before applying the workflow to the full batch. This provides an opportunity to identify mask, color, framing, or export problems before they affect a larger group of images.
Avoid introducing a global correction solely to solve one unusually difficult photo, because that change may degrade images that were already acceptable. After batch processing begins, continue spot-checking completed exports. Apply the full quality-control checklist to at least one representative image, including light- and dark-background tests, before committing to the remaining batch.
Disclosures and limitations
– This article was prepared with AI assistance from the supplied Research Package and approved Content Plan. Its factual guidance is limited to those provided materials. – The underlying sources were tool vendors or specialist editorial sites rather than independent test reports. No tool-specific performance claims, prices, ratings, or product recommendations are presented. – No affiliate product recommendation is included in this article. If commercial links or recommendations are added later, any affiliate or other material relationship should be disclosed clearly. – Destination-platform and marketplace requirements can change; verify the current requirements directly before publishing or processing a full image batch.
Sources
– Background Removal Troubleshooting – Fixing Rough, Soft & Missing Edges — NSS Background Remover – Background Removal QA Checklist for Product Photos — CatalogCut – Background Removal Best Practices for Clean Product Cutouts — Imagic AI – How to Improve Edge Quality When Removing Backgrounds | bgclear — bgclear.ai – How to Remove Backgrounds for Product Photos — image-toolkit — image-toolkit – Clean Edge Image Background Removal with CapCut AI — CapCut – Background Remover for Product Images (2026 Guide) — AcquireConvert
Improve this guide
Report a problem or suggest the next question
Submissions enter a private editorial queue. They are reviewed and deduplicated before any public update or new page is created.