
Remove the existing background with an automatic tool or a color-selection workflow, export the result as a transparent PNG, and inspect it on several background colors before using it.
Choose a Background-Removal Method
Simply converting a JPG to PNG does not create transparency. If the background is baked into the image, you must remove it so those pixels become transparent.
Choose the method that fits the source image:
- Automatic removal: A practical option for users who do not want to trace a logo manually. Picsart documents a workflow that uploads the logo, removes its background, applies a transparent background, and downloads the result.
- Color-based removal: Useful when the logo sits on a solid or nearly uniform background. This approach lets you select the background color and adjust a threshold, providing control over which similar colors are removed.
If the background color also appears inside the logo, examine the preview carefully. A broad threshold may remove details that should remain, while a narrow threshold may leave background pixels behind.
Remove the Logo Background
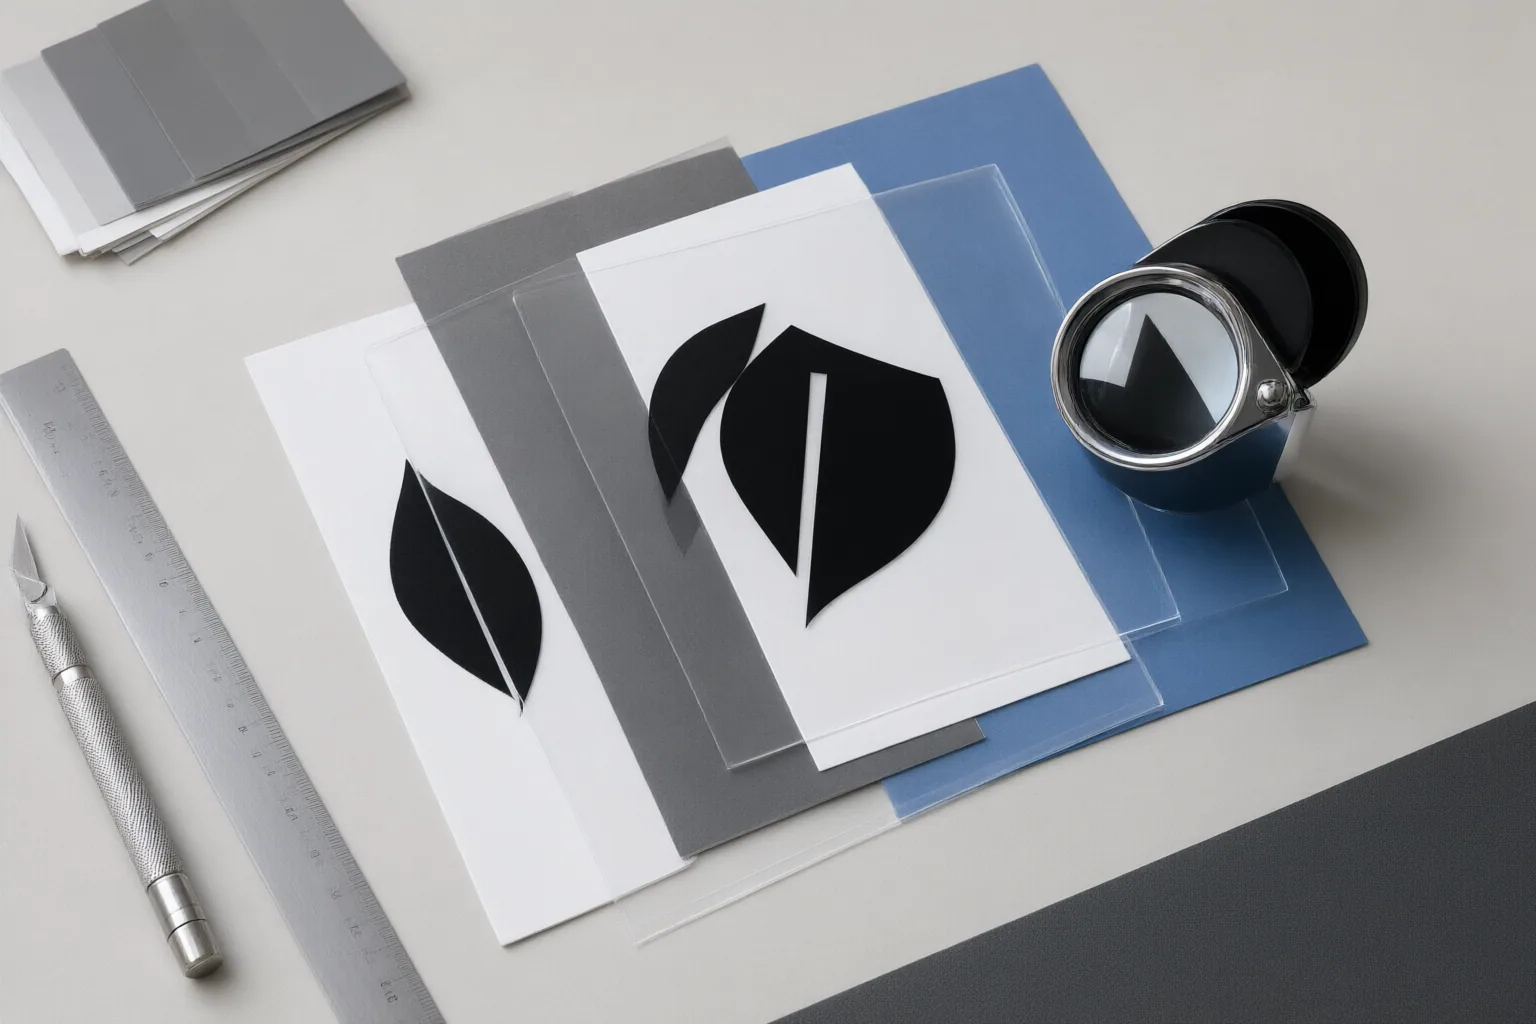
For an automatic workflow, open the background-removal tool and upload the logo. Run the removal process, set the resulting background to transparent, and inspect the cutout before downloading it.
For a color-based workflow:
- Upload the logo as a PNG, JPG, or JPEG file.
- Select the background color that should disappear.
- Adjust the threshold until the background is removed without erasing parts of the logo.
- Apply edge smoothing when available and useful.
- Preview the entire logo, paying particular attention to small text, narrow lines, curves, and enclosed spaces.
- Download the result as a transparent PNG.
Do not assume that a checkerboard shown by an editor guarantees a clean result. It may indicate transparent areas, but the preview should still be checked for missed patches, damaged details, and rough edges. If the tool offers threshold control, make small adjustments and compare the preview after each change.
Export and Inspect the Transparent PNG
PNG can store fully opaque, fully transparent, and partially transparent pixels through transparency data commonly called an alpha channel. Partial transparency matters around curves, antialiased text, shadows, and soft cutouts because it can create smoother transitions than edges made only from fully visible or invisible pixels. PNG is therefore commonly suitable for logos with text, flat colors, sharp edges, and transparent or semi-transparent areas, although its lossless storage can produce larger files than some newer formats.
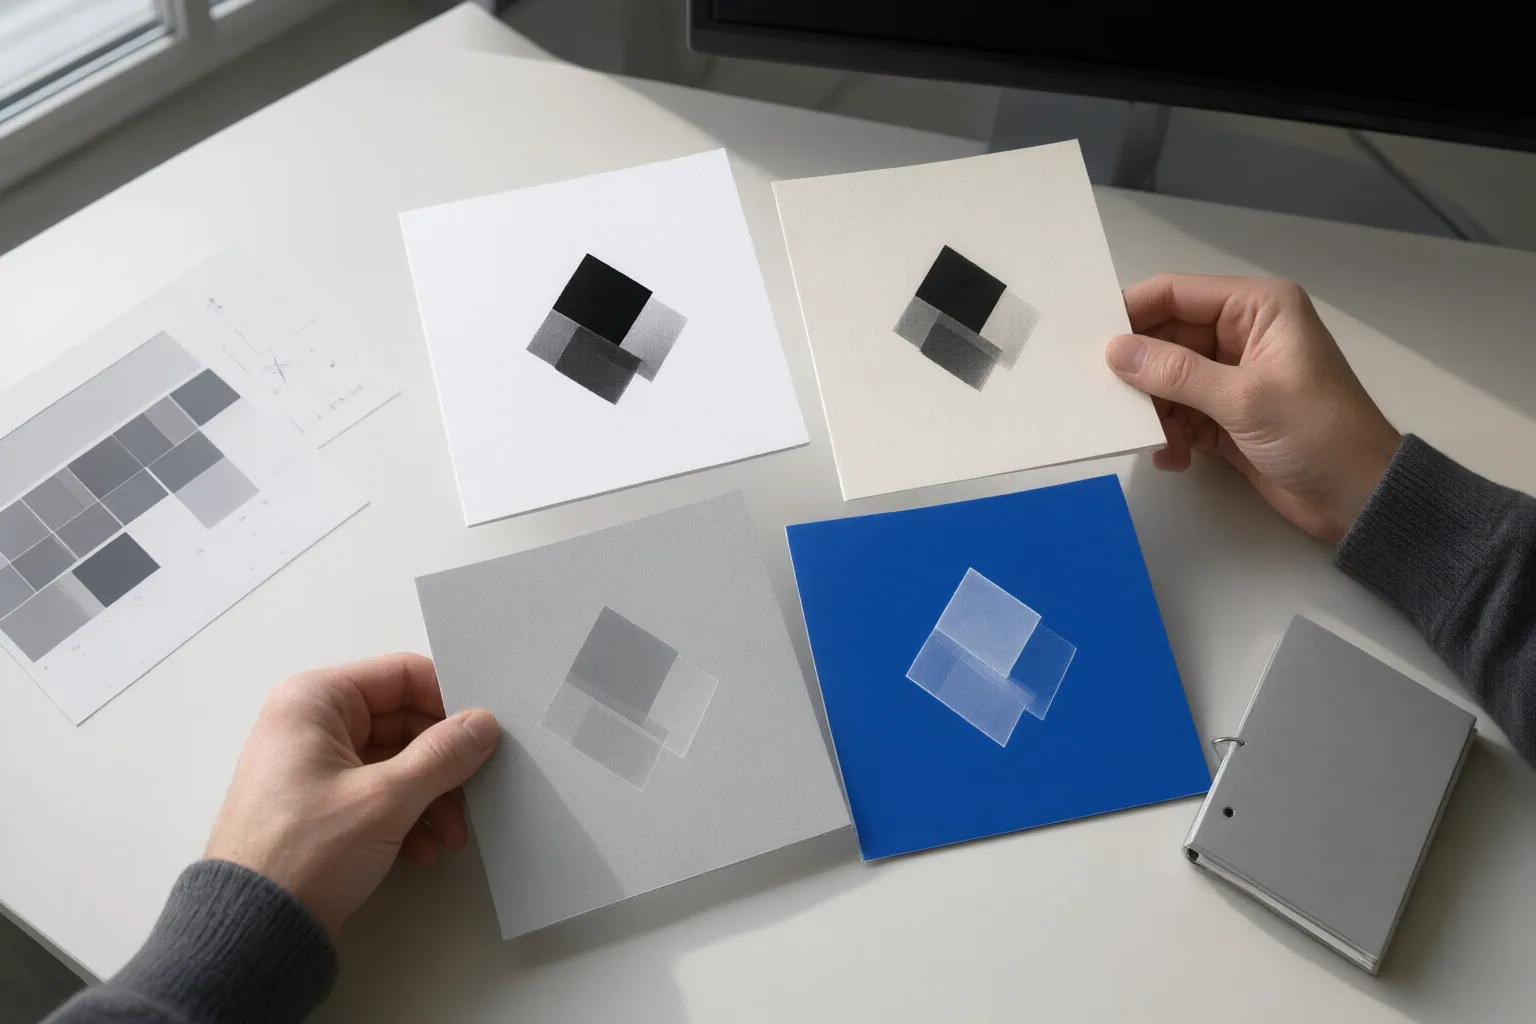
After export, place the PNG over light, dark, and mid-tone backgrounds. Inspect the perimeter at a useful viewing size and look for white halos, dark outlines, jagged edges, missing details, or leftover background pixels. A logo that appears clean on one color may reveal problems on another because semi-transparent pixels blend with whatever is behind them.
White or dark fringes can occur when partially transparent edge pixels retain color from the logo’s original background. If artifacts appear, return to the removal step and refine the threshold or edge smoothing, then export and check the PNG again.
Conclusion
A transparent logo requires three distinct steps: remove the baked-in background, export a format that supports transparency, and verify the edges. Automatic removal offers a straightforward workflow, while color selection with threshold controls can provide more control for solid or nearly uniform backgrounds. In either case, preview the cutout before exporting and make sure important logo elements have not disappeared.
Now export the logo as a transparent PNG and place it over light, dark, and mid-tone backgrounds. If you see a fringe, jagged edge, remaining background, or missing detail, revise the removal threshold or edge smoothing and repeat the check before using the file.
Disclosures and limitations
- This article was prepared with AI assistance using the supplied research sources; tool capabilities and provider-authored claims should be independently verified before publication.
- No product recommendation, price, rating, or affiliate offer is presented. If affiliate relationships are added later, they should be clearly disclosed.
Sources
- Transparent Logo Maker – Small PNG Tools — smallpngtools.com
- PNG Transparency Explained Clearly: Alpha Channels, Edge Issues, and Best Use Cases – PixConverter.io — PixConverter.io
- Remove Logo Background – Make Logo Transparent | Picsart — Picsart
- How PNG Handles Transparent Backgrounds and What to Check Before You Export – PixConverter.io — PixConverter.io
Explore the complete topic guide
Improve this guide
Report a problem or suggest the next question
Submissions enter a private editorial queue. They are reviewed and deduplicated before any public update or new page is created.