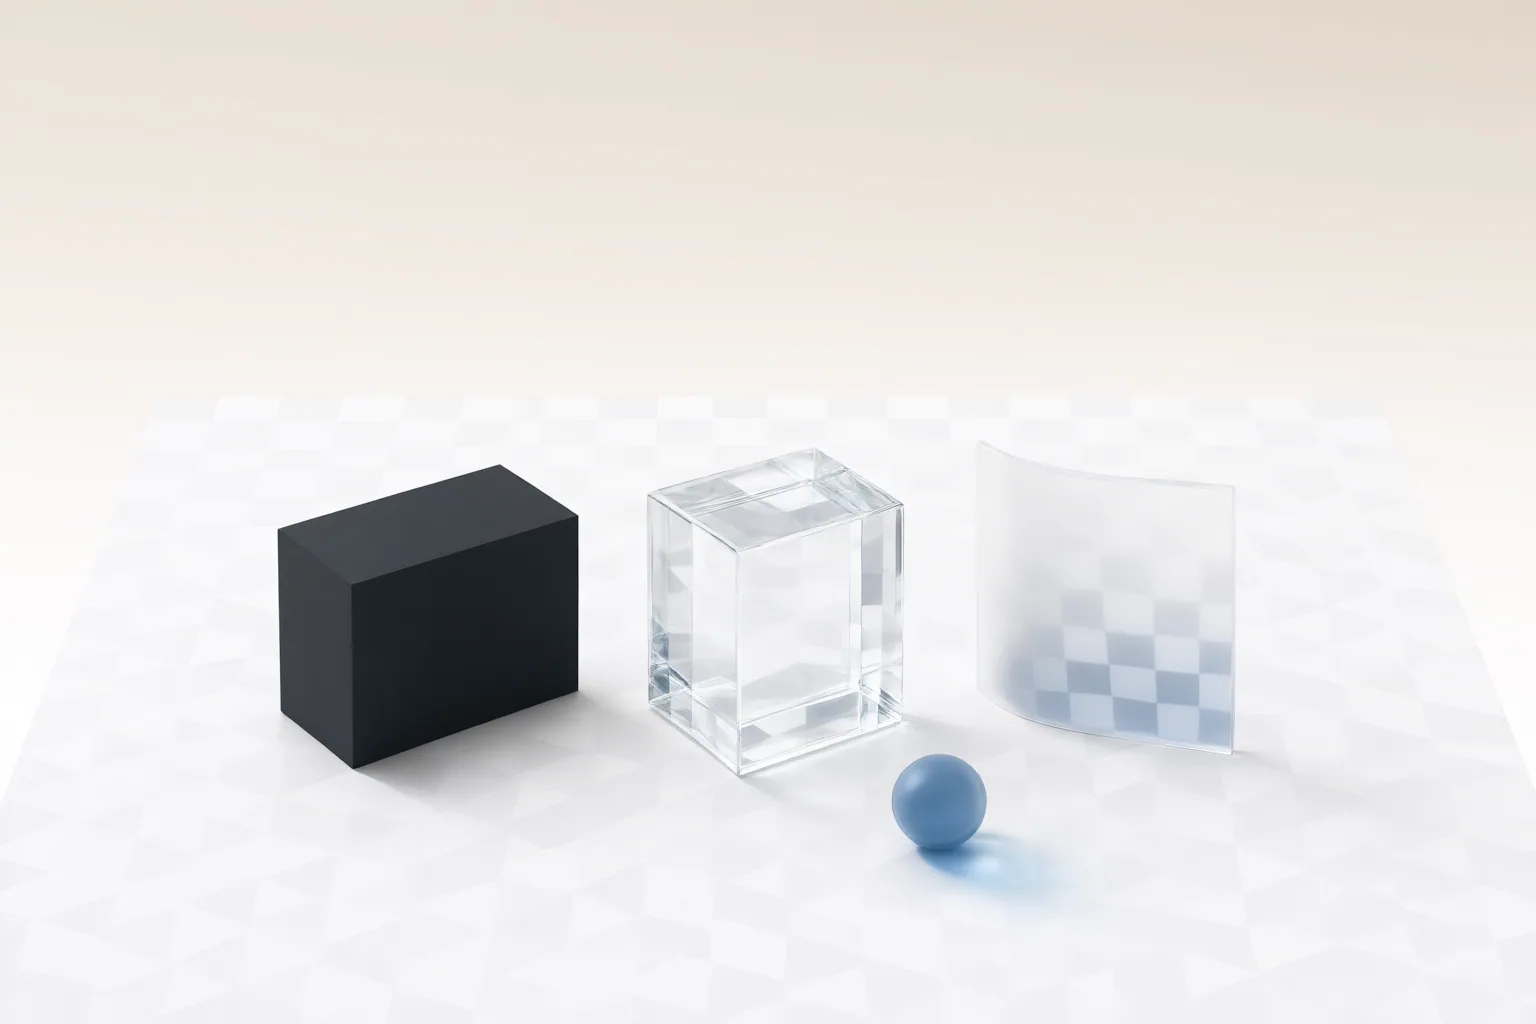
WebP can store fully or partially transparent pixels through an alpha channel. To create a transparent WebP, remove the background, preview the affected pixels, refine the selection and edges, and then export in WebP or PNG according to the destination’s format support.
How a WebP Transparent Background Works
A WebP image can contain an alpha channel that determines the opacity of each pixel. An alpha value of 0 makes a pixel fully transparent, 255 makes it fully opaque, and values between those endpoints create partial transparency. This allows an object to appear without a solid rectangular background while retaining softer, partly transparent edge pixels.
Transparent backgrounds are useful for logos, icons, stickers, product images, signatures, overlays, and elements placed into layered compositions. The visible checkerboard used by many editing tools is typically a way to display transparency; it is not necessarily part of the exported image itself.
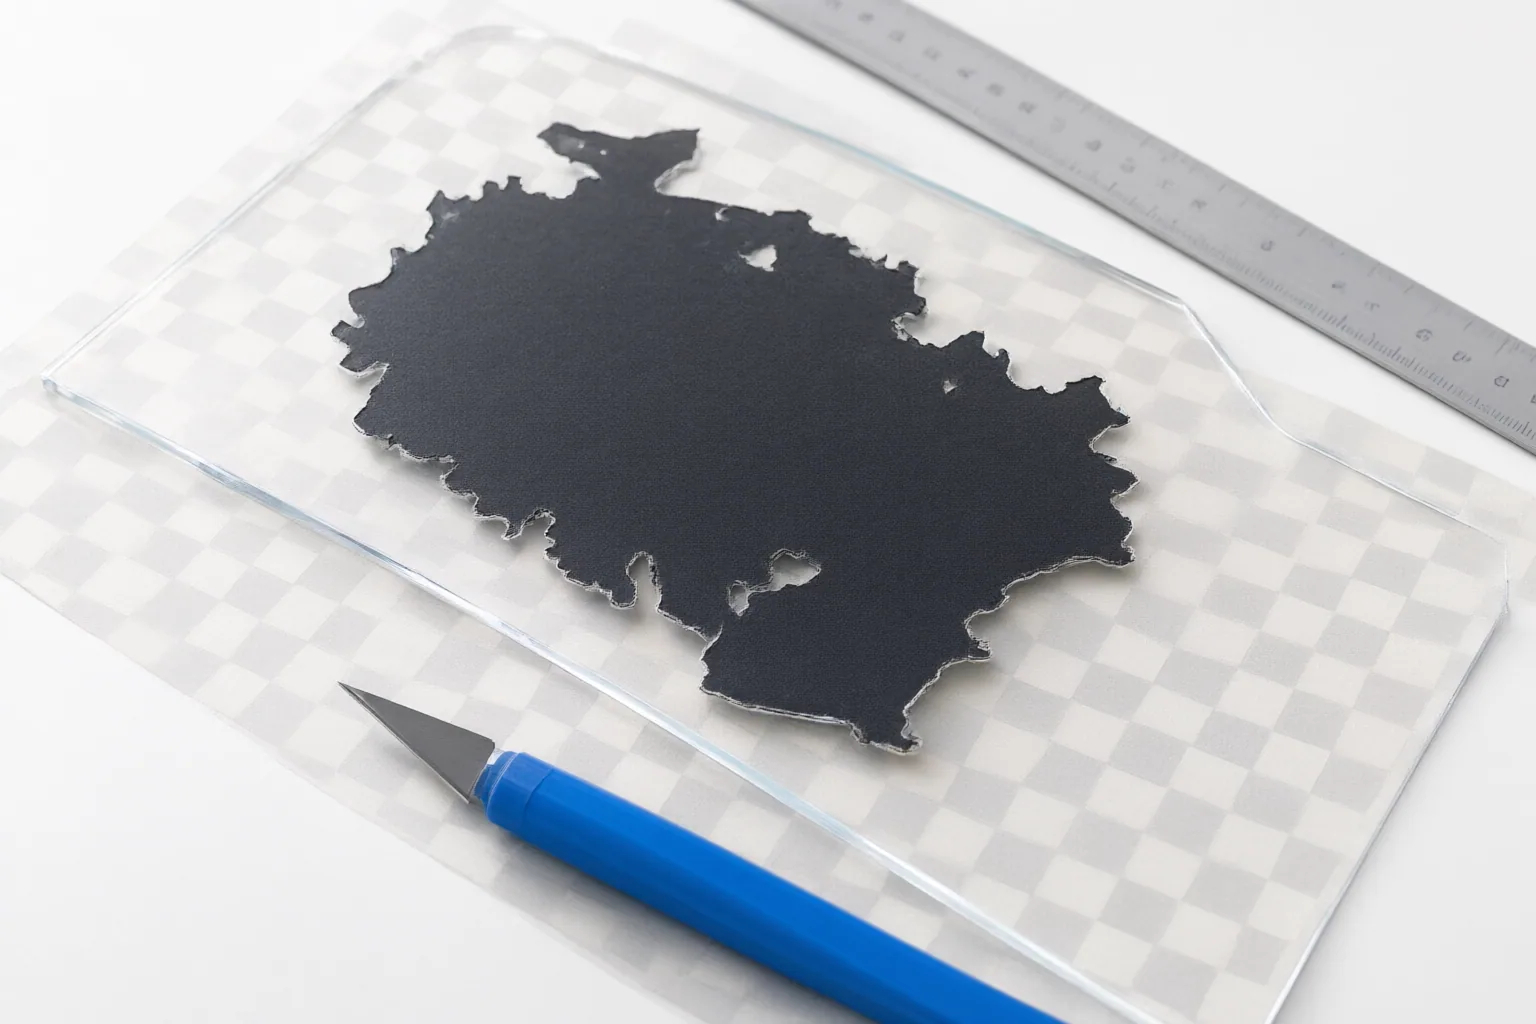
How to Create and Check a Transparent WebP
The workflows described by the supplied tool sources follow a common sequence:
- Upload the WebP image.
- Process or remove its background.
- Preview the transparent result.
- Refine areas that were removed incorrectly or left behind.
- Download the edited file.
For a mostly uniform background, one available method is to select its color and remove matching shades. A sensitivity control can widen or narrow the range of similar colors affected. Higher sensitivity may capture more background variation, but it can also affect foreground pixels with related colors. Lower sensitivity can protect those details while leaving more background to clean up.
Before export, use a transparency-mask preview when available. It distinguishes transparent areas from opaque ones, making unintended holes or remaining background pixels easier to identify before downloading the final asset.
How to Preserve Foreground Details and Smooth Edges
Foreground objects sometimes contain colors similar to the background. If color-based removal affects those details, restricting the operation to matching regions connected to the image boundary can help. This targets the outer background while preserving similarly colored areas enclosed within the subject.
Sensitivity should be adjusted incrementally. If parts of the subject disappear, reduce the range of colors being removed or restore the affected regions during refinement. If a background halo remains, broaden the range carefully and inspect the result again.
Background removal can also produce a hard or uneven outline. Edge-refinement or anti-aliasing controls can soften the transition between transparent and opaque pixels. Review fine features and the entire subject boundary against the transparency preview before exporting; fixing selection and edge problems is easier before the edited file is finalized.
Conclusion
Keep the result as WebP when the destination accepts WebP and transparency is preserved. Convert it to PNG when an editor, publishing system, or destination platform does not accept WebP. PNG also supports alpha transparency, and the supplied conversion source describes preserving both transparent and semi-transparent areas during WebP-to-PNG conversion.
Do not choose JPEG when the transparent areas must remain: JPEG does not support transparency, so conversion can replace those areas with a solid background. Because acceptance depends on the destination, check its supported formats before choosing the output. As a final step, preview the transparency mask, inspect the subject’s edges and preserved details, and then export as WebP—or convert to PNG when WebP is not accepted.
Disclosures and limitations
- This article was prepared with AI assistance using only the supplied research package. Its factual claims are synthesized from vendor or tool pages observed on September 18, 2026; those sources are not independent technical standards, and no product testing, pricing, ranking, or endorsement is claimed.
Sources
- WebP Background Remover (Remove WebP Background Online) — erase.bg
- Convert WebP to PNG with Transparent Background – Free | PixConvert — PixConvert
- Create a Transparent WebP — onlinetools.com
- WebP Background Remover – Remove WebP Background Online — removerai.io
- Instantly Remove Background from WEBP Image — Free Online FileFormat apps
- Transparent WebP Generator | Create Transparent WebP — easyprotools.com
Explore the complete topic guide
Improve this guide
Report a problem or suggest the next question
Submissions enter a private editorial queue. They are reviewed and deduplicated before any public update or new page is created.