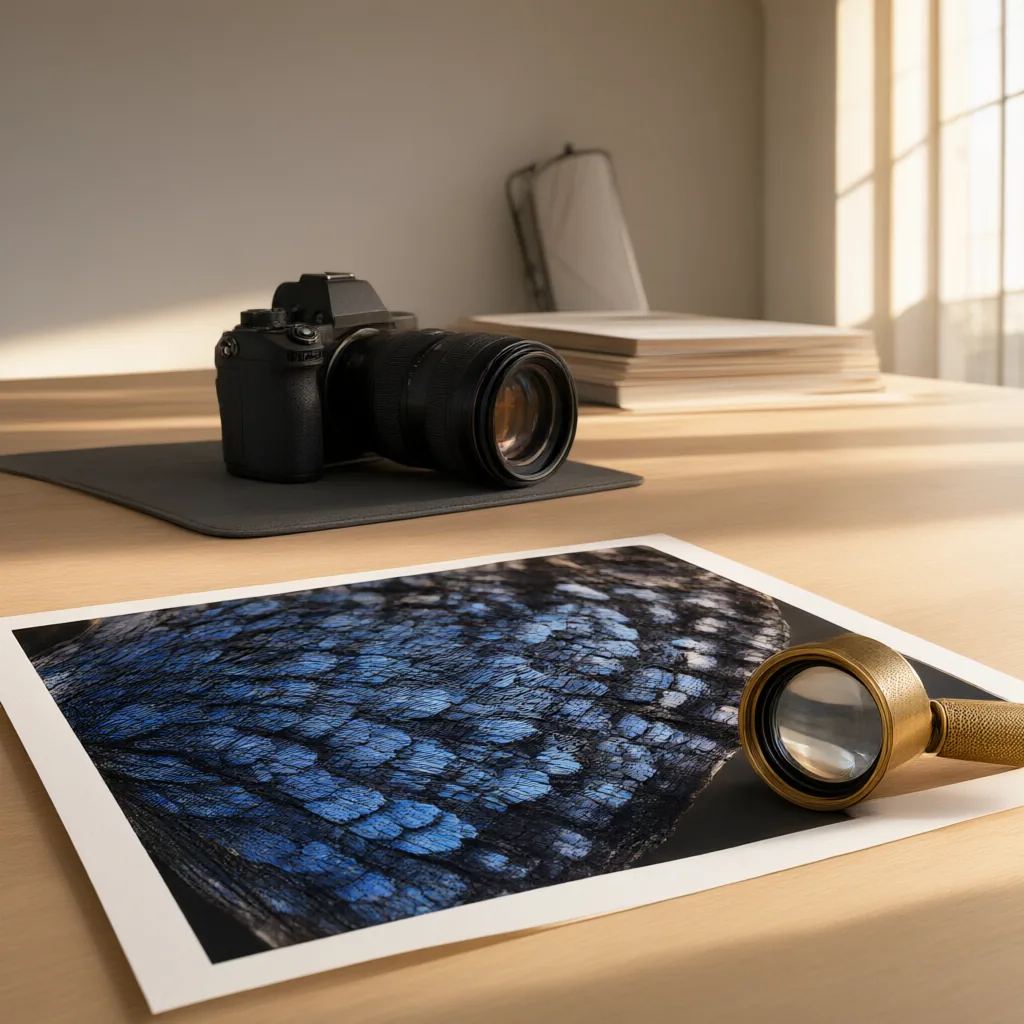
Upscaling can make an image larger and apparently sharper, but it can also alter meaningful details. Use this controlled workflow to compare outputs and inspect text, logos, faces, edges, textures, patterns, and gradients before approving an enlarged image.
What Image Upscaling Changes—and What It Cannot Recover Reliably
Image upscaling increases an image’s pixel dimensions. That can produce a larger, sharper-looking file, but it does not guarantee that the output contains more faithful detail. AI-based methods may reconstruct plausible content that was not present in the source, so apparent clarity should not automatically be treated as recovered truth.
This distinction matters whenever accuracy is important. An output may look polished overall while changing a letter, facial feature, edge, or fine texture. Judge an upscale by whether it preserves meaningful content, not simply by whether it appears crisp at first glance.
Different scaling methods can also leave different visual signatures. Nearest-neighbor scaling may create stair-step edges, bilinear interpolation may soften detail, and Fourier-based interpolation may introduce ringing. AI reconstruction can create convincing-looking detail, but plausibility alone does not establish fidelity to the original.
Choose Test Images That Expose Upscaling Problems
Start with images that represent the material you actually need to enlarge. A useful test set includes faces, fine text, hair, fabric, foliage, repeating patterns, solid-color areas, and gradients. Include genuinely low-quality sources as well, because clean inputs alone will not reveal how an approach handles difficult material.
Each subject exposes different weaknesses. Faces can reveal artificial or oversmoothed skin. Hair, foliage, and fabric make it easier to spot lost or invented texture. Fine text exposes malformed strokes and spacing, while repeated patterns can reveal duplication or deformation. Solid colors and gradients help bring attention to subtle visual defects that may disappear in a small preview.
If your work includes several image categories, do not rely on one convenient sample. Select representative files containing the details that must remain accurate in the final use. This makes the comparison relevant to your own images rather than to a narrow demonstration case.
Create a Controlled Upscaling Comparison
A useful comparison changes as few variables as possible. Process the same source image with every approach, use the same scale factor, and keep enhancement settings as comparable as the available controls permit. If face enhancement or similar processing is involved, apply equivalent settings or clearly separate those results from outputs created without it.
Different source files or enlargement ratios can make one result appear better for reasons unrelated to the scaling method. Additional enhancement can also affect sharpness, facial detail, and texture. Keeping these variables aligned makes visible differences easier to interpret.
Use a repeatable sequence:
1. Select one representative source image. 2. Choose one scale factor and retain it across all outputs. 3. Align enhancement and face-processing settings as closely as possible. 4. Keep each result available beside the original for inspection. 5. Repeat the comparison with other representative image categories when needed.
The objective is not to identify a universal winner. It is to determine how the available approaches behave on your source material under comparable conditions.
Inspect Every Output at 100% Zoom
Reduced previews can conceal artifacts and fine differences, so inspect each output at 100% zoom. Begin with an overall view to understand the image, but make the approval decision only after examining important regions at full size.
Move through the image systematically rather than checking only the most prominent subject. Compare the enlarged result with the source while examining text, faces, edges, textures, patterns, gradients, and other areas where exact preservation matters. A result that looks sharper from a distance may reveal halos, altered strokes, artificial texture, or distorted forms when viewed at full size.
Use the same inspection order for every output. This reduces the chance of overlooking a problem in one result while scrutinizing another more closely. If an image contains commercially or personally meaningful details, identify those regions before reviewing the upscale and give them explicit attention. Overall sharpness is useful only when it does not conceal changes to the content that must remain accurate.
Check Text, Logos, and Brand Geometry
Text and logos deserve close inspection because an upscale may preserve their general appearance while changing their exact construction. Compare the enlarged output with the source at 100% zoom and examine individual letterforms, spacing, thin strokes, glyph clarity, and logo geometry.
For text, check whether letters remain distinguishable and whether narrow strokes have become thicker, softer, broken, or reshaped. Look for changed spacing and for sharpening artifacts around character edges. A word can appear correct in a thumbnail even when one or more glyphs have been altered.
For logos and other branded shapes, compare outlines, proportions, corners, curves, and internal spaces. Watch for halos, ringing, jagged boundaries, or softened geometry. Packaging, screenshots, and branded assets combine multiple high-risk elements, so inspect both the lettering and the surrounding shapes rather than approving them based on their overall resemblance.
Treat any meaningful alteration as a fidelity issue even if the output looks cleaner. Added sharpness does not compensate for inaccurate letters or warped brand geometry.
Check Faces, Hair, Edges, and Fine Textures
Portraits and finely textured subjects can look impressive at first glance while containing significant changes. On faces, look for oversmoothed or plasticky skin, invented detail, distorted forms, and changes to texture, expression, or identity cues. Compare important features directly with the source rather than assuming that a more detailed-looking face is more accurate.
Inspect hair at 100% zoom. Fine strands can become blurred, merged, excessively sharp, or replaced by artificial texture. Apply the same scrutiny to fabric and foliage, where dense detail can hide repeated structures, invented texture, noise, or lost fine features.
Next, trace strong edges and small contours. Reported upscaling defects include jagged edges, ringing, excessive sharpening, and edge halos. These may be particularly visible where a dark object meets a light background or where narrow lines and small forms need to remain distinct.
Finally, compare areas with naturally soft detail. An output does not need every region to look aggressively sharp. Excessive processing can produce unnatural boundaries or textures. Assess whether the upscale preserves the character and structure of the source instead of rewarding sharpness by itself.
Check Patterns, Gradients, and Low-Light Areas
Repeating patterns, gradients, and low-light regions can contain subtle defects that are easy to miss in thumbnails. Inspect repeated elements one by one and compare their spacing, shape, and continuity with the source. Look for duplicated or deformed structures, ringing, jagged edges, artificial texture, blur, or unexpected noise.
In gradients and solid-color regions, scan across the entire area at 100% zoom rather than checking a single point. These relatively simple regions can make processing artifacts more visible. In low-light areas, compare whether faint forms and textures remain consistent or have been blurred, sharpened excessively, or replaced by artificial-looking detail.
Fine texture and repetition can make manual review slow, so use a fixed path through the image. Check corners as well as central subjects, and revisit transitions between smooth and detailed regions. The goal is to determine whether the enlargement preserves the original visual structure, not merely whether the most noticeable part of the image appears sharper.
Match the Scaling Approach to the Image Type
Scaling approaches have different tradeoffs, and the most suitable behavior depends on the image. Nearest-neighbor scaling can produce stair-step edges. Bilinear interpolation can soften details. Fourier-based interpolation can introduce ringing. These differences should be evaluated against the properties that matter in the source rather than against a general preference for sharpness.
Simple geometric imagery may be suitable for vectorization, while complex photographs are poorly suited to that approach. Pixel art has different requirements again: specialized pixel-art algorithms prioritize sharp edges, but they may deform shapes or remove small details. Those risks matter when the original arrangement of pixels carries visual meaning.
For photographs, examine natural forms, faces, and textures closely because reconstructed detail may be plausible without being faithful. For simple graphics, prioritize accurate geometry, spacing, and clean edges. For pixel art, verify that small shapes and distinctive details survive the enlargement.
No scaling behavior should be treated as universally appropriate. Test the relevant approach on representative material and judge the result according to the image category and the details that must remain intact.
Use a High-Resolution Reference When Available
If a high-resolution reference exists, use it to create a more direct accuracy comparison. Downscale that reference, upscale the reduced version, and then compare the reconstructed output with the original high-resolution image. This makes it possible to examine where detail was preserved, lost, altered, or plausibly invented.
Keep the comparison controlled by using the same reduced source and scale factor for each output. Inspect both the full image and high-risk regions such as text, faces, edges, and textures. The original high-resolution reference provides evidence about what those regions actually contained before downscaling.
Structural metrics can assist an evaluation, but they do not capture every perceptual issue. Visual inspection remains necessary because a numerical or structural comparison may not fully reflect altered letterforms, unnatural facial texture, distracting halos, or other meaningful defects. Use the reference and any supporting measurements together, while retaining full-size visual review as part of the decision.
Final Approval Checklist for an Upscaled Image
Approve an upscaled image only after checking both its apparent quality and its fidelity to the source. Results can vary with image content, scale factor, settings, and processing approach, so the decision should be based on representative source files and the intended use.
Use this final checklist:
– Confirm that comparison outputs used the same source image and scale factor. – Confirm that enhancement and face-processing settings were made as comparable as possible. – Inspect every candidate at 100% zoom rather than relying on reduced previews. – Verify text, letter spacing, thin strokes, logos, and exact brand geometry. – Check faces for oversmoothing, invented detail, distorted forms, or changed identity cues. – Examine hair, fabric, foliage, edges, patterns, gradients, solid colors, and low-light regions. – Record blur, noise, halos, ringing, jagged edges, repeated patterns, artificial texture, or lost detail. – Use a high-resolution reference when one is available, while retaining visual inspection.
Upscale one representative image with consistent settings and approve it only after every detail that must remain accurate has been checked.
Disclosures and limitations
– This article was prepared with AI assistance from the supplied research package and approved content plan. Material claims are attributed through the source IDs attached to each section and FAQ. – The supplied sources are secondary web publications, including vendor-authored material and a Wikipedia comparison page with citation-needed notices. They support a cautious inspection workflow but do not establish independent product rankings, benchmark winners, or universal performance claims. – No product records, prices, ratings, review counts, or product recommendations were supplied. No affiliate product recommendation is presented; any future commercial relationship or affiliate link should be disclosed before publication. – Image quality can vary by source content, model, scale factor, and settings. Readers should verify results on their own representative files before approving an upscaled image.
Sources
– AI Model Comparison for Image Upscaling in 2026 — myimageupscaler.com – Upscaling Artifacts: How They Affect AI Image Verification — detectaiimage.com – Compare AI Upscaler Results: Artifacts, Detail, and Sharpness — dualview.ai – Comparison gallery of image scaling algorithms – Wikipedia — en.wikipedia.org – How To Detect When Ai Image Upscaling Has Introduced Phantom Textures Not Present In The Original — CommercialToolry – AI Upscaling vs Traditional Methods: Why AI Wins Every Time — vectosolve.com
Improve this guide
Report a problem or suggest the next question
Submissions enter a private editorial queue. They are reviewed and deduplicated before any public update or new page is created.