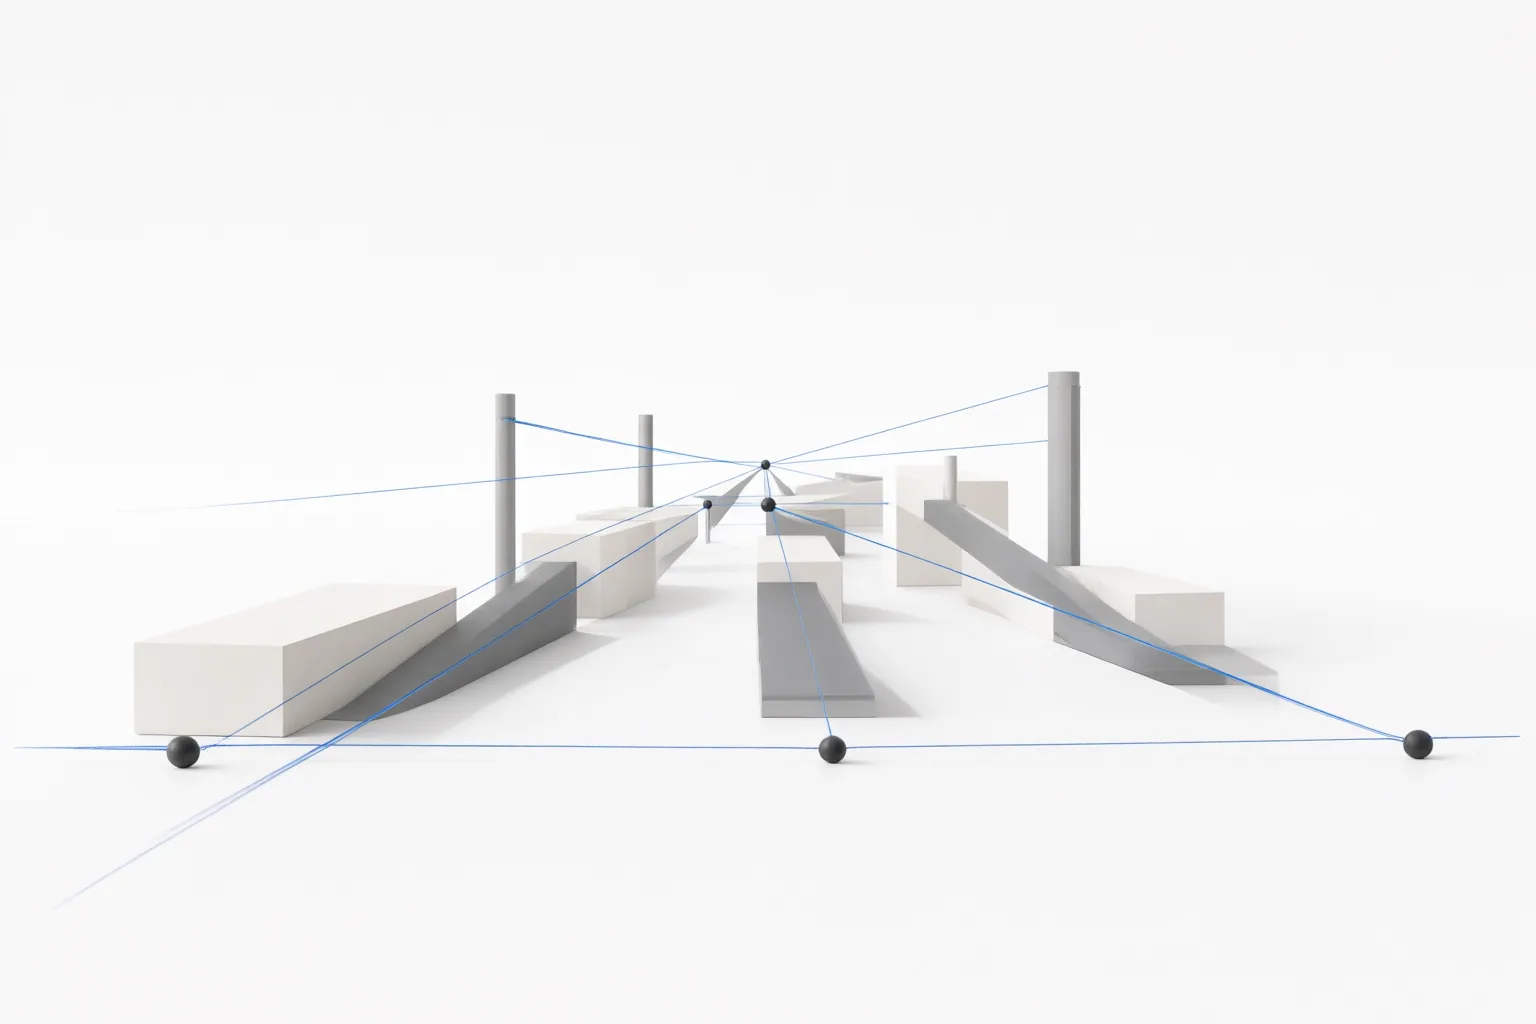
Test camera-direction adherence by defining one observable movement, keeping the image, scene, style, framing, and available settings constant, then comparing multiple clips for the requested path, perspective, framing, and endpoint. Treat the results as a repeatable evaluation—not a product benchmark—because camera prompts guide generation but do not guarantee exact motion.
Define the Camera Movement Before Testing
Start with a physical definition of the requested movement and decide what a successful clip should show. A pan rotates the camera horizontally from a fixed position. Tracking instead changes the camera’s position alongside or relative to the subject.
Distinguish dolly movement from zoom as well. A zoom changes focal length without moving the camera, while a dolly moves the camera through space, changing perspective and the depth relationships among objects. Subject size alone is therefore not enough to identify the motion. For a dolly test, look for the expected perspective and depth changes; if the subject merely grows while those relationships remain stable, the result may be an optical zoom instead.
Record the expected camera position, direction, framing, perspective change, and endpoint before generating anything. These criteria make adherence observable and reduce the temptation to accept any visually active result as correct.
Build a Controlled Camera-Movement Test
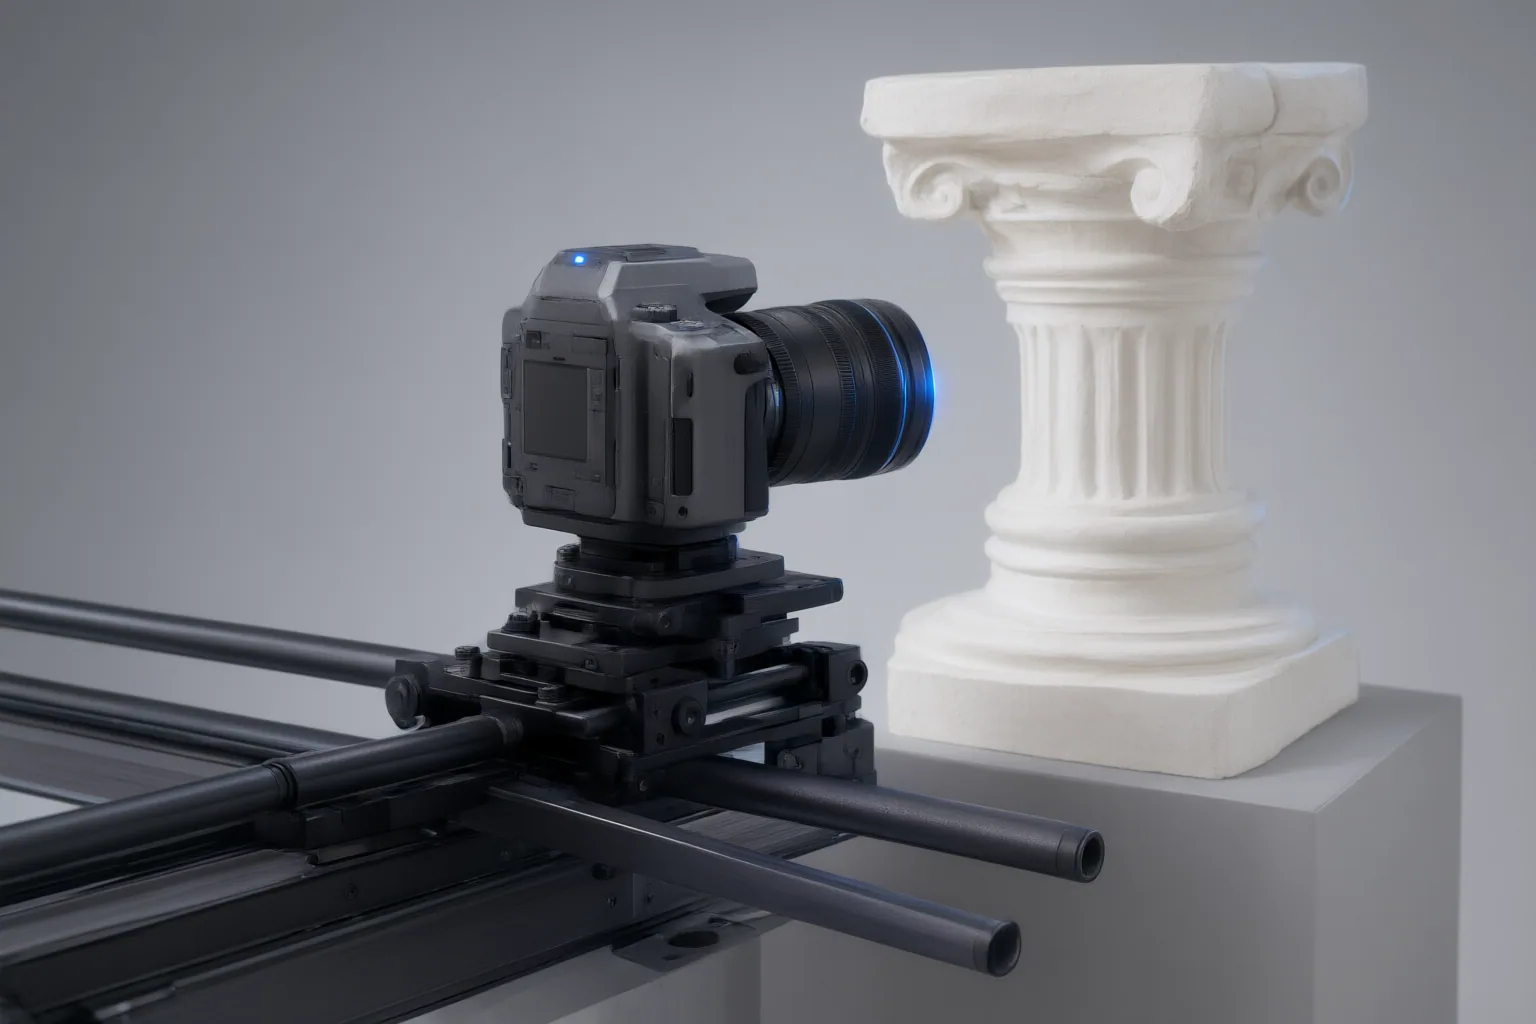
Use the same input image, subject, scene description, visual style, framing, and other available settings throughout a test. Change only the camera instruction. Keeping these variables stable makes it easier to connect differences in the resulting clips to the requested movement rather than to simultaneous prompt changes.
Begin with one primary movement. Combining incompatible directions in a short shot can create conflicting instructions and make it difficult to determine whether the generator can perform any single movement cleanly. Avoid broad phrases such as “cinematic shot” or “dynamic camera movement,” which leave the intended path open to interpretation.
Write the instruction in physical terms. State how the camera should move, what should remain fixed, the intended visual effect, and where the camera or framing should end. For example, a test specification could require horizontal rotation from a stationary camera position while maintaining the subject’s framing, followed by a clearly described ending composition. Apply the same template to every comparable generation and retain the prompt and relevant settings with each result.
Review Clips for Zoom, Drift, and Adherence
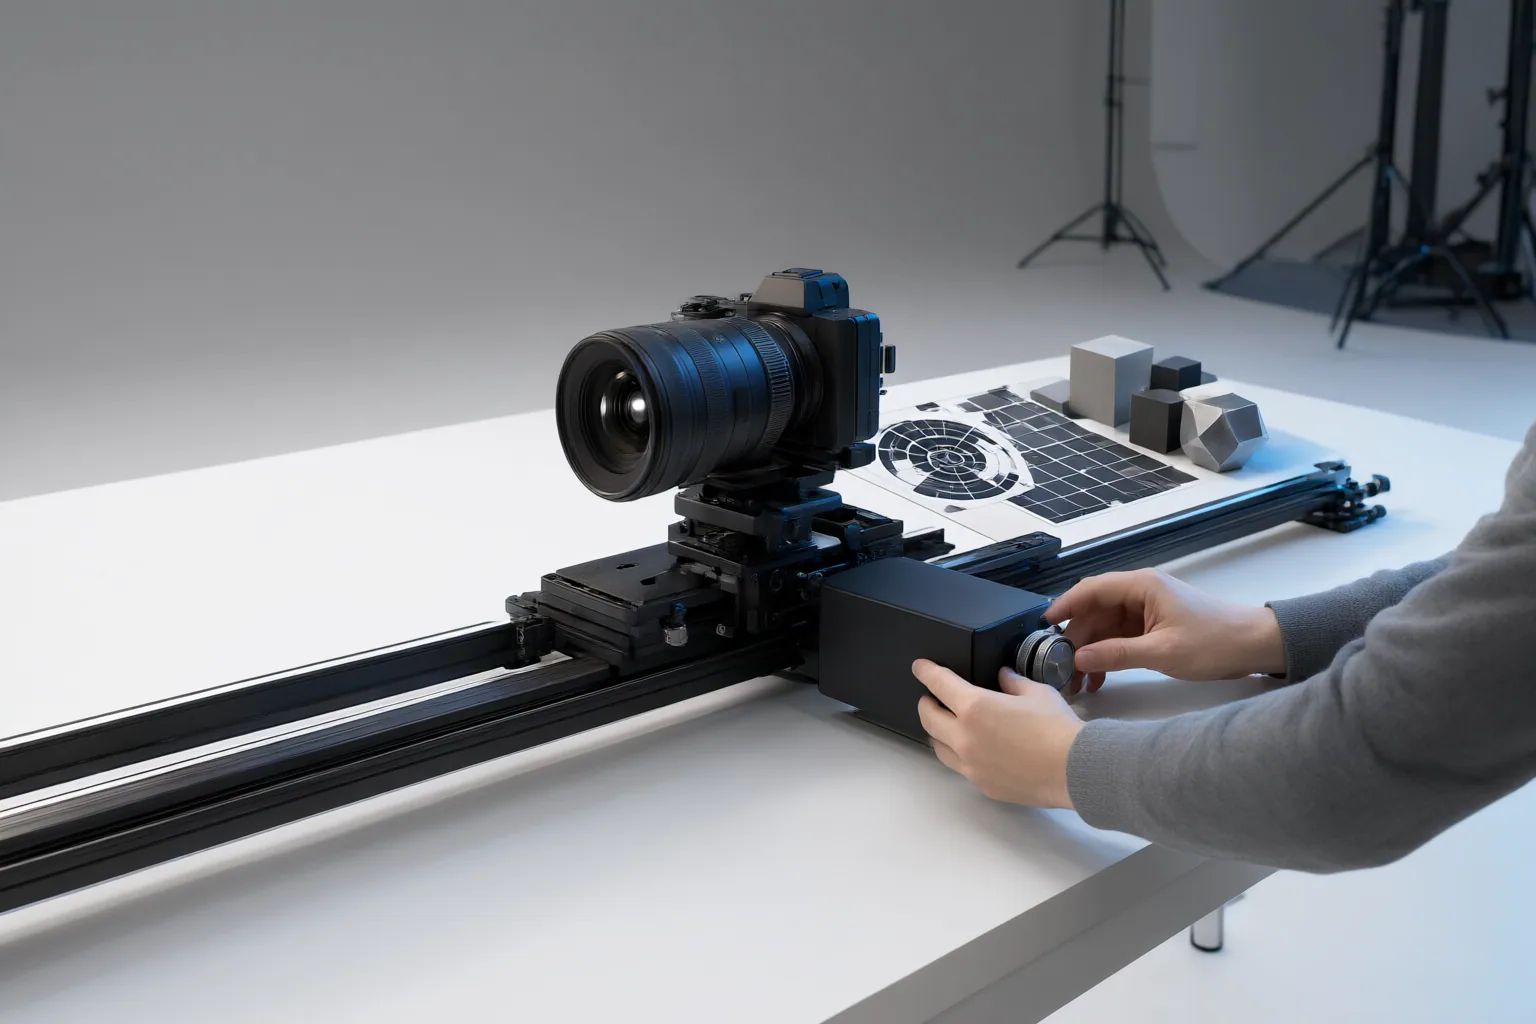
Generate multiple comparable clips rather than drawing a conclusion from one output. Camera-language prompts provide directional guidance, not exact control, and results can vary with the source image and provider.
Review each clip against the criteria established before generation:
- Trace the camera path and note whether it follows the requested direction.
- Check whether elements designated as fixed actually remain fixed.
- Compare the subject’s size and position from beginning to end for unrequested framing drift.
- Inspect perspective and depth relationships to distinguish a physical dolly from a focal-length zoom.
- Compare the final frame with the requested endpoint.
- Record any unrequested translation, zoom, rotation, or gradual drift.
Use the same review fields for every clip. Consistent records reveal whether a deviation recurs across outputs or appears only once. If movement, identity, or framing is wrong, revise the physical instruction, generate again under the same controlled conditions, and compare the new set with the earlier results.
Conclusion
A useful camera-motion test isolates one precisely defined movement, holds other available variables constant, and evaluates multiple clips against the same path, framing, perspective, and endpoint criteria. It can expose unwanted zoom or drift, but it is not a controlled cross-generator benchmark or proof that one product performs better than another.
Choose one movement now, write a physically specific instruction, generate comparable clips, and log whether each result follows the requested path, preserves the intended framing, and reaches the defined endpoint. Repeat the same template for every movement or generator you need to evaluate.
Disclosures and limitations
- This article was prepared with AI assistance from the supplied research package. Its movement definitions and testing guidance synthesize the listed sources; no independent product benchmark or measured adherence study was provided.
- Some supplied sources are tool vendors or prompt-library publishers rather than independent testing organizations. No products are recommended, and no prices, ratings, affiliate offers, or performance rankings are presented.
Sources
- Camera Movements: Free AI Video Prompt Library — Free AI Video Tools
- AI Camera Movement Generator for Image-to-Video — Melies AI
- The Complete AI Camera Prompt Guide: 77 Shots and Movements — Kapwing Resources
- 20 AI Video Camera Movement Prompts for Cinematic Results — dreamprompts.net
- AI Camera Movements: 40+ Moves with Examples — Starrd
Improve this guide
Report a problem or suggest the next question
Submissions enter a private editorial queue. They are reviewed and deduplicated before any public update or new page is created.