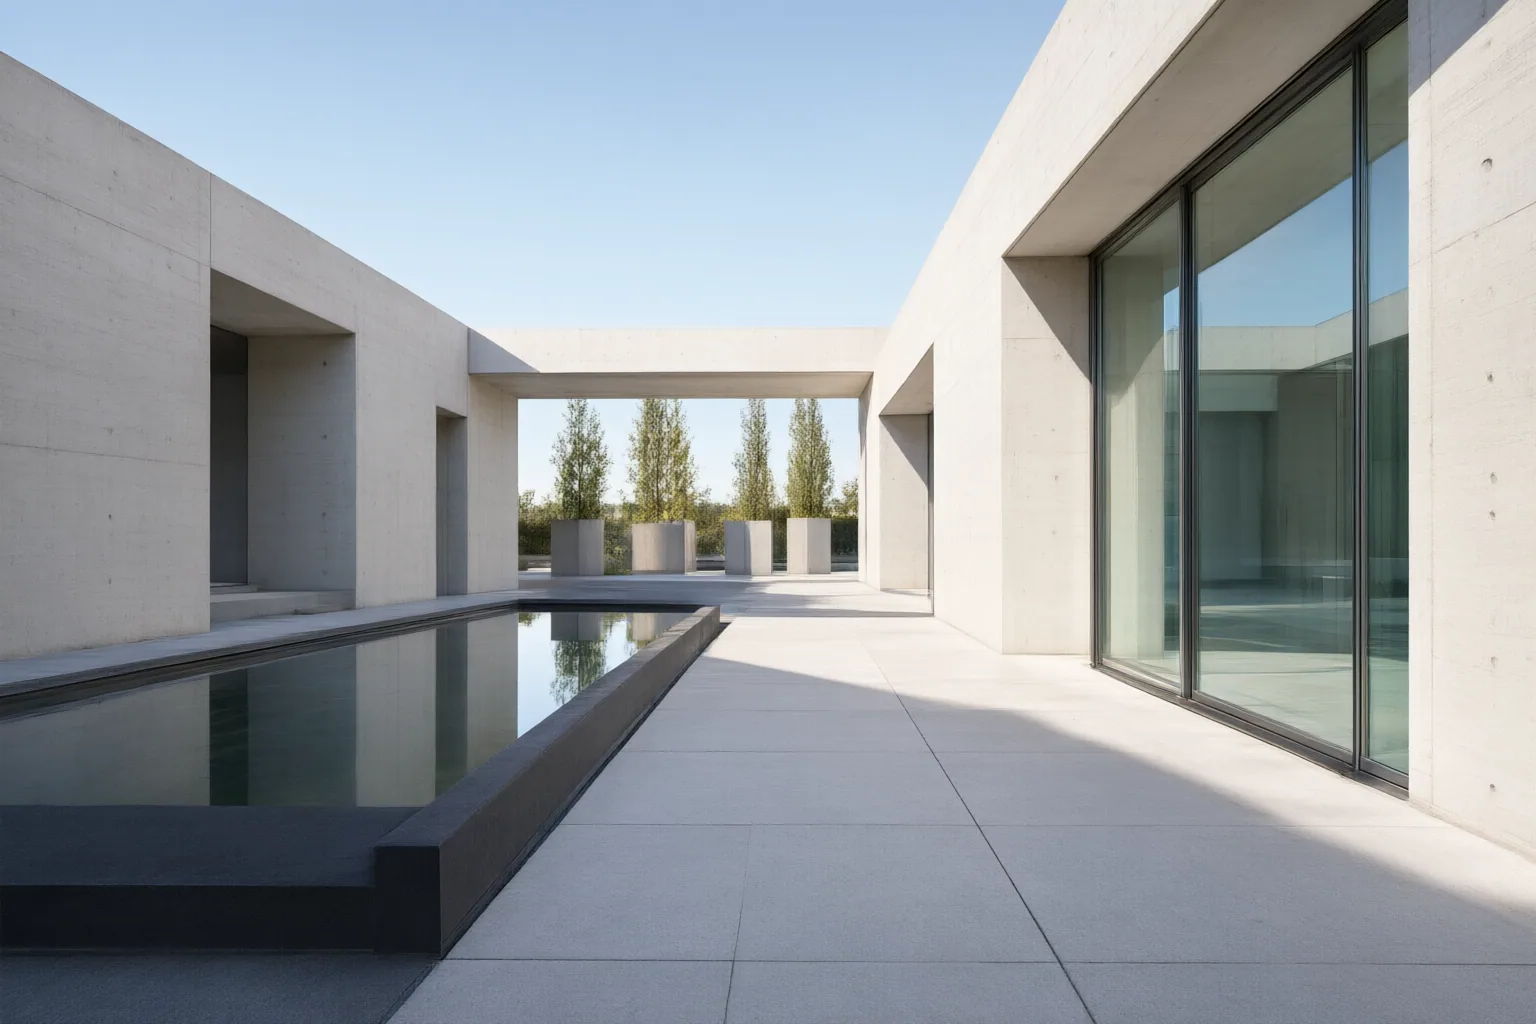
Test AI outpainting tools with controlled, overlapping expansions, then review the results at full size for broken perspective, visible seams, repeated patterns, and changes in lighting, texture, blur, or color.
Set Up a Controlled Outpainting Test
Outpainting generates content beyond an image’s existing borders; inpainting instead fills or replaces areas within the image. Because an outpainting model has less surrounding context, extensions can be more vulnerable to discontinuities in perspective, color, and texture.
Keep an unchanged copy of the original. Choose a test image containing demanding visual references such as straight architectural edges, horizons, floor or tabletop lines, repeated geometry, textured surfaces, shadows, and areas with noticeable depth or blur. Protect the main subject and important details from the mask. Include some original pixels within the generation or mask area so the tool has context for blending the new region into the source.
Generate several variations under the same conditions. This makes it easier to distinguish a repeatable weakness from a defect appearing in only one result.
Test Prompts, Overlap, and Expansion Size
Write prompts that describe how the existing scene should continue. Relevant constraints can include the surface material, lighting direction, camera perspective, composition, and anything that should be excluded. If the goal is clean negative space or a continuation of an existing wall, floor, or facade, avoid requesting a broad new scene that could introduce unwanted objects.
Compare one large expansion with several moderate passes. In each moderate pass, retain an overlap with the original or previously accepted area. Sources indicate that a large single-pass extension can increase artifacts, repetition, and style drift, while iterative expansion gives the creator more opportunities to review and correct the transition.
Keep the prompt and source image consistent while changing one variable at a time. Denoising and similar controls should be treated as tool-specific test variables: the supplied sources give differing advice, so no single numeric range can be assumed to work universally across tools, masks, and workflows.
Inspect Geometry, Seams, Lighting, and Texture
Review every variation at full size, concentrating first on the boundary between the source and generated content. Use a consistent checklist:
- Trace horizons, floors, tabletops, walls, rooflines, and other straight edges across the boundary. Look for bending, breaks, or changes in perspective.
- Examine tiles, windows, bricks, railings, and other repeated structures for duplicated, missing, compressed, or misaligned elements.
- Check for seams, brightness jumps, abrupt color-temperature changes, and unexpected shifts in texture or overall style.
- Compare the direction and softness of light and shadows on both sides of the transition.
- Inspect background blur and object boundaries for sudden sharpness changes or altered edges.
Architecture and repeated geometric patterns demand especially careful review because alignment defects are conspicuous. Skies, plain walls, and soft bokeh can be more forgiving, but they should still be checked for repetition, seams, and lighting discontinuities. Record which variation best preserves the original scene’s geometry and visual continuity.
Conclusion
A repeatable outpainting test preserves the source image, protects important subjects, generates multiple controlled variations, and uses moderate expansions with contextual overlap. The strongest candidate should maintain perspective, repeated geometry, lighting, color, texture, blur, and object edges when inspected at full size. Remaining defects can be repaired with a small localized mask rather than regenerating a much larger area.
Treat the extension as a plausible synthesis, not evidence of what actually existed outside the camera frame. For your next test, keep an unchanged original, create several moderate overlapping expansions, compare them at full size, and locally repair any remaining defect before using the result.
Disclosures and limitations
- This article was drafted with AI assistance using only the supplied research materials. It does not present product rankings, prices, comparative performance results, or firsthand testing, and no affiliate relationship or product recommendation is asserted.
Sources
- Outpainting Extension Prompt Guide — Gera Tools — Gera Tools
- AI Image Outpainting Guide: Tools & Techniques for Expansion — VIFE
- AI Outpainting Explained: How to Extend Any Image Beyond Its Borders (2026 Guide) – AI Photo Generator — AI Photo Generator
- Free AI Outpainting – Expand Images Online | Magic Hour — Magic Hour AI
- Free AI Outpainting Tool | Rewind.ai — Rewind.ai
- AI Outpainting Techniques Guide | AI Wiki — Artificial Intelligence Wiki
- Free AI Outpainting Online – Expand Images Beyond Frame | PxBee — pxbee.com
- AI Image Outpainting: Extend Photos Without Artifacts — Imagic AI
Explore the complete topic guide
Improve this guide
Report a problem or suggest the next question
Submissions enter a private editorial queue. They are reviewed and deduplicated before any public update or new page is created.