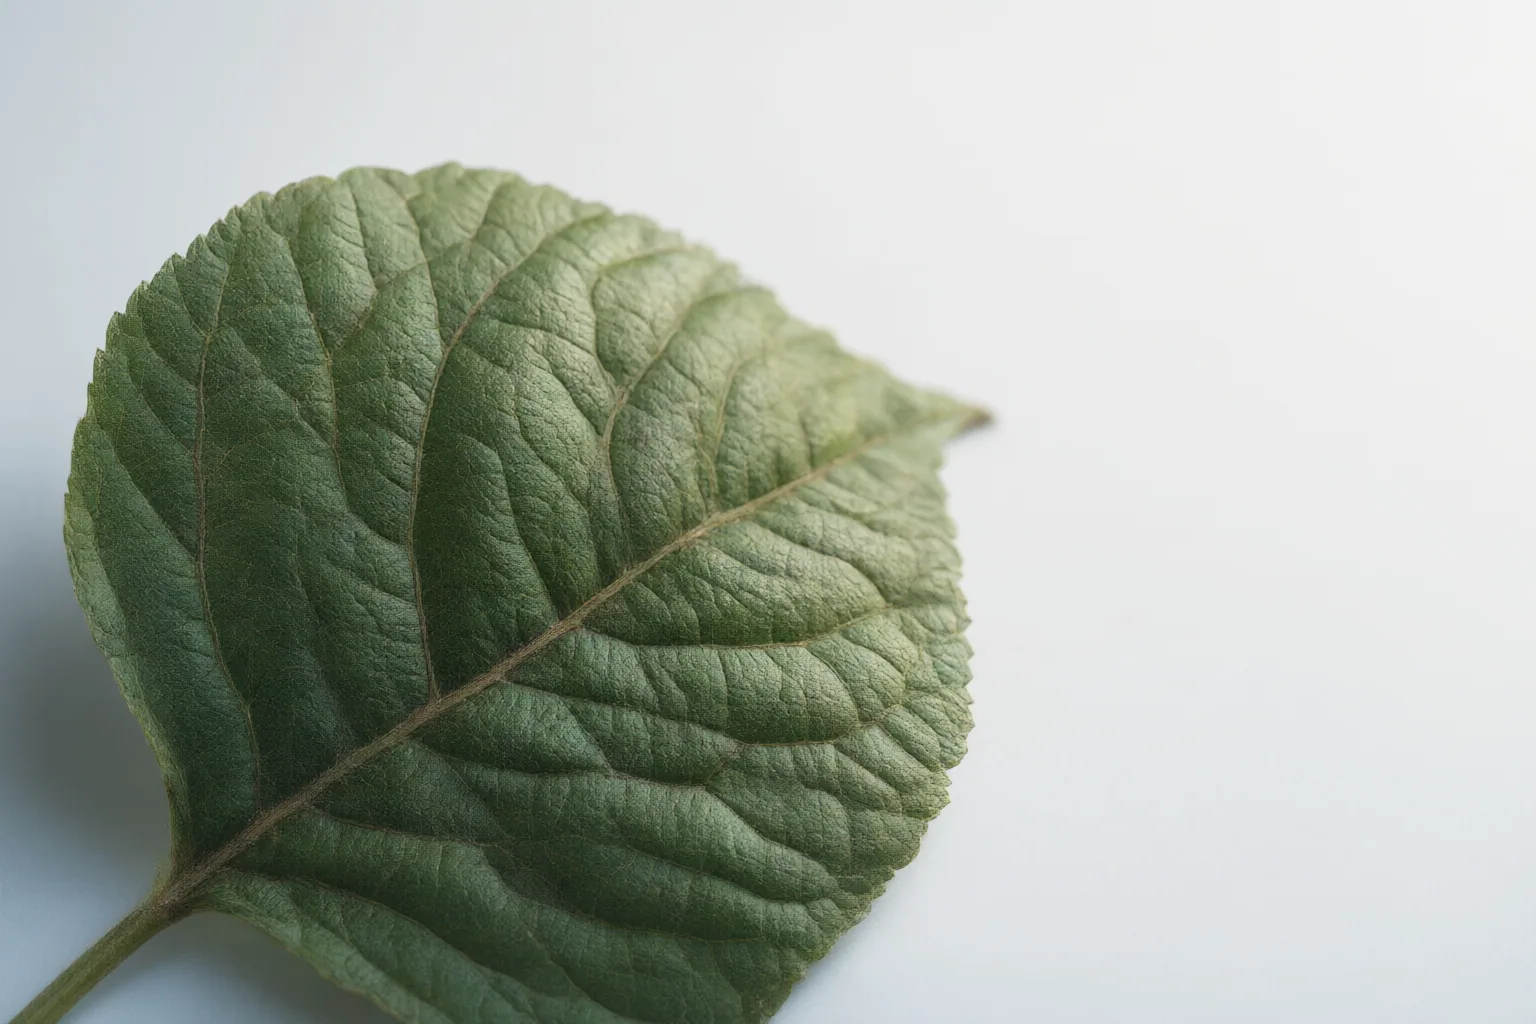
To fix a grainy photo, first determine whether you are seeing brightness noise, colored speckles, compression damage, or recurring defective pixels. Then apply moderate noise reduction, inspect important textures at full size, and compare the edited image with the original before exporting.
Identify What Is Making the Photo Look Grainy
Digital noise is random variation in brightness or color. Luminance noise looks like irregular brightness or a grain-like texture, while color noise appears as unwanted colored speckles, blotches, or bands, particularly in darker areas.
High ISO can make noise more visible, and brightening an underexposed photo can reveal or amplify noise in its shadows. However, not every rough-looking pattern is sensor noise. JPEG compression artifacts can resemble grain and may require a different correction. Bright or defective pixels are another possibility: unlike random noise, they may appear in the same locations across multiple images. Examine the image closely and identify the pattern before choosing a repair method.
Apply Noise Reduction Without Erasing Detail
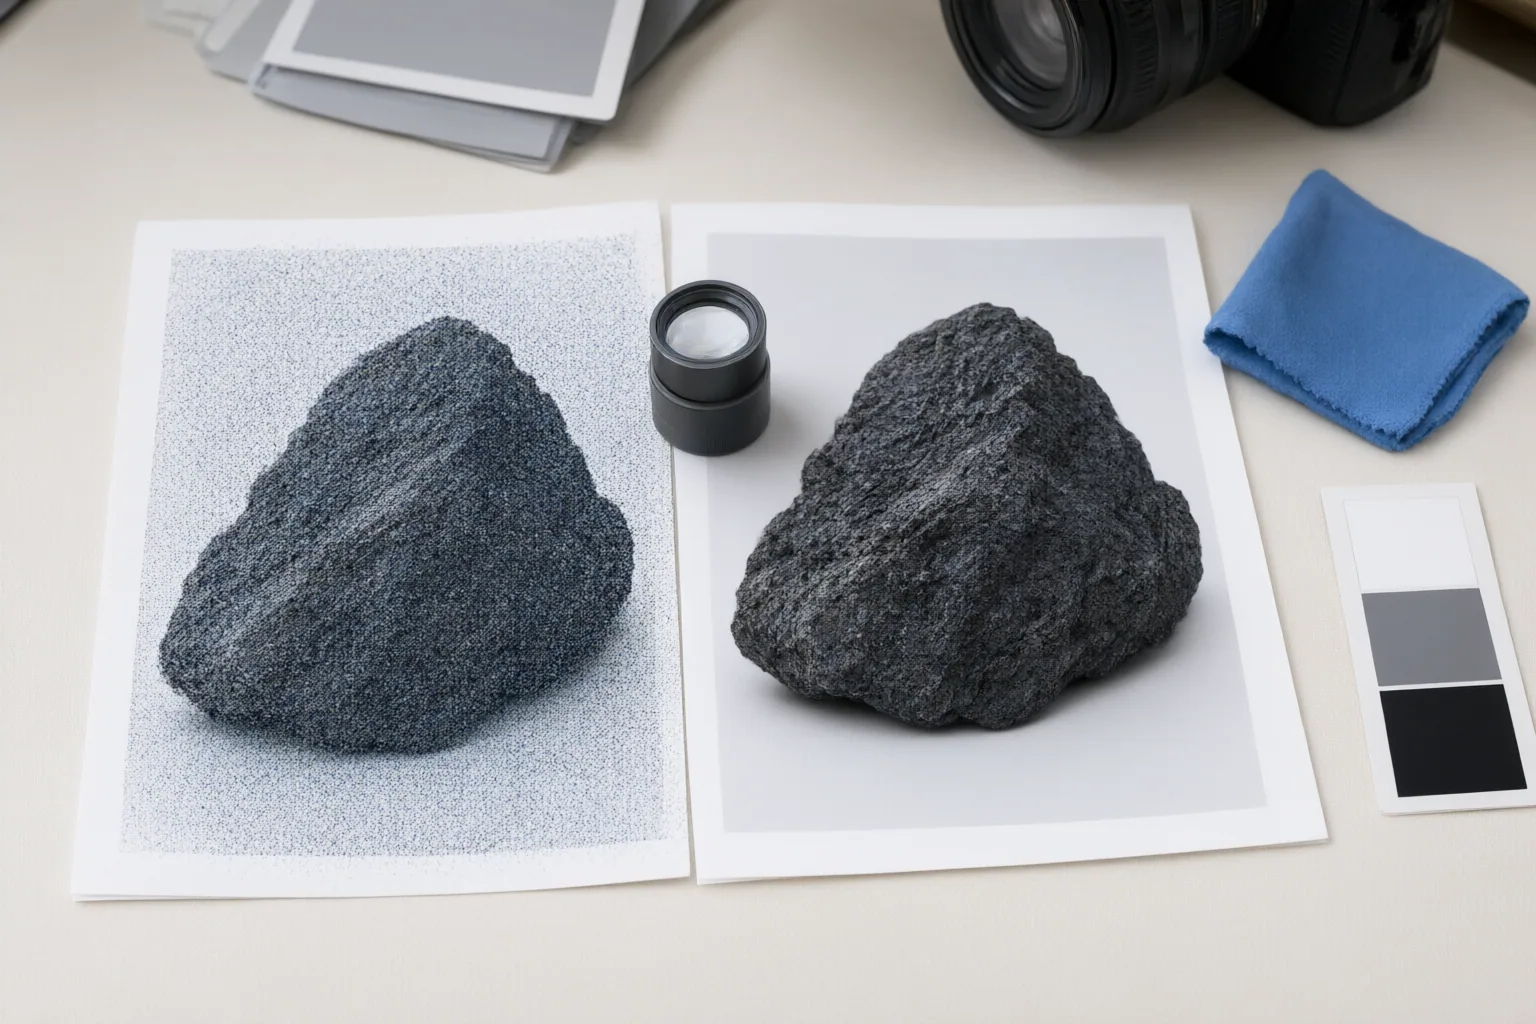
Begin with a moderate noise-reduction setting rather than the strongest available option. Inspect the result at a close or full-size view, then adjust it for that specific image. The goal is to make distracting noise less visible while retaining real texture.
Pay particular attention to skin, hair, fabric, object edges, and background detail. If these areas become waxy, soft, or unnaturally smooth, the correction is probably removing genuine information along with the noise. Compare the edited version with the original throughout the process instead of judging the result only from a reduced preview.
Treat luminance and color problems according to what is actually visible. If conventional denoising changes little, reconsider the diagnosis: compression artifacts or fixed defective pixels may be responsible. For browser-based editors, also consider practical constraints before uploading, including file-size or upload limits, watermarks, and the need to send the image to an online service.
Prevent Grain in Future Photos
Reducing noise at capture can limit the need for aggressive correction later. When possible, add light and expose the original photo more effectively. This matters because lifting an underexposed image during editing can make shadow noise more apparent.
Avoid digital zoom when it is optional, since it does not provide the same benefit as capturing a better-exposed original with more useful image information. High ISO is also associated with more visible noise, so balance sensitivity against the available light and the exposure the scene requires. These choices may not eliminate every unwanted pattern, but they can reduce how much texture must be sacrificed during editing.
Conclusion
A natural-looking repair starts with diagnosis, not maximum smoothing. Identify whether the problem is luminance noise, color noise, JPEG compression damage, or recurring defective pixels. Apply moderate correction, inspect fine features closely, and reduce the setting if authentic textures begin to disappear.
No controlled comparison in the supplied evidence supports ranking one denoising tool above another. Online options may also impose upload limits, file-size restrictions, or watermarks, and using them may require uploading the image. Before exporting, view the corrected photo at full size beside the original and confirm that skin, hair, fabric, edges, and background texture still look credible.
Disclosures and limitations
- This article was prepared with AI assistance using only the supplied research sources. General workflow guidance is evidence-backed, but the sources do not provide controlled comparative testing of denoising tools or independently verified performance rankings.
- No products are recommended here, and no affiliate relationship is presented. Some supplied sources promote their own editing services, so claims about their speed, pricing, privacy, quality, or performance were not treated as independently verified.
Sources
- Fix Grainy Photo Free — Clean Up Grainy Images — EditThisPic
- Noise in Photography: What It is and How to Correct It — Capture the Atlas
- How to Fix Grainy Photos: Make Noisy Shots Sharp Again — wink.ai
- How to Fix Grainy Photos (Free & Easy Methods in 2026) — imgmend.com
Improve this guide
Report a problem or suggest the next question
Submissions enter a private editorial queue. They are reviewed and deduplicated before any public update or new page is created.