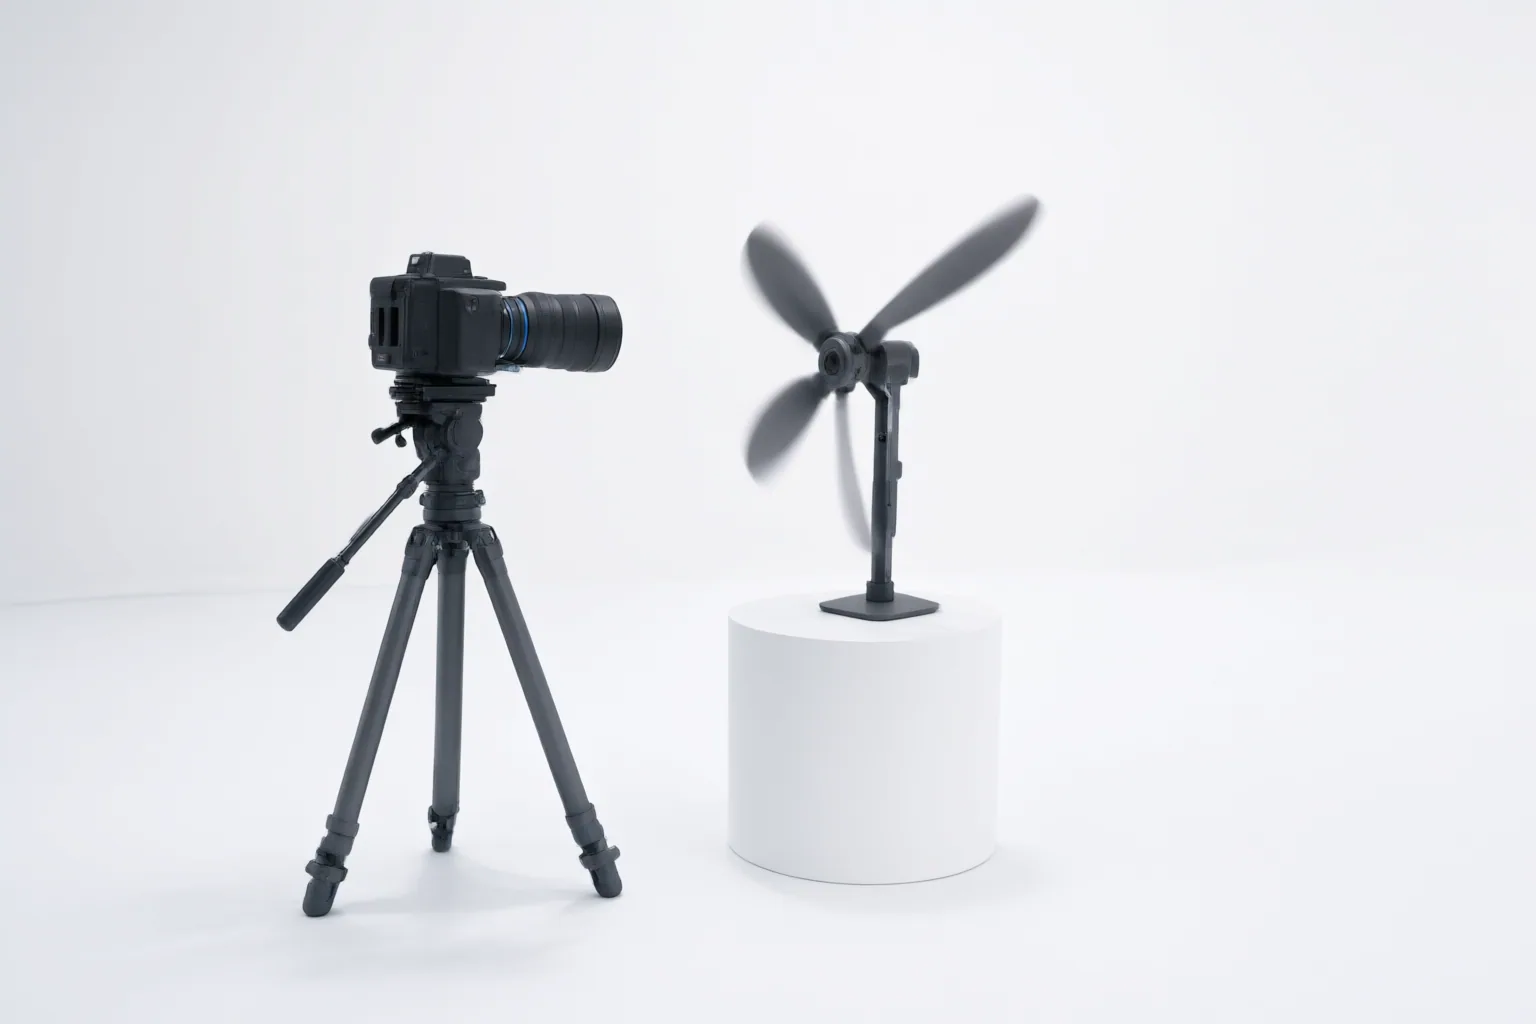
Evaluate rolling-shutter correction with controlled before-and-after comparisons. Check wobble reduction alongside geometry, edge quality, cropping, framing, and detail preservation, then select the least aggressive acceptable setting.
Build a Representative Test Clip
Choose a short section in which rolling-shutter distortion is readily visible. Include the wobble or skew you want to reduce, frame edges that reveal how stabilization treats newly exposed areas, and important visual details that make unwanted changes easy to spot. The older Alik Griffin discussion describes rolling-shutter distortion as skew or temporal aliasing, while current Topaz documentation presents Rolling Shutter Correction as an option for reducing wobbly distortion caused by overly fast camera movement.
Keep the untreated clip as the reference and record the settings used for every output. Do not expect a pixel-for-pixel match: Topaz says stabilization moves and rotates original frames. Compare the same moments in the source and corrected versions, watching subject position, framing, fine details, straight lines, and the outer edges. This establishes a repeatable baseline without assuming that the correction is automatically an improvement.
Compare Correction Strength and New Artifacts
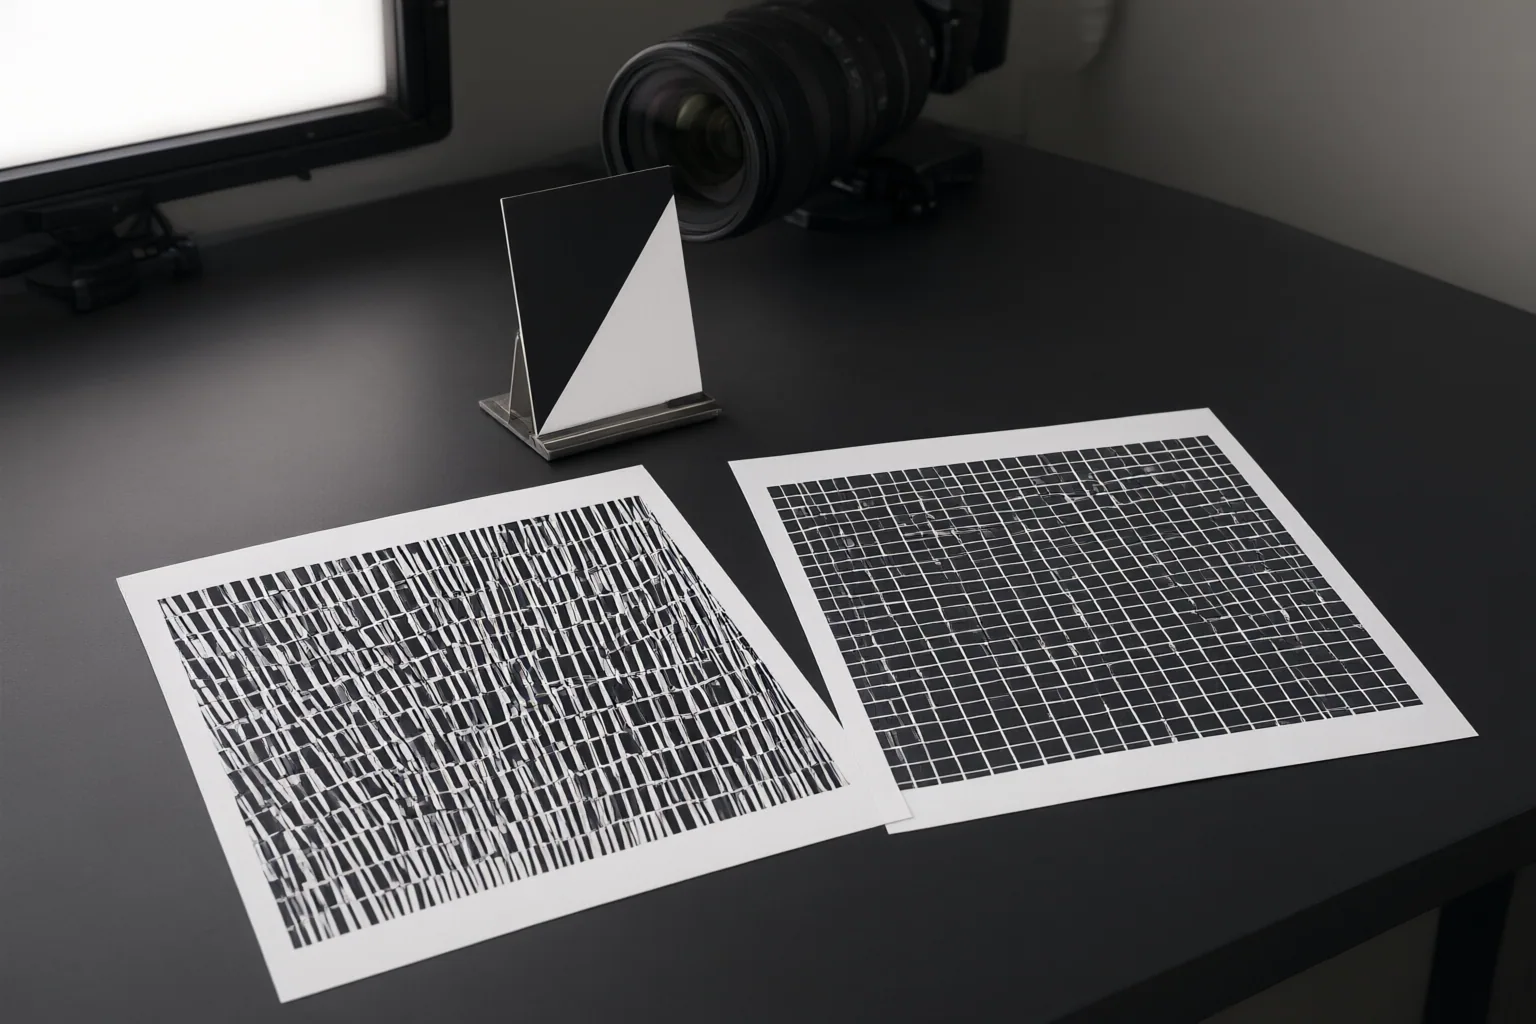
Export the same test segment at several correction strengths while keeping the rest of the setup consistent. Start with a restrained setting, increase it in measured steps, and compare every result with the untreated reference. For each version, ask two separate questions: How much visible wobble remains, and what new defects appeared?
Inspect straight lines and recognizable shapes for geometric changes. Pause on frames containing fine detail, then review them during motion to find instability or detail changes that a single still might not reveal. Also check whether moving or rotated frames alter the composition or the position of important content.
A stronger value is not inherently better. Topaz documents that increasing stabilization strength can produce more artifacts in Full Frame mode or require a larger crop in Auto Crop mode. Treat this as a tradeoff test rather than evidence that any setting or tool delivers a particular level of quality. A useful pass condition is meaningful wobble reduction without unacceptable changes to geometry, motion, framing, or critical detail.
Evaluate Full Frame Against Auto Crop
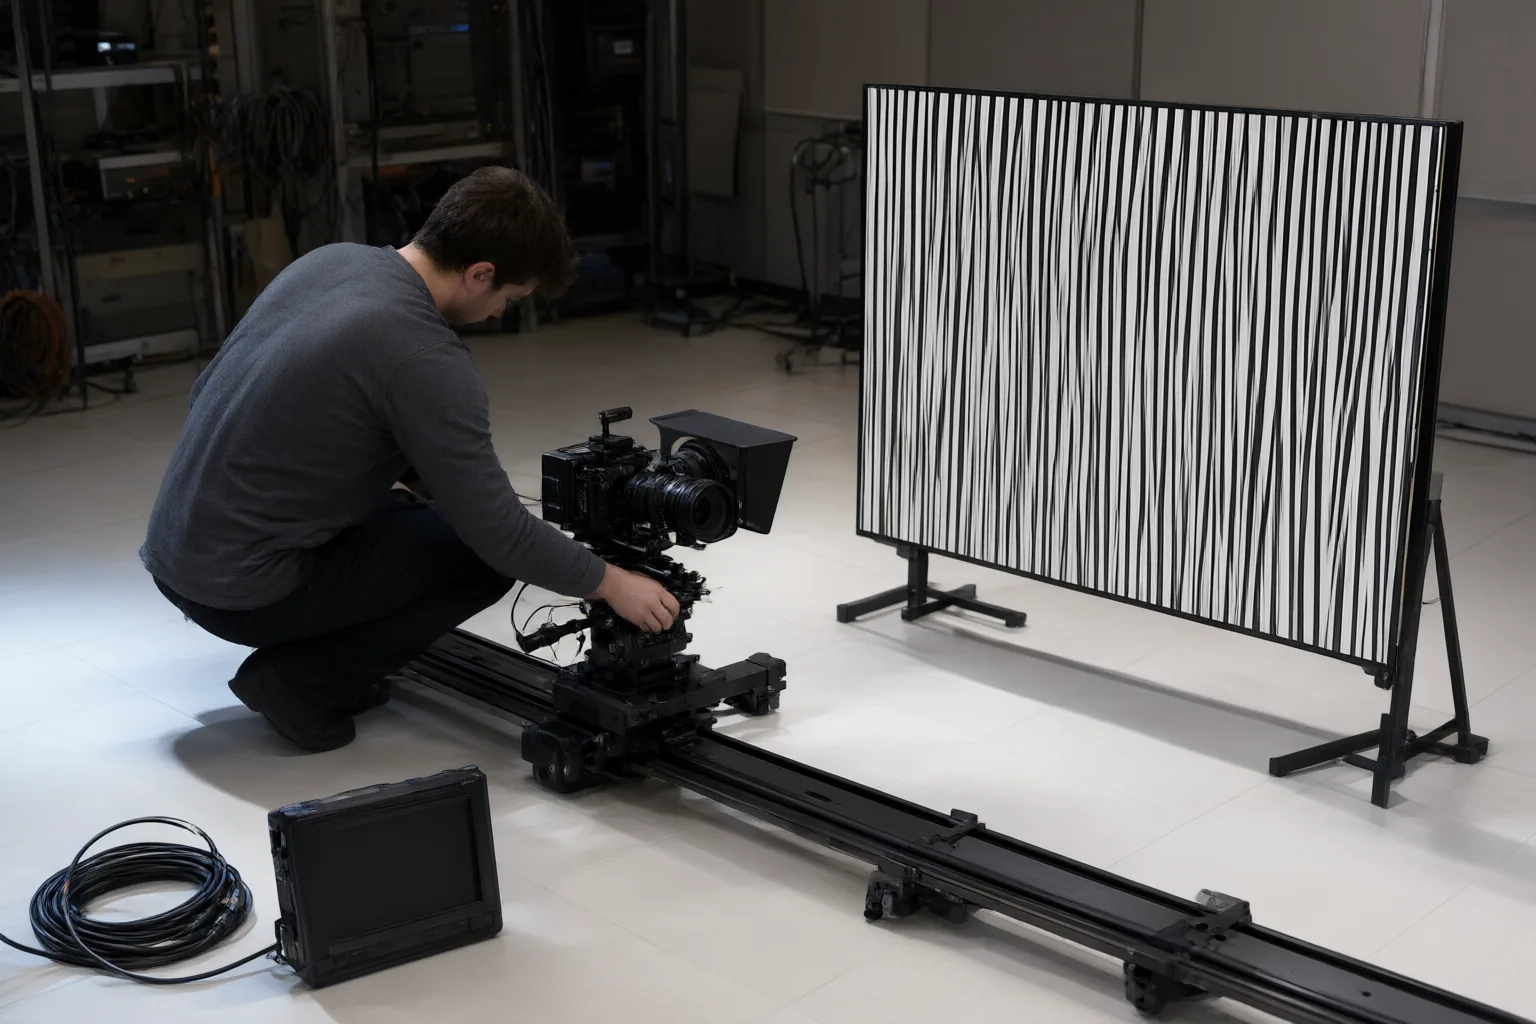
Test Full Frame and Auto Crop on the same frames and at comparable correction strengths. According to Topaz, Full Frame fills blank edges exposed by stabilization using frame interpolation and deep learning. This preserves the original resolution, but the reconstructed edges may become blurry. Examine the perimeter at normal playback speed and frame by frame, looking for softened or altered edge content. Compare those areas directly with the source rather than assuming reconstructed pixels preserve the original detail.
Topaz says Auto Crop instead removes exposed edge areas. This can maintain sharpness, but it may reduce resolution and frame dimensions. Check whether the crop cuts off a subject, product, caption, or other important visual element. Also compare the overall composition and note whether a stronger correction demands a larger crop.
The choice is therefore conditional: Full Frame may retain the original dimensions while risking blurry reconstructed edges, whereas Auto Crop may preserve sharpness while sacrificing image area. Reject either result if its edge treatment or crop damages information that matters more than the wobble reduction.
Conclusion
Use a simple pass-or-fail checklist: Does the result reduce the targeted wobble? Are straight lines, shapes, motion, and fine details still acceptable? Do reconstructed edges remain usable? Does cropping preserve essential content and composition? Are framing changes caused by moving or rotating frames acceptable?
Do not use a 2012 cross-tool comparison as proof of present-day performance. The Alik Griffin article covered legacy software versions, framed parts of its comparison as personal judgment, and acknowledged that one mentioned Premiere feature had not been tested by its author. It can show that multiple correction approaches existed, but it cannot establish current capabilities or rankings.
Test a representative clip in the current software version at several strengths, compare every output frame by frame with the original, and choose the least aggressive setting that passes your project’s visual checks.
Disclosures and limitations
- This article was prepared with AI assistance from the supplied Topaz documentation and a 2012 Alik Griffin article; no independent product testing was provided in the research package.
- Mentions of software features are evidence-bounded explanations, not rankings or purchase recommendations. Any commercial or affiliate relationship should be disclosed before adding monetized product links.
Sources
- Stabilization | Topaz Video — docs.topazlabs.com
- BlockReel | Where Independent Films Get Funded, Made & Seen — BlockReel
- The Latest on Rolling Shutter Solutions and Fixes | Alik Griffin — Alik Griffin
Improve this guide
Report a problem or suggest the next question
Submissions enter a private editorial queue. They are reviewed and deduplicated before any public update or new page is created.