Before converting an entire video, render a representative short clip and check depth stability, object edges, viewing comfort, export format, and playback on the intended device.
How AI Turns Ordinary Footage into Stereoscopic Video
AI-based 2D-to-3D conversion can estimate a depth value for pixels in each frame, producing a depth map that represents the apparent distance of scene elements. The converter can then use that map to displace pixels and synthesize a second viewpoint for stereoscopic presentation.
The important question is not simply whether the process produces a 3D image. Creators should examine whether the inferred depth remains believable and stable throughout the footage. Because the supplied evidence does not include a controlled comparison, it supports an evaluation checklist—not a ranking of converters or a claim that one approach delivers superior results.
Test Depth Stability, Edges, and Difficult Scenes
Start with a clip that includes stationary subjects, moving objects, clear foreground-background separation, object crossings, blank surfaces, and fast motion. These conditions expose different weaknesses. If the estimated depth of an unchanged object varies between consecutive frames, the converted result may show depth flicker or visual instability. Motion blur and low-texture surfaces can also weaken the cues available to depth estimation.
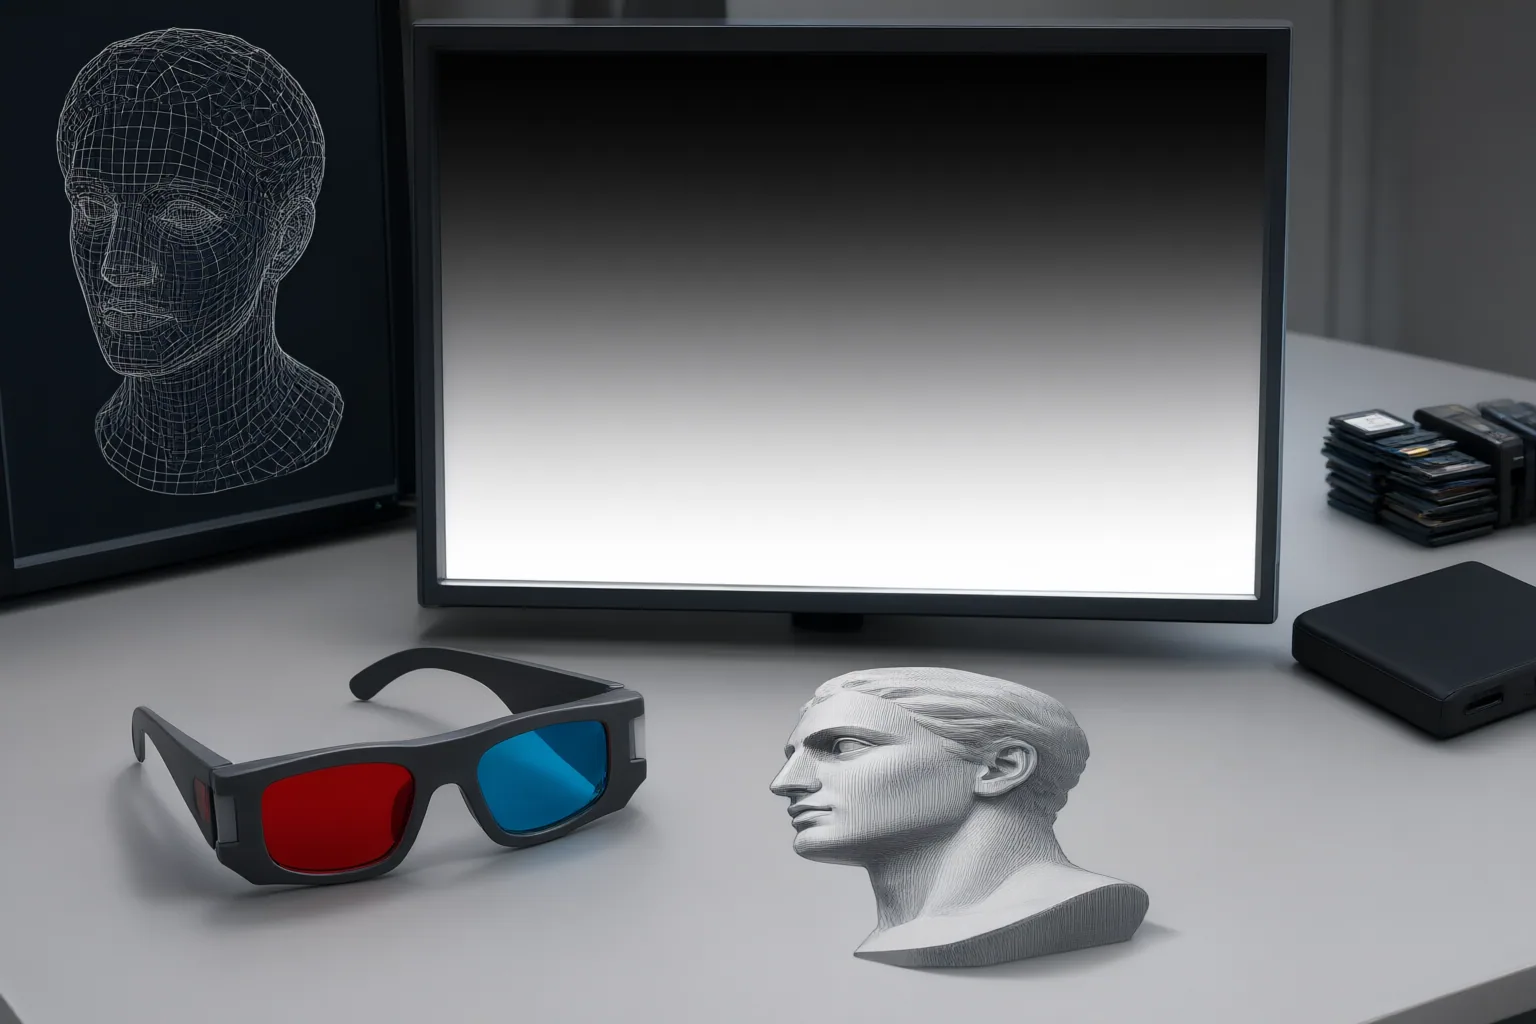
Inspect boundaries closely, especially where a foreground object covers part of the background. Synthesizing another viewpoint exposes areas that were hidden in the original frame, so the conversion must fill gaps and manage edges without obvious tearing, halos, or unstable masks. Where available, use depth-map, heatmap, edge, mask, anaglyph, side-by-side, and stereo-difference previews to isolate problems.
Compare consecutive frames rather than judging only a paused image. Render a short range containing difficult scenes, inspect the depth and masks frame by frame, and watch the stereoscopic preview at normal speed. This separates isolated boundary defects from temporal problems that become apparent only during playback.
Check Stereo Comfort, Workflow Tradeoffs, and Playback
Evaluate stereo strength and convergence on the actual viewing setup when possible. Stronger displacement does not by itself establish better quality. Look for distracting edge behavior, uncomfortable separation, or subjects that appear positioned poorly relative to the display plane. Controls described in the sources include subject-anchored convergence, scene-aware stereo scaling, floating-window edge protection, edge-aware masking, and occlusion repair. Adjust them on a sample rather than assuming one setting will suit every scene.
Treat offline and streaming inference as separate workflows. Video Depth Anything describes relative-depth and metric-depth modes and support for arbitrarily long video, but its repository also reports that experimental streaming performed worse than offline inference in the cited comparison. Model size, resolution, inference mode, and available GPU memory can therefore affect both practicality and output; results from one configuration should not automatically be attributed to another.
Finally, confirm the delivery format. StereoLift identifies its output as Full SBS and notes that playback depends on hardware, software, and Full SBS support, with potentially inconsistent handling on older displays. A successful export is not sufficient evidence of compatibility. Test the file with the intended headset, player, television, or projector and verify that the two views are interpreted correctly.
Conclusion
Use a short-range test before committing resources to a full conversion. Select representative footage, render a sample, inspect its depth maps and object boundaries, compare consecutive frames for flicker, and review occlusion repair. Then adjust stereo strength or convergence and export again if needed. Confirm the final stereoscopic format on the exact playback device and software you plan to use. Complete this sample test—including motion, edges, occlusion, and low-texture areas—before starting the full render.
Disclosures and limitations
- This article was prepared with AI assistance using only the supplied research package. Several cited sources are controlled by project publishers or vendors, and their capability statements were not independently tested.
- No product ranking or recommendation is made here. Any future commercial or affiliate relationship should be disclosed before related product recommendations or links are published.
Sources
- VisionDepth3D: Transform 2D Videos Into 3D Cinema | Bright Coding — Bright Coding
- GitHub – VisionDepth/VisionDepth3D: Generates 3D from 2D videos in multiple output formats using AI-powered depth mapping. — GitHub
- Neural Depth Creation: 3D Video Effects from Standard 2D Footage — reelmind.ai
- Turn Flat Video into 3D: How AI Restores the Depth Your Eyes Are Missing – Owl3D – Your PC in 3D — owl3d.com
- Convert 2D Video to 3D Video | StereoLift — StereoLift
- Video Depth Anything: Consistent Depth Estimation Guide — Pippit
- VisionDepth3D by VisionDepth Studios — itch.io
- AI-Powered Video Depth Estimation: Tools for Creating 3D from 2D — reelmind.ai
- GitHub – DepthAnything/Video-Depth-Anything: CVPR 2025 Highlight Video Depth Anything: Consistent Depth Estimation for Super-Long Videos — GitHub
Improve this guide
Report a problem or suggest the next question
Submissions enter a private editorial queue. They are reviewed and deduplicated before any public update or new page is created.