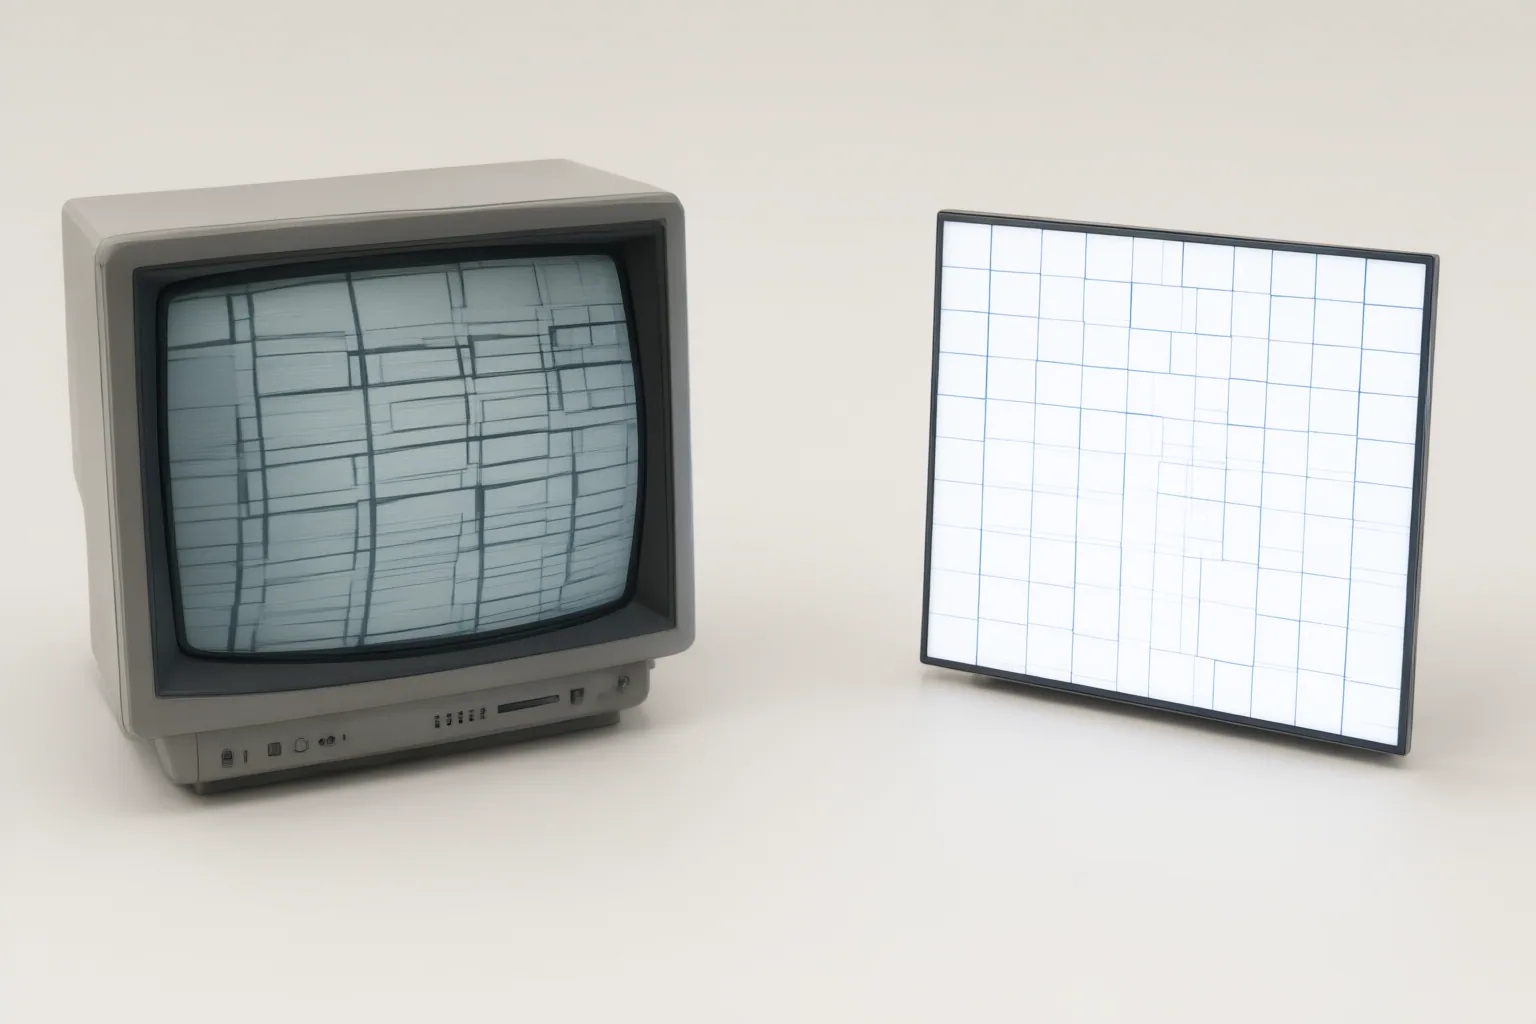
Inspect each archival clip, determine its intended display proportions, correct any non-square-pixel interpretation, and export a visually verified square-pixel derivative before introducing the footage into an AI video workflow.
Why Pixel Aspect Ratio Matters for Archival Footage
Pixel aspect ratio, also called sample aspect ratio, describes the width-to-height relationship of each pixel. A 1:1 ratio means the pixels are square. Older standard-definition broadcast, analog-tape, camera, DV, and anamorphic material may instead use non-square pixels that depend on display instructions to reproduce the recorded scene with the intended proportions.
When modern software does not interpret those instructions correctly, people, circles, text, and other familiar shapes can look squeezed or stretched. Neither a file extension nor stored frame dimensions alone proves the intended display shape, so an editor should investigate the source rather than infer its proportions from those details. This check is especially important before creating a new derivative, because an incorrect stretch can become embedded during re-encoding and then carry into later processing.
Inspect the Source Before Correcting It
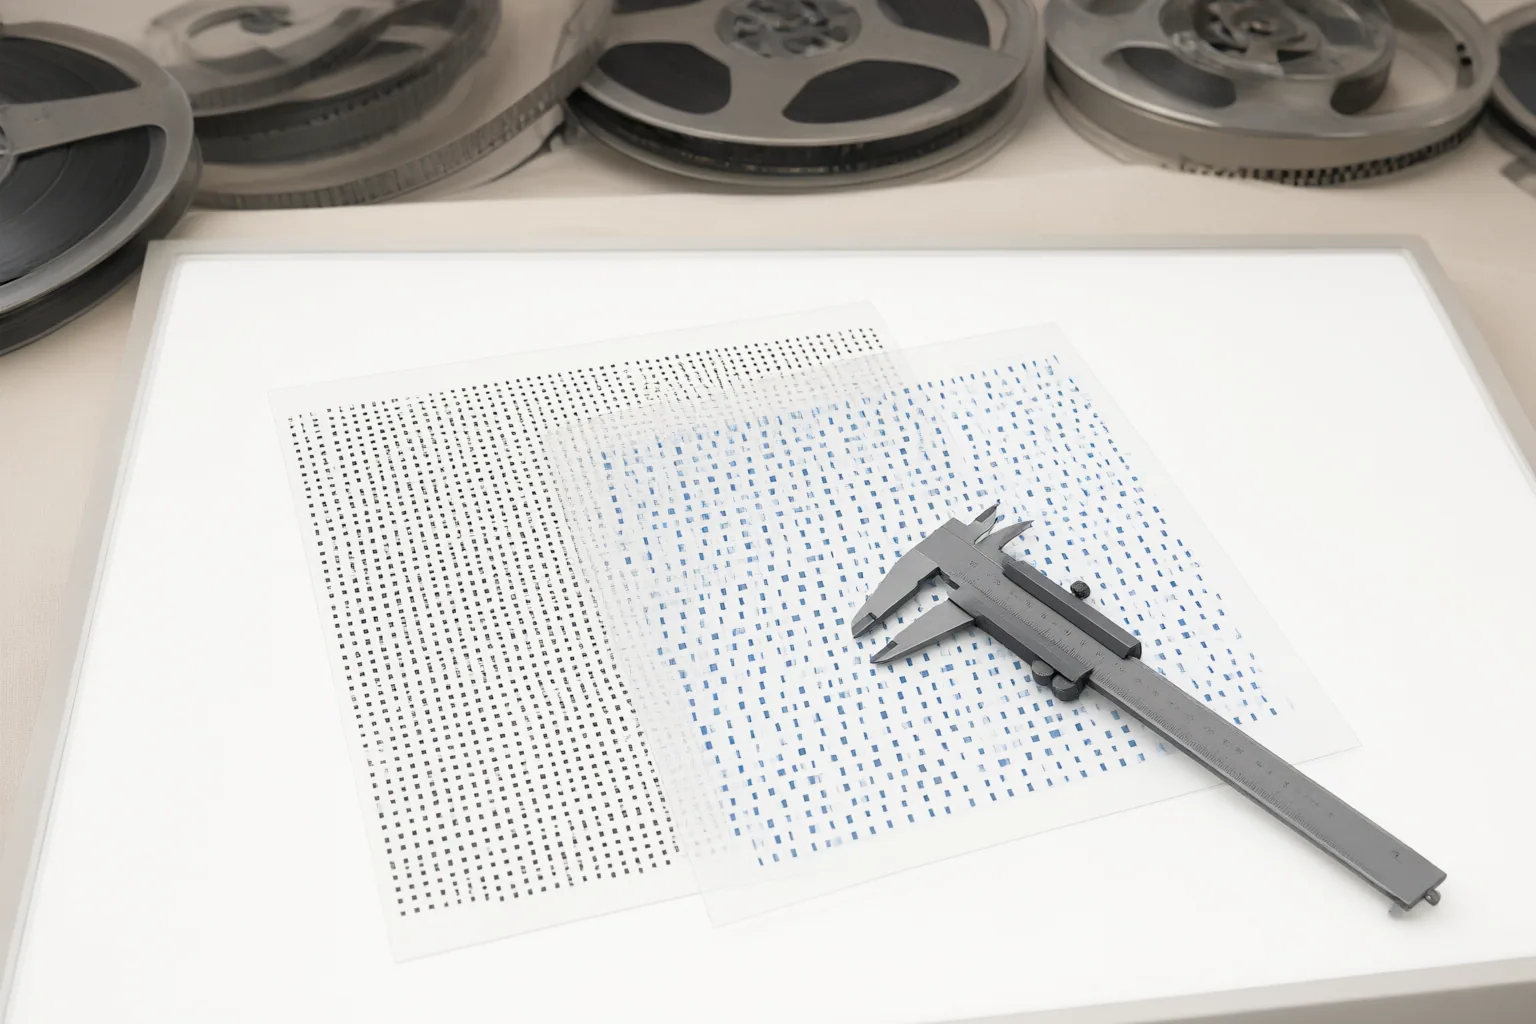
Review archival clips individually. Tools such as MediaInfo or ffprobe can expose frame dimensions and other available video metadata that help identify how a clip should be displayed. Compare that information with the source’s known format and intended proportions instead of trusting a single paused frame or assuming every item in an archive shares the same characteristics.
Clip-by-clip inspection matters because one collection can contain material from different broadcast, tape, camera, DV, or anamorphic formats. Record the stored dimensions and available aspect-ratio information, then determine the intended display shape before scaling or re-encoding. Perform this work before later editing or AI processing so that a mistaken interpretation does not become part of a new file.
Create a Correctly Proportioned Square-Pixel Derivative
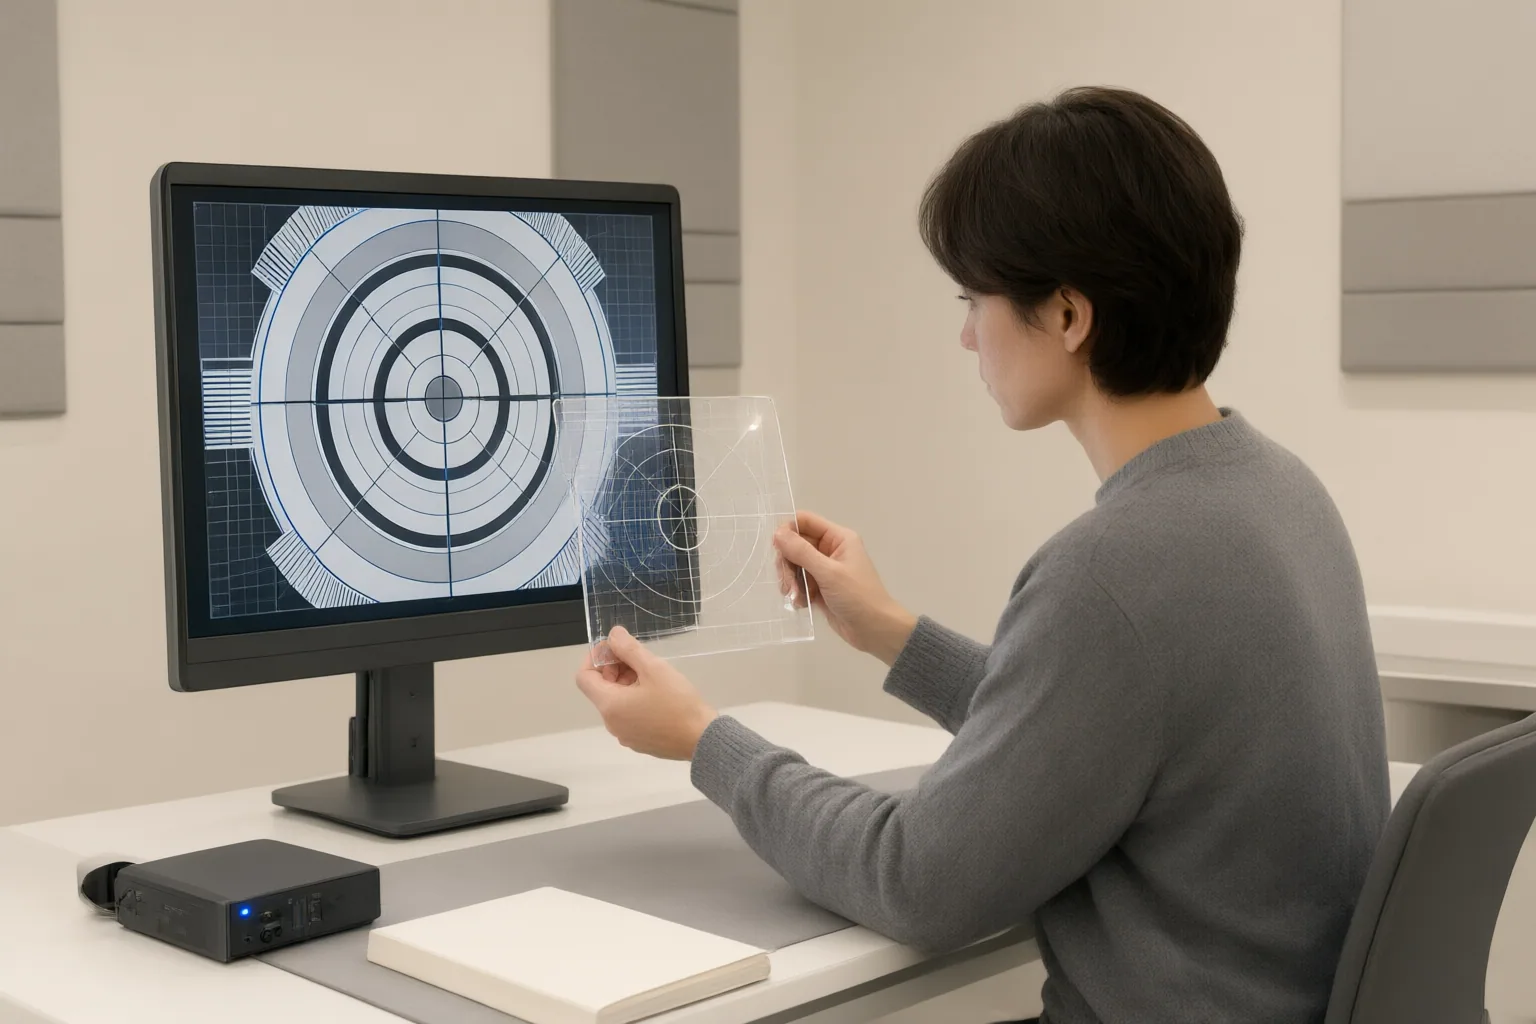
Once the intended proportions are established, make a square-pixel derivative rather than assuming that changing metadata alone will repair every older tape-sourced or broadcast master. Some footage must be scaled to the proper display dimensions during export. Filmhub, for example, documents converting 720×480 DV NTSC footage with a 0.9:1 sample aspect ratio to 640×480 with square pixels. Anamorphic material should likewise be de-squeezed to its intended display resolution and exported at a 1:1 pixel aspect ratio.
The documented application-level options include selecting Square Pixels (1.0) in Adobe Premiere export settings, setting a DaVinci Resolve timeline’s pixel aspect ratio to Square, or selecting a square-pixel preset or 1:1 sample aspect ratio in Compressor or QuickTime export. These are preparation routes, not evidence of a procedure within a particular AI editor.
If a 4:3 archival image must appear in a 16:9 presentation, choose the framing deliberately. Pillarboxing retains the complete image and its correct proportions but adds bars at the sides. Cropping fills more of the frame while removing content from the edges. Stretching fills the frame by distorting the image and should not be treated as a proportion-preserving correction.
Conclusion
A defensible pre-AI workflow has four stages: identify the source’s intended display proportions, correct its non-square-pixel interpretation, export a square-pixel derivative, and inspect the result for distortion. Check text, people, circles, and other recognizable shapes rather than relying only on metadata.
The cited material supports preparing and validating footage before AI processing, but it does not establish a verified workflow for any specific AI video editor. Before importing a clip into one, inspect its dimensions and aspect-ratio metadata, create a derivative that preserves the intended proportions, and visually validate that derivative.
Disclosures and limitations
- This article was prepared with AI assistance and is based only on the supplied research sources identified by the source IDs; it does not report hands-on testing.
- No product recommendation or affiliate relationship is presented. The cited evidence supports pre-processing archival footage but does not verify a workflow inside a specific AI video editor.
Sources
- Non-Square Pixels (Sample Aspect Ratio): Requirements and Fixes — help.filmhub.com
- Smart Video Pixel Aspect Ratio Correction: Fix Non-Square Pixels — reelmind.ai
- Athletic Archive Aspect-Ratio Correction | Preserve Historic Sports Video Without Stretching — digitalyearbook.org
Improve this guide
Report a problem or suggest the next question
Submissions enter a private editorial queue. They are reviewed and deduplicated before any public update or new page is created.