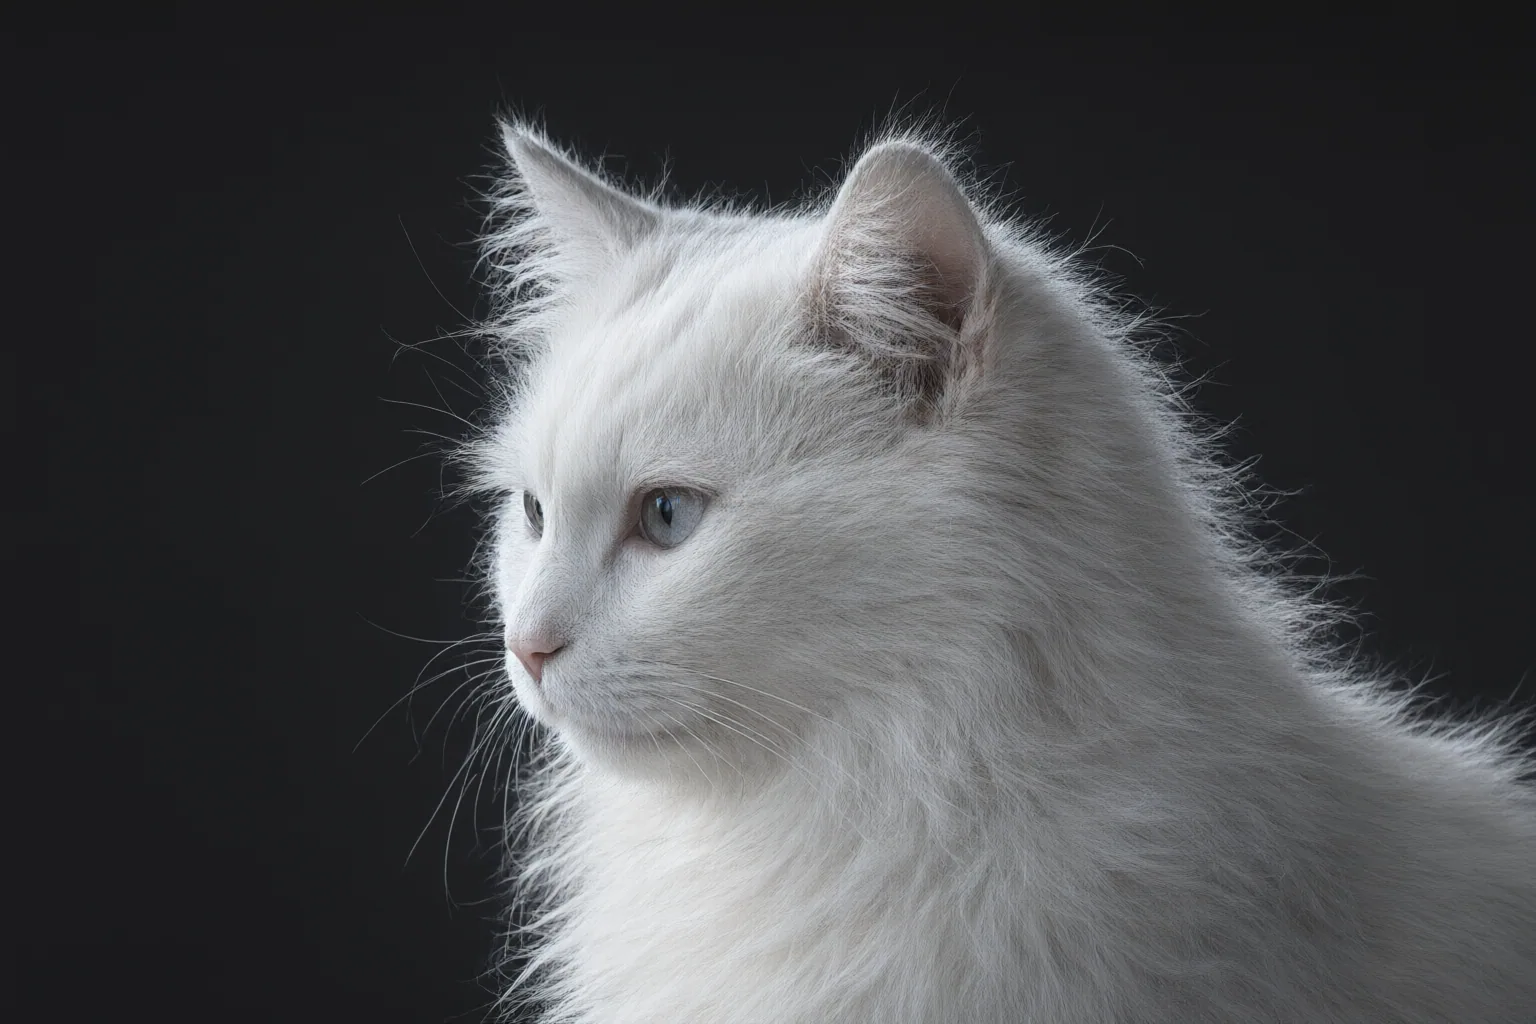
To remove unwanted color around hair, first inspect the cutout on contrasting backgrounds and identify the defect. Preserve accurate mask detail, then repair contaminated color, leftover pixels, missing strands, or hard transitions only where needed.
Diagnose the Hair-Edge Problem Before Editing
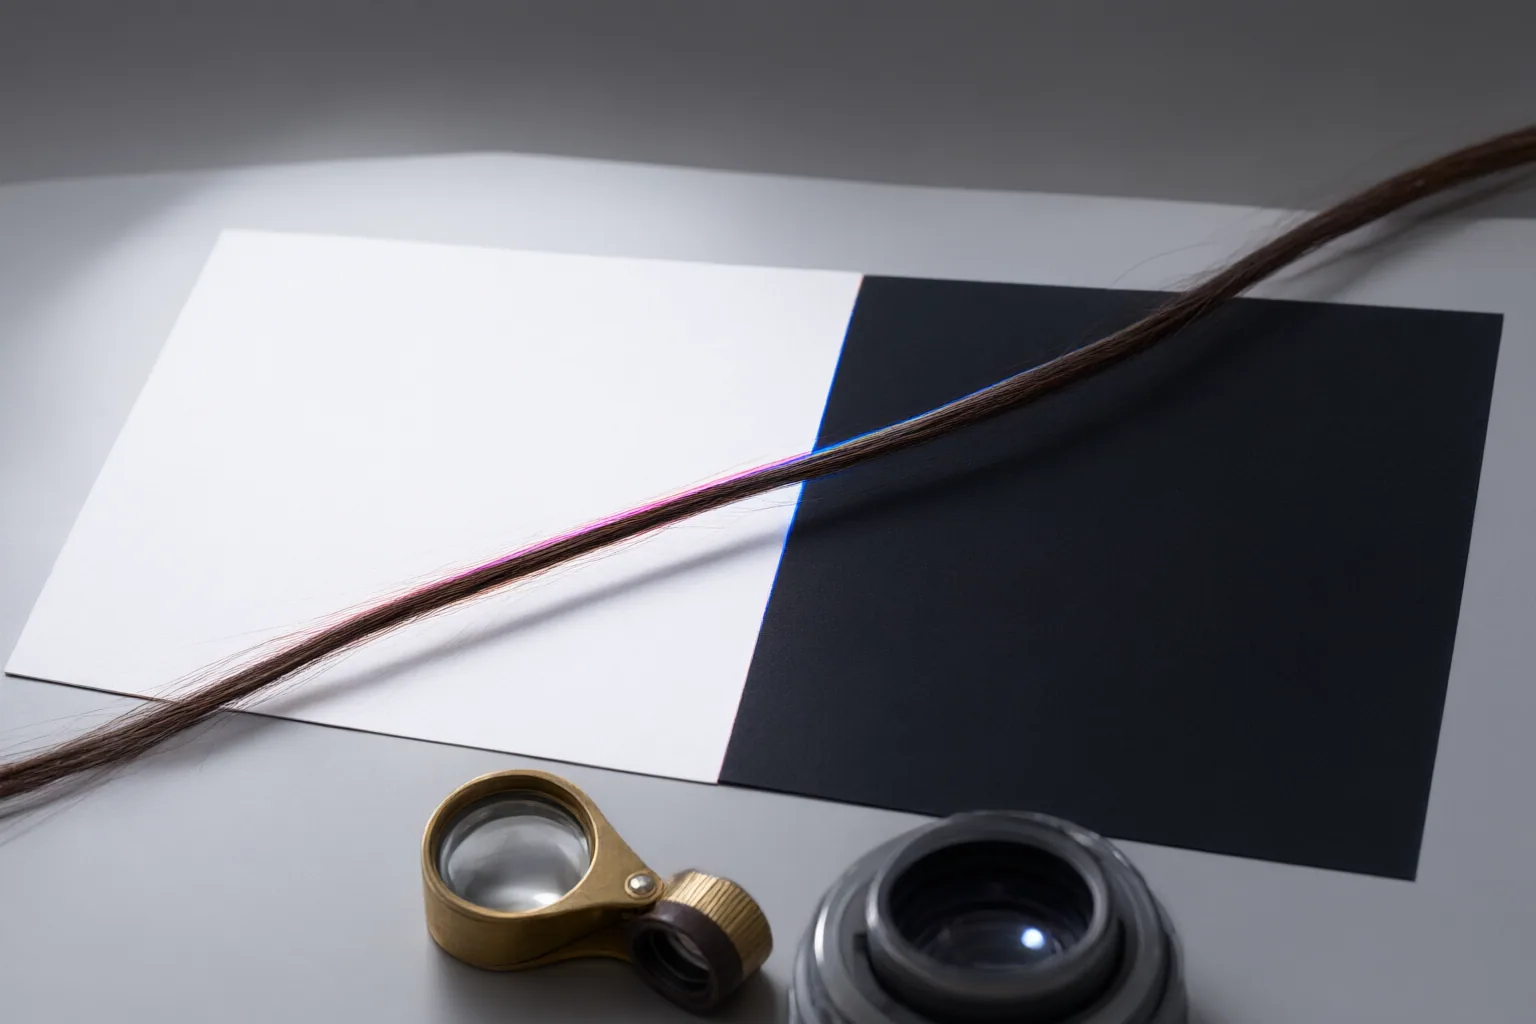
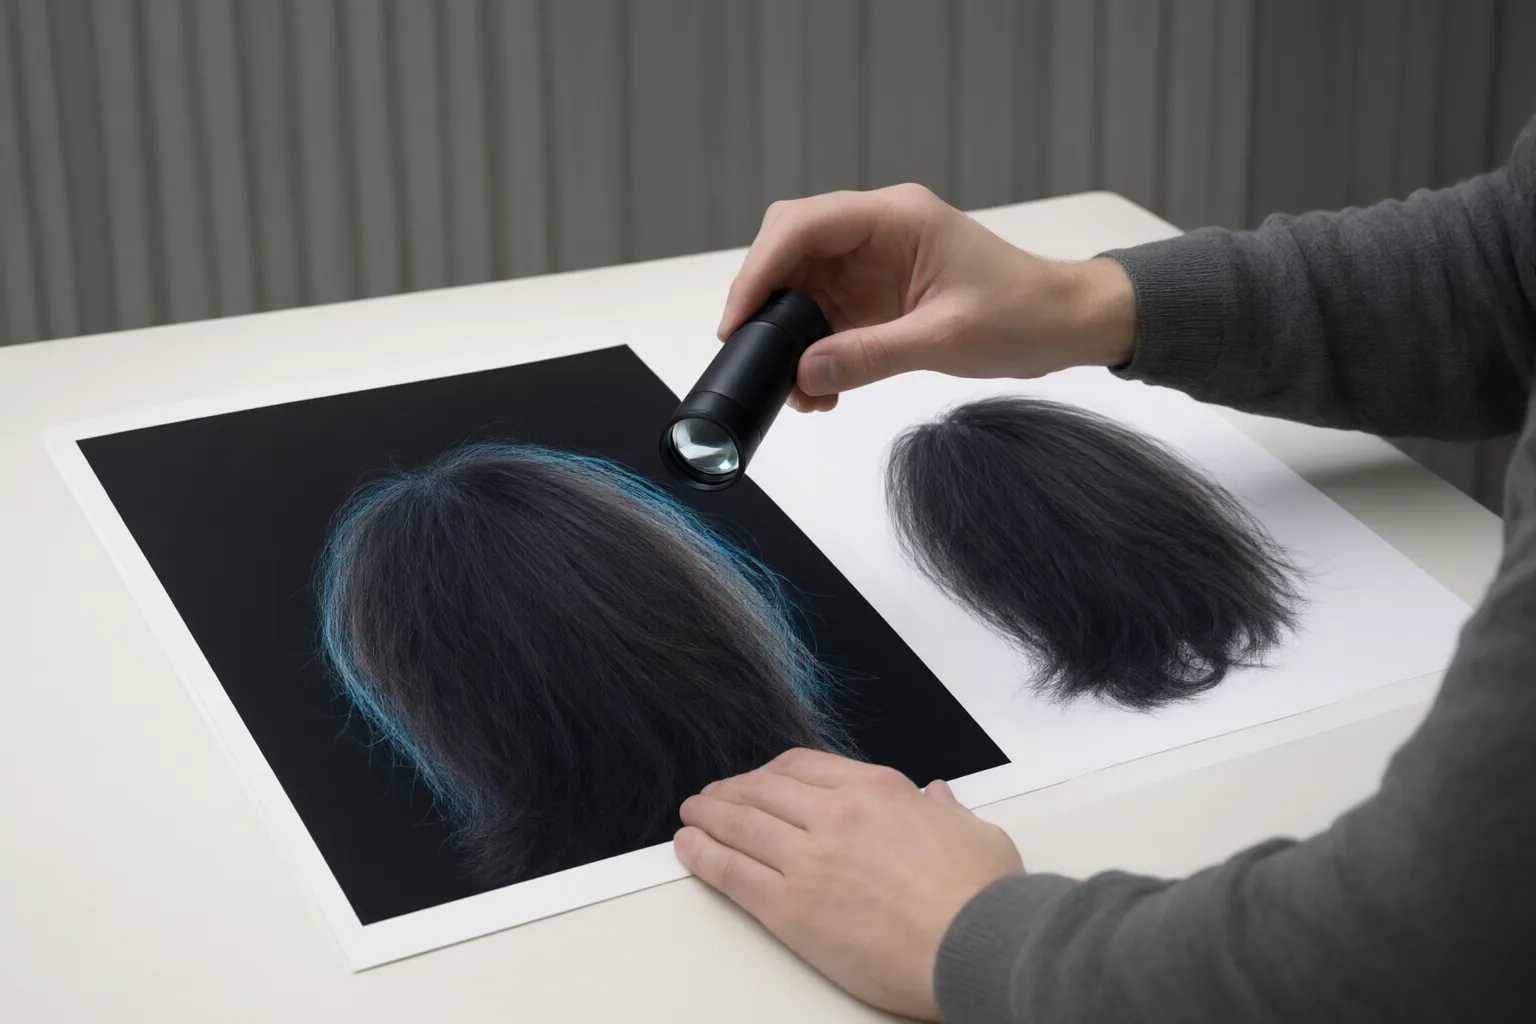
A convincing hair mask can still produce an obvious fringe because the edge pixels may retain color from the original background. Place the masked subject over a temporary black, white, gray, or otherwise strongly contrasting background. This makes bright, dark, or colored contamination easier to distinguish from a problem with the mask’s shape.
Classify what you see before changing anything:
- Discolored strands or edges: The hair shape is present, but original-background color remains mixed into its edge pixels.
- A visible halo: Residual background pixels remain outside the intended subject boundary.
- Missing hair: Fine strands were excluded and need to be restored through local mask work.
- A clipped-looking boundary: The transition is too hard and needs limited soft-edge refinement.
These defects require different corrections. Globally shrinking or smoothing the mask to solve color contamination can erase useful flyaways without fixing the underlying edge color. Hair is particularly difficult for automated removal when fine or partly transparent strands blend foreground and background information. Low contrast, backlighting, blur, and compression can increase that ambiguity.
Correct the Fringe Without Sacrificing Hair Detail
Work locally and keep successful parts of the mask intact. Begin with the defect you identified rather than applying one adjustment to the entire hair boundary.
- Preserve accurate areas. If the mask already follows the hair well, do not erode that section merely because its pixels carry the wrong color.
- Restore omitted strands separately. Where real hair has been removed, refine the mask locally to bring it back. Treat remaining background pixels as a separate cleanup task.
- Replace contaminated color. One documented Photoshop workflow adds a new layer above the masked subject and clips it to the subject layer. On that layer, use brush-based editing to apply nearby hair color, or clone-based editing to carry suitable hair texture into the discolored edge. Keep edits confined to affected regions.
- Refine hard transitions sparingly. Apply soft-edge correction only where the boundary looks unnaturally clipped. Broad smoothing can weaken natural strand variation.
- Recheck at a practical viewing size. Zoomed inspection helps locate defects, but the edge should also look credible at the size in which the finished image will be used.
Localized, non-destructive edits reduce the risk of losing flyaway detail and make it easier to revise individual repairs. The supplied sources also report an Enhance Edge option in Photoshop beta 27.11 or later that analyzes masked edges, requires an internet connection, and creates a separate enhanced layer instead of changing the original mask. Because those details are time-sensitive, verify current availability and requirements before relying on that feature.
FAQ: Hair Fringing and Difficult Source Images
Hair-edge cleanup depends on both the type of artifact and the information available in the source photograph. The questions below address two common reasons an otherwise usable extraction may still need localized repair.
Conclusion
Treat the mask shape and the color of its edge pixels as related but distinct concerns. Inspect the cutout against contrasting backgrounds, identify whether you are seeing contamination, a halo, missing strands, or excessive hardness, and preserve every part of the mask that already works. Apply only the corresponding local repair instead of making a broad adjustment across the hair.
Before exporting, place the edited subject over both light and dark temporary backgrounds. Inspect the hair at a practical viewing size and correct any remaining traces of the old background color.
Disclosures and limitations
- This article was prepared with AI assistance from the supplied tutorials and publisher or vendor guidance. The sources were not comparative laboratory tests, and time-sensitive software availability, version requirements, and feature behavior should be reverified before publication.
Sources
- How to Fix Hair Edges and Halos After Background Removal (Free) — Imagic AI
- Color Fringing in Photoshop: 2 Fixes, Enhance Edge vs. Free — PHLEARN
- 5 Common Issues with AI Background Removal Tools — PixelPanda Blog
- How to Clean Up Hair Selections in Photoshop using Enhance Edge — Photoshop Essentials
- AI Background Removers: Why They Cut Hair Badly — Pict AI
- Hair Fringing Isn’t a Layer Mask Issue—It’s Chromatic Aberration & Edge Sampling — frameandfocal.com
- Hair Fringing in Photoshop: Real Cause & Fix | Fstoppers — Fstoppers
- Edge Refinement: Getting Rid of Halos and Fringes | Retouchable AI — Retouchable AI
- How to Fix Hair and Fabric Edges After Background Removal — bgback.com
Improve this guide
Report a problem or suggest the next question
Submissions enter a private editorial queue. They are reviewed and deduplicated before any public update or new page is created.