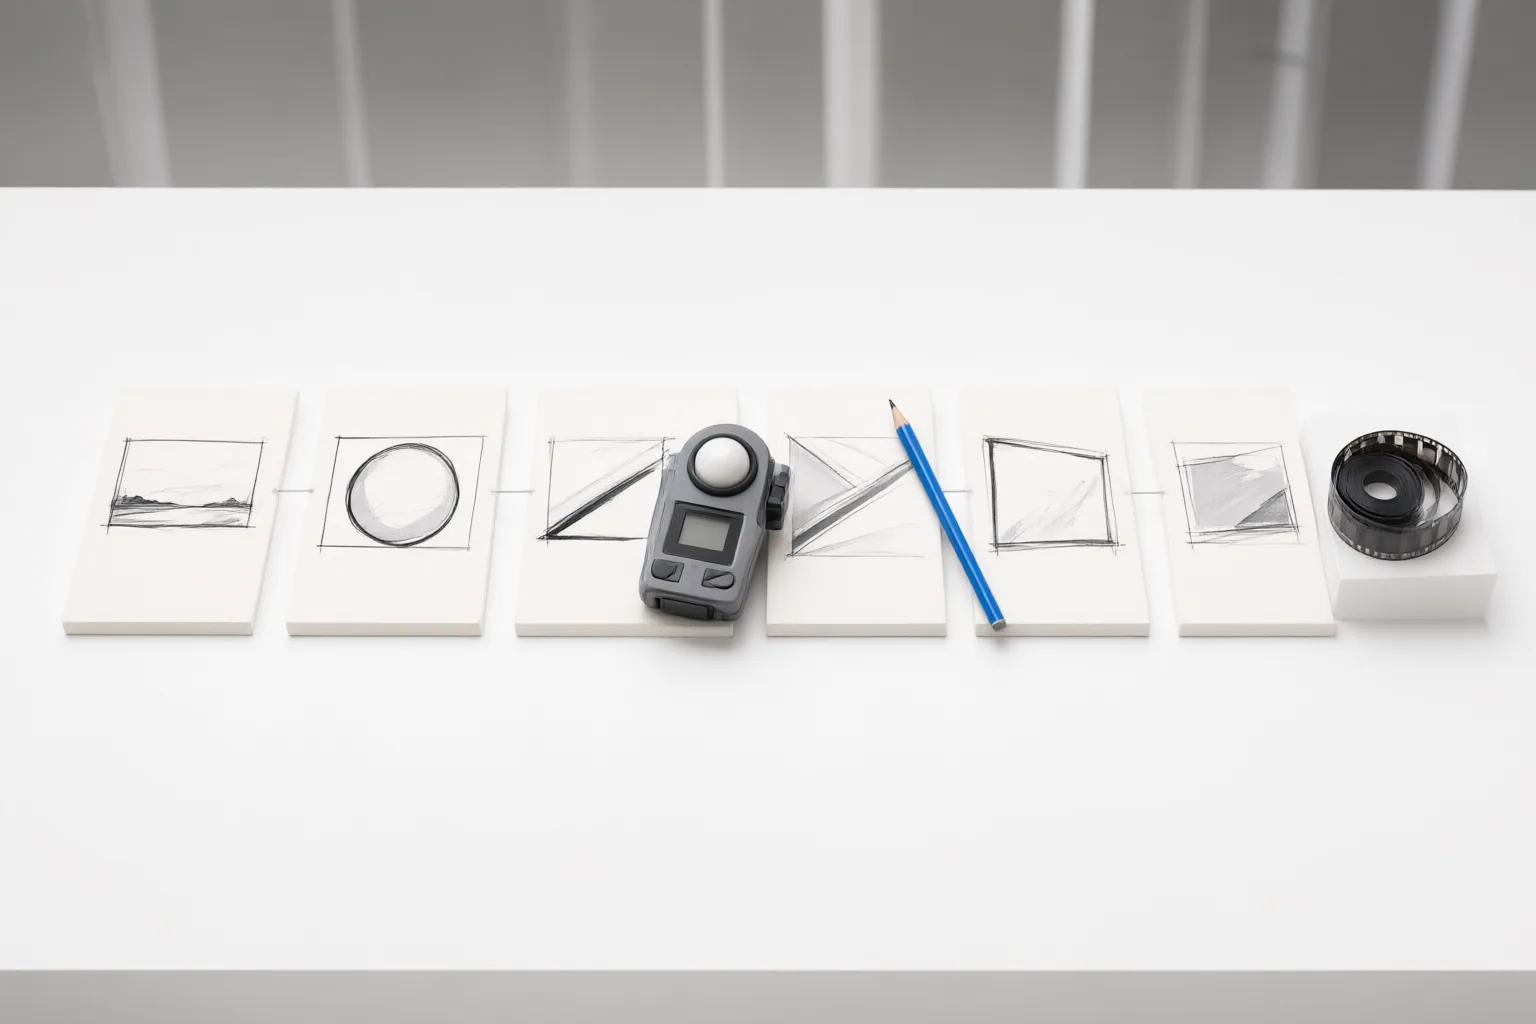
Evaluate a storyboard-to-video workflow at the sequence level: confirm that it preserves story order, coverage, framing, pacing, movement, continuity, revision control, and delivery requirements—not merely that each generated shot looks acceptable on its own.
Start with Story Logic, Coverage, and Shot Order
Begin by treating the storyboard as an ordered production plan. StoryBoard Express defines it as a sequence of panels showing each shot’s camera angle, framing, and key action before production. Compare the generated sequence with that plan and ask whether every necessary story beat appears, actions remain intelligible, and adjacent shots cut together coherently.
Review shot order as an intentional design choice. DrawStory identifies shot size, duration, cut frequency, camera movement, and breathing room as controls that shape flow and rhythm. A sequence can therefore fail even when its individual shots appear usable. Look for missing coverage, repeated information, abrupt framing changes, shots that last too long or end too quickly, and camera moves that do not support the intended story. Record problems by shot number so the team can distinguish isolated defects from structural problems in the sequence.
Check Pacing, Movement, and Visual Continuity
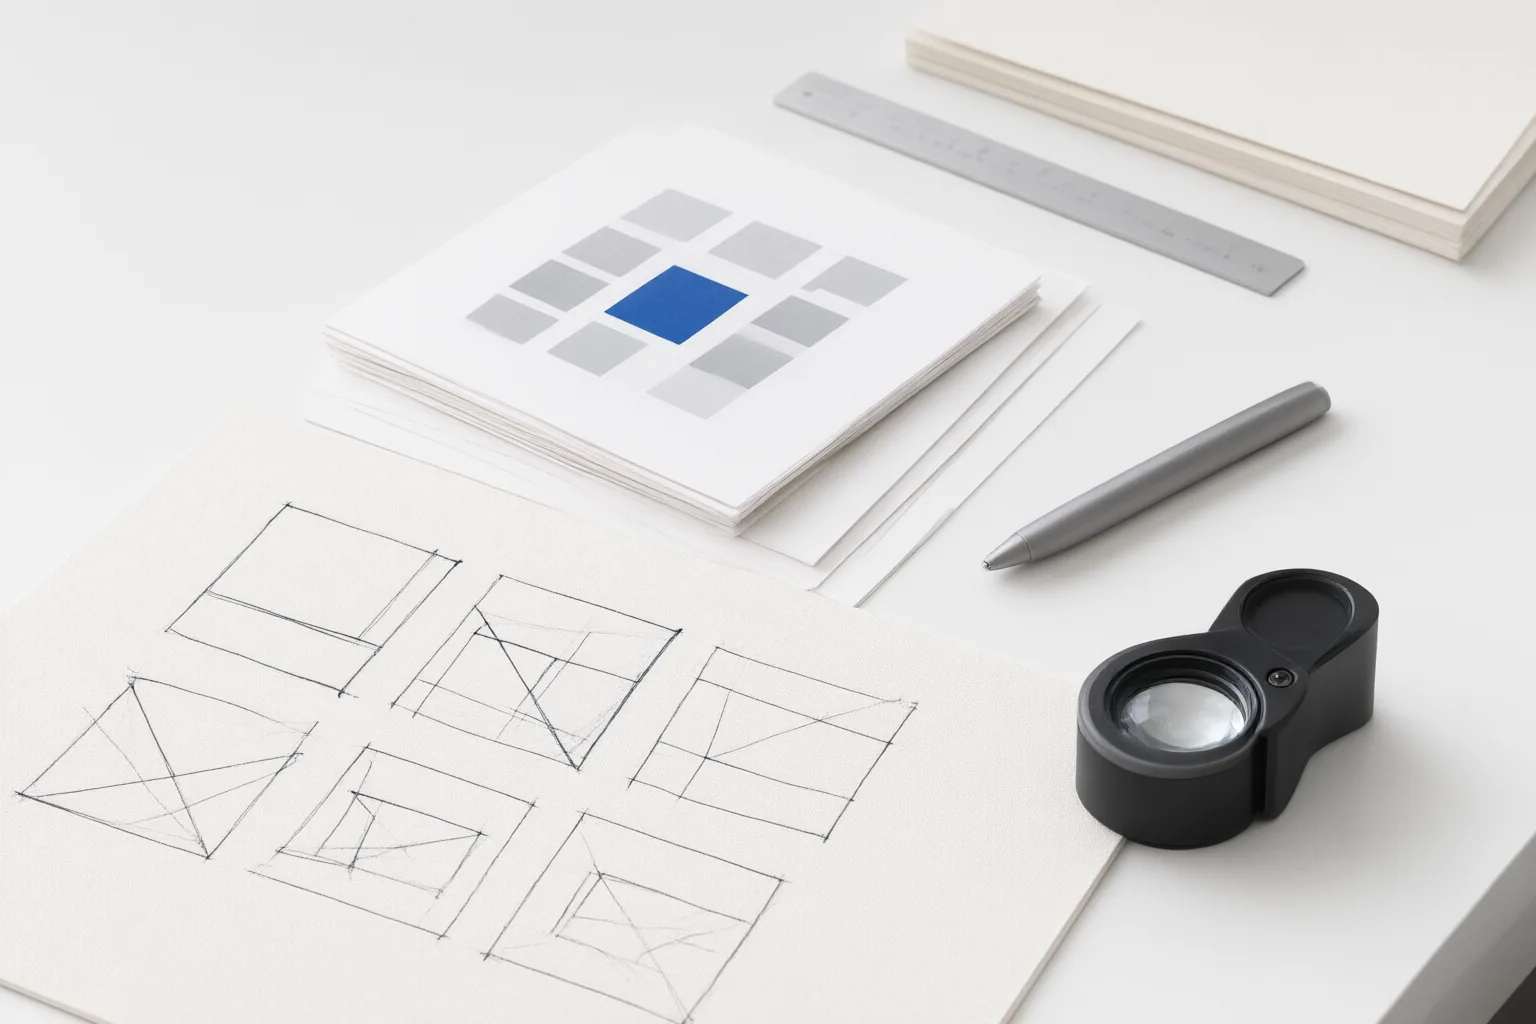
Watch the complete sequence rather than judging still frames in isolation. Check whether shot durations and cut frequency create the intended momentum, while leaving enough breathing room for important actions or information. Examine camera movement, blocking, and transitions: movement should remain understandable from shot to shot, and transitions should connect the established action instead of introducing unexplained changes.
Then audit continuity. Compare characters, locations, props, composition, and visual style across changes in angle and action. CinemaDrop documents reuse of earlier outputs or defined elements to support continuity, while OpenArt describes using approved panels as starting frames for image-to-video generation. Kapwing also identifies character placement, settings, scene order, composition, pacing, and visual style as adjustable storyboard elements.
These points form a practical evaluation checklist synthesized from vendor-documented workflows; they are not comparative benchmark results. Test whether the workflow provides enough reference control to keep important elements recognizable and whether established frames can be extended into motion without destabilizing the surrounding sequence.
Evaluate Revision, Review, and Delivery Controls
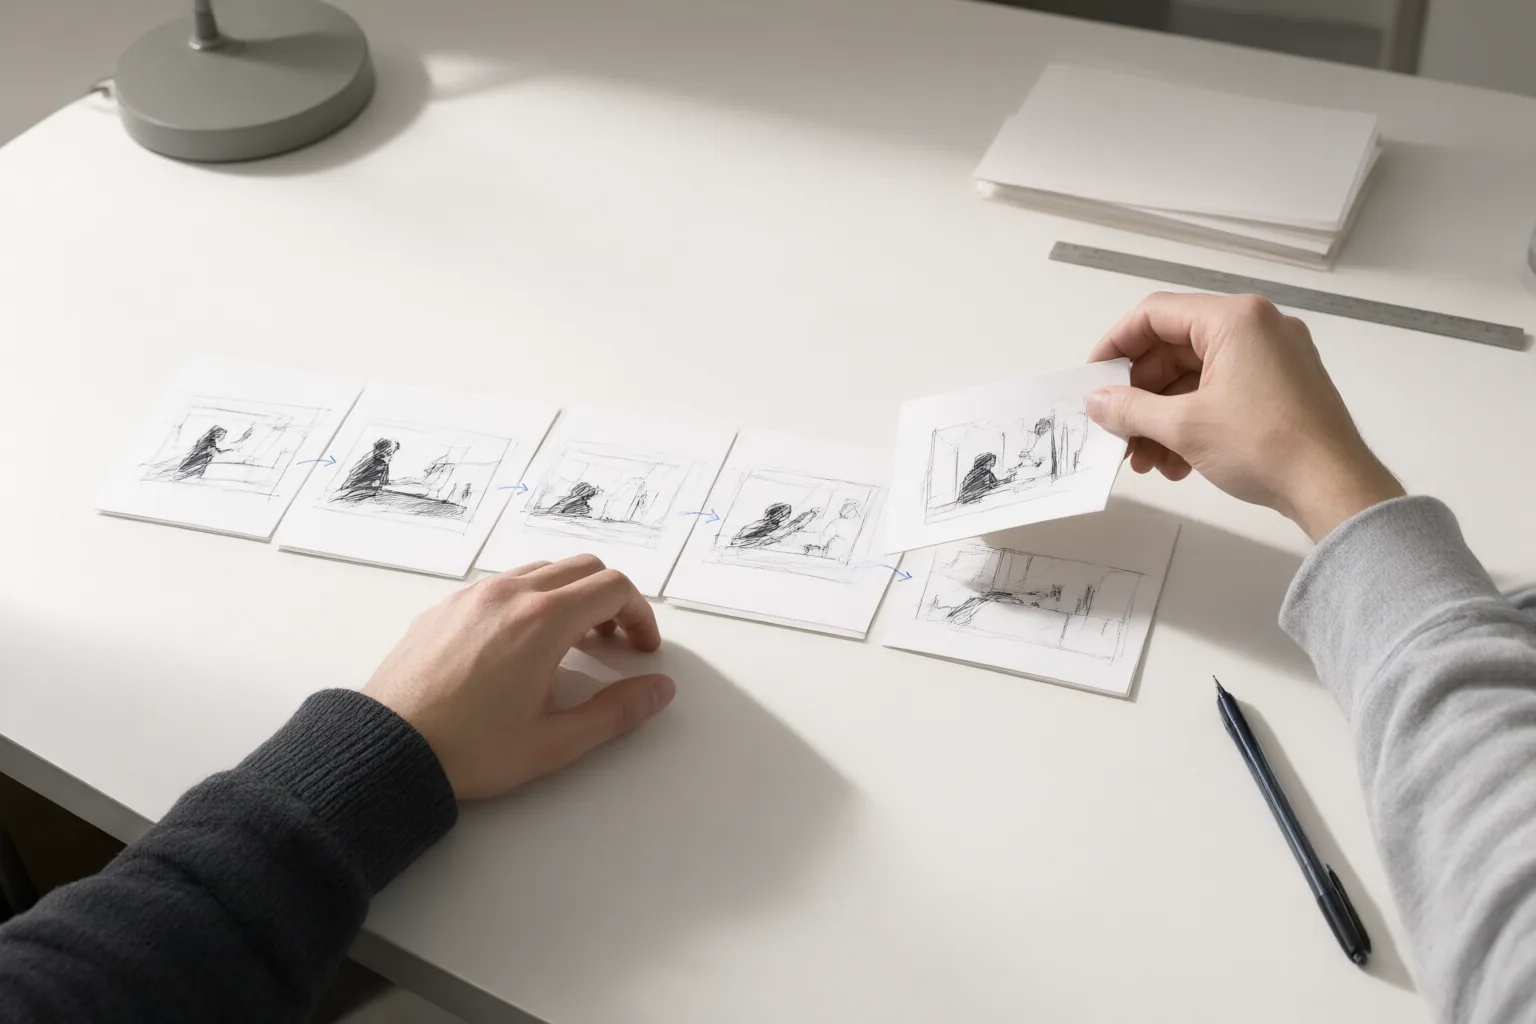
A useful workflow should make a weak shot identifiable and revisable without forcing the team to rebuild approved work. OpenArt documents a panel-by-panel process in which an individual panel can be refined, approved panels can be exported as a numbered sequence, and each panel can become a starting frame for image-to-video generation. When evaluating another workflow, check whether it offers equivalent shot-level control and preserves sequence order during regeneration and export.
Review should also happen before full generation or production handoff. Give teammates and stakeholders an ordered sequence they can inspect, annotate, and refine. Ask reviewers to cite shot numbers and classify each issue—for example, missing story coverage, inconsistent character appearance, unclear action, awkward pacing, or a disruptive transition. This creates actionable feedback instead of broad reactions to the entire video.
Finally, verify delivery requirements. CapCut’s documented controls include aspect ratio, storyboard length, narration or tone, captions, audio, export resolution, format, and frame rate. Confirm the settings your destination requires and run a sample export; a visually coherent sequence is not ready for handoff if its format or presentation settings are unsuitable.
Conclusion
Judge storyboard-to-video generation as a connected workflow: story logic and coverage first, then framing, timing, movement, transitions, continuity, revision control, collaborative review, and delivery settings. This framework does not rank vendors or establish that any documented capability performs reliably in practice. Run one representative sequence through the checklist, document failures shot by shot, and confirm the required export and handoff settings before committing the full project.
Disclosures and limitations
- This article was prepared with AI assistance from the supplied research package. The evidence is primarily vendor-authored and describes documented workflows rather than independently verified performance or hands-on benchmarks.
- No products are ranked or recommended, and no pricing or affiliate claims are included. Readers should verify capabilities and delivery settings for their own workflow before committing production resources.
Sources
- Cinematic Storyboard Generator For Coherent Shot Planning | CinemaDrop — CinemaDrop
- How to Create a Cinematic Shot Sequence in Your Storyboard — drawstory.ai
- AI Storyboard Generator – Turn a Script into Visual Panels | OpenArt — OpenArt
- AI Storyboard Generator |Turn Ideas Into Visual Plans — CapCut
- AI Storyboard Generator — Create Storyboards With AI Online — kapwing.com
- StoryBoard Express — Online Storyboard & Video Analysis Tool — StoryBoard Express
Improve this guide
Report a problem or suggest the next question
Submissions enter a private editorial queue. They are reviewed and deduplicated before any public update or new page is created.