Denoising reduces visible grain or color noise, while sharpening strengthens edges and perceived detail. Diagnose the image first: use the matching correction conservatively, and combine both only when noise and softness are present together.
Denoising and Sharpening Solve Different Problems
Denoising is intended to suppress grain or color noise. Sharpening addresses a different defect: softness in edges and fine detail. ON1 describes effective noise reduction as removing grain while retaining textures such as hair, fabric, fur, and foliage. It describes sharpening as tightening edges and micro-contrast without producing halos or an overprocessed look.
Confusing these operations can make an image worse. Sharpening a noisy photograph may make the grain more noticeable because both the subject’s edges and unwanted variations receive greater emphasis. Strong denoising can cause the opposite problem by smoothing away legitimate texture and leaving the image flat or artificial.
Freeimgtool illustrates the distinction through separate processing approaches. Its denoise-only mode is described as removing grain without intentionally changing color or sharpness, while its broader Enhance mode combines edge-preserving denoising with an unsharp mask plus color or brightness adjustments. The appropriate choice therefore depends on the defect: remove unwanted noise, strengthen recoverable edges, or cautiously address both.
How to Identify What Is Wrong With Your Image
Inspect the image at full size before choosing a correction. Noise usually appears as irregular brightness or color variation, often across areas that should look relatively even. ClipSnap identifies low light and high ISO as common causes of visible grain. If the image contains that kind of variation but its important edges are adequately defined, denoising is the more relevant starting point.
Softness requires a more careful diagnosis. Look at subject boundaries, fine text, hair, fabric, and other detailed regions. LetsEnhance distinguishes general softness from camera shake and missed focus, indicating that “blur” is not a single defect with one treatment. Camera movement may produce directional blur, while missed focus can leave the intended subject without clear detail.
Ask three questions: Is there visible grain? Are important edges soft? Are both problems present? This separates a likely denoising task from a likely sharpening task and identifies images that may need both. It also helps prevent unrealistic expectations, because processing cannot necessarily recreate information that was never captured.
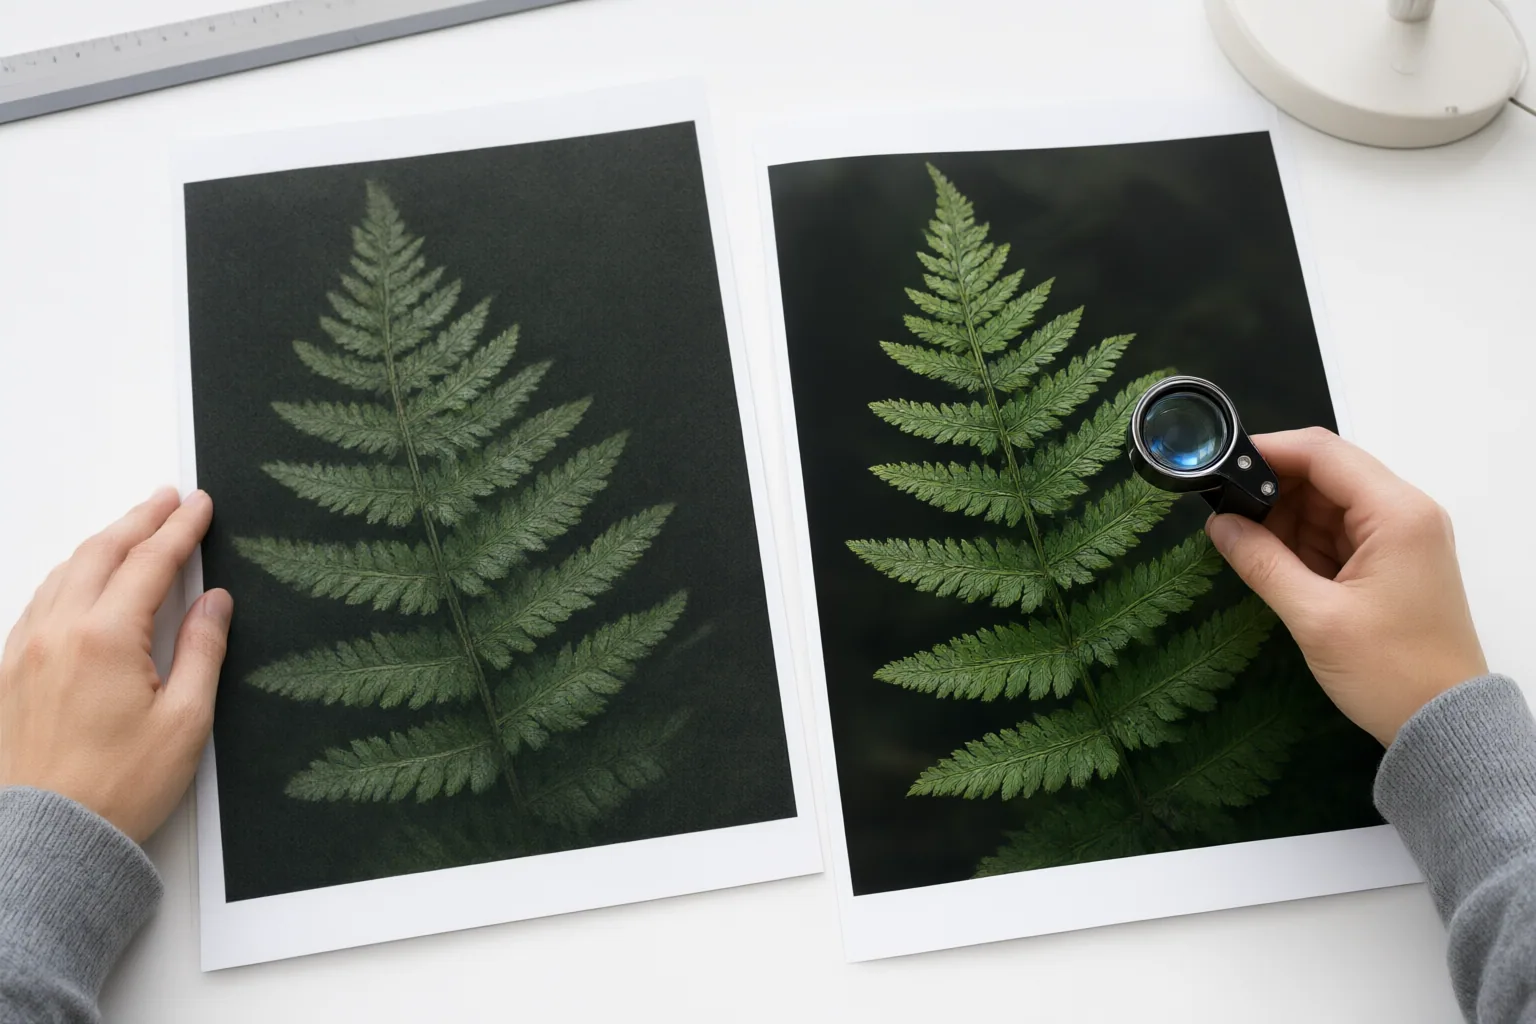
When to Combine Denoising and Sharpening
An image with both grain and recoverable softness may benefit from a combined workflow. One documented pattern is edge-preserving denoising followed by restrained sharpening. Reducing noise first helps avoid emphasizing grain during the sharpening stage, but each adjustment should remain conservative enough to preserve natural texture.
Evaluate the result rather than assuming that stronger processing is better. Compare the processed image directly with the source, as ClipSnap and GoEnhance recommend in their workflows. Examine faces, fine text, foliage, fabric, hair, and high-contrast edges at full size. Warning signs include lost texture, altered facial detail, damaged lettering, bright or dark halos around edges, and a crunchy appearance.
Avoid repeatedly applying enhancement without checking the cumulative effect. Freeimgtool warns that stacked passes can oversharpen edges and create halos. GoEnhance recommends beginning with the best available source and exporting the result that best preserves the original subject. If a combined correction improves edge definition but destroys texture or changes important details, reduce the processing or retain the more faithful version.
Conclusion
Use denoising for unwanted grain, sharpening for recoverable softness, and a cautious combination when both defects are visible. Neither method guarantees that missing information can be restored. Freeimgtool states that its classical process cannot recover a badly out-of-focus image, heavy motion blur, a face represented by only a few pixels, or detail lost through extreme compression.
Start with the best source available. Inspect it at full size, identify noise, softness, or both, and apply the matching correction conservatively. Then compare the result with the original and export the version that most faithfully preserves the subject.
Disclosures and limitations
- This article was prepared with AI assistance from the supplied research package. Material claims are attributed to vendor or tool-publisher sources and were not independently verified; no product ranking, price claim, or affiliate recommendation is included.
Sources
- 7 best apps to sharpen & fix blurry images (2026) – LetsEnhance — LetsEnhance – Image enhancement powered by AI
- Best AI Sharpening & Noise Reduction Software for High-ISO Photos | ON1 — on1.com
- Try Topaz AI Enhancer Free for Image Sharpening and Denoising — goenhance.ai
- AI Image Denoiser – Free Photo Noise Removal | ClipSnap — clipsnap.com
- Free Image Enhancer — Denoise, Sharpen, Upscale — freeimgtool
- Sharpen Image Online Free – AI-Powered Image Sharpener — imgupscaler.ai
Improve this guide
Report a problem or suggest the next question
Submissions enter a private editorial queue. They are reviewed and deduplicated before any public update or new page is created.