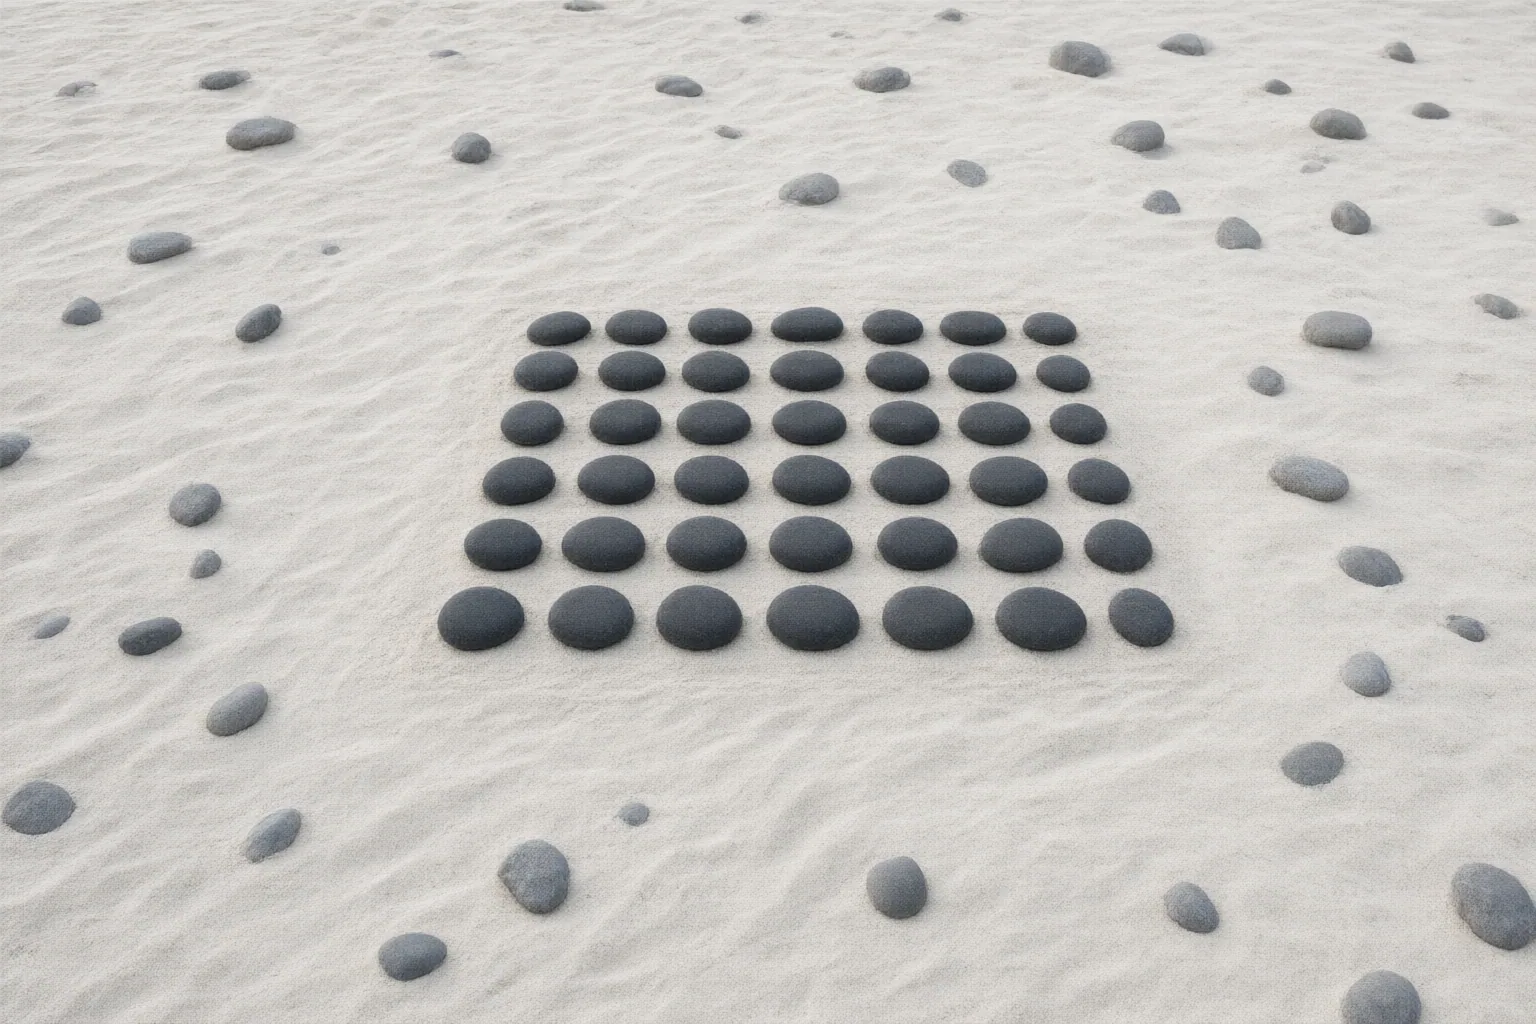
Repeating textures appear because AI object-removal tools generate a plausible replacement from nearby pixels instead of recovering the hidden background. Correcting the result usually requires a better-sized mask, smaller editing passes, careful edge inspection, and manual repair when generation cannot preserve an exact pattern.
Why Repeating Texture Patterns Appear
AI object removal reconstructs the selected area by predicting content from the surrounding pixels. It cannot reveal the original brick, fabric, foliage, gravel, tile, or fence detail that the object concealed.
This distinction becomes especially visible on regular backgrounds. A generated patch may match the general color and texture while failing to continue the exact spacing, alignment, or structure. Bricks may repeat or shift, fence lines may bend, and fabric or foliage may contain duplicated details. The result can therefore look convincing at first glance but reveal offsets, distortion, or mismatched texture under closer inspection. Large removals make the problem harder because they erase more of the intact pattern that could otherwise guide reconstruction.
Check the Mask, Edges, and Source Image
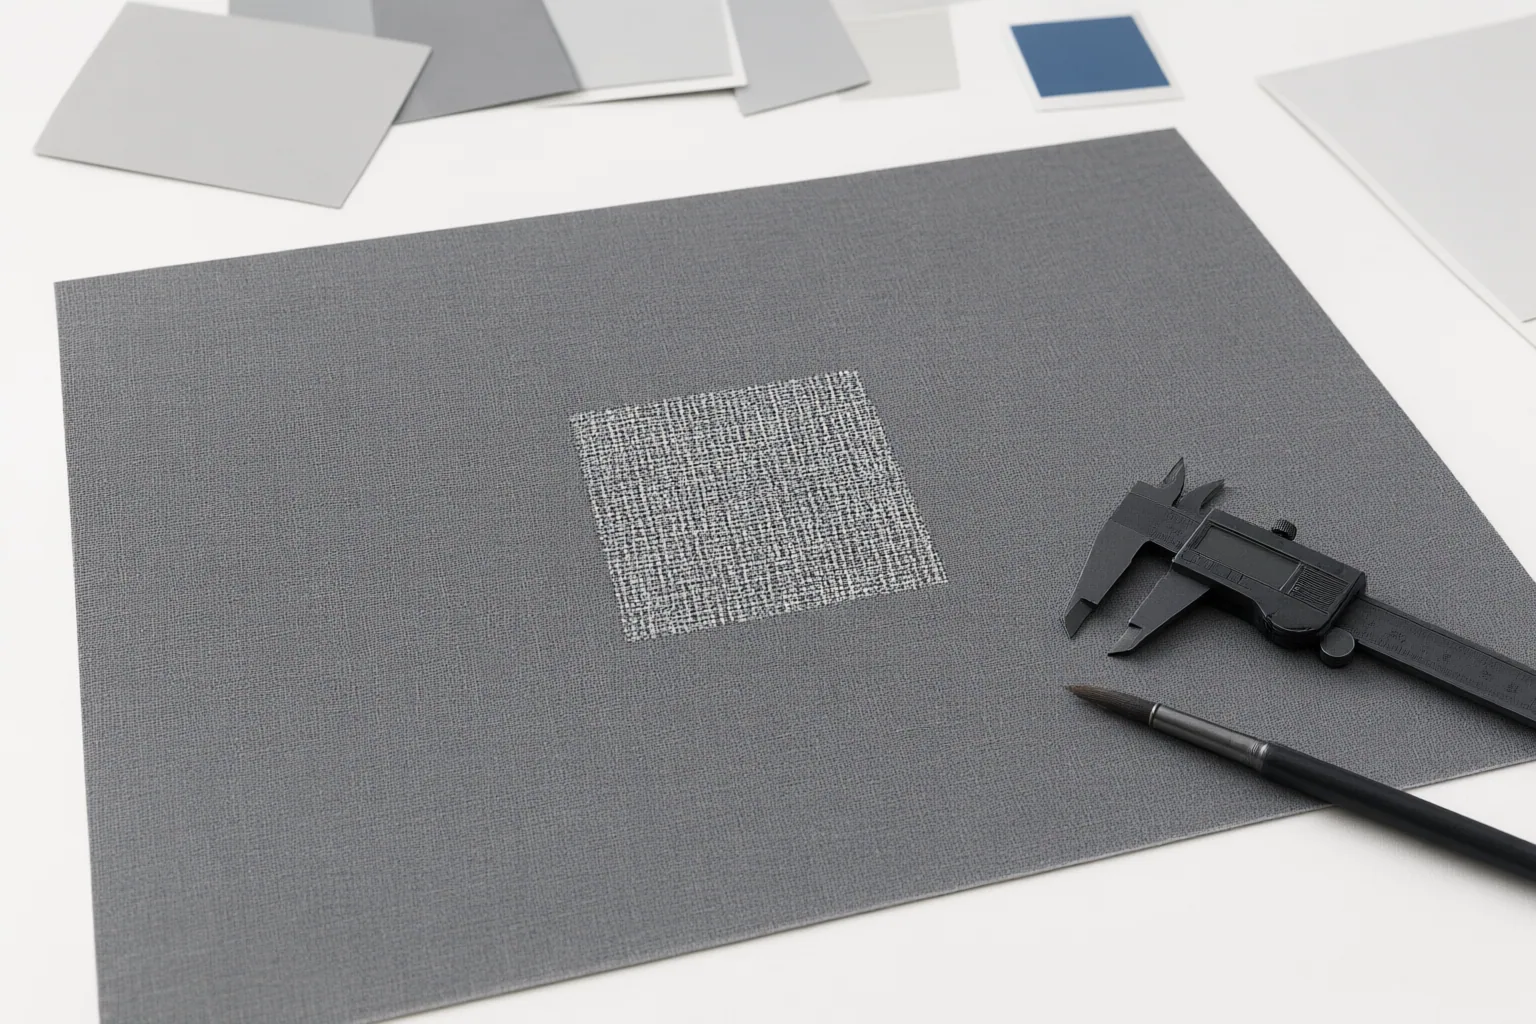
Start by identifying whether the defect comes from the mask, the object boundary, or the source image. An overly broad mask removes useful background context, giving the system less intact pattern to follow. A very tight mask can create the opposite problem: edge pixels, shadows, motion blur, or color fringing may remain and form a visible halo or outline.
Inspect the edited area for repeated details, alignment shifts, broken structural lines, smearing, and remnants around the former object. Adjust the selection according to what you find rather than applying one fixed margin in every case.
Also examine the original image quality. Low-resolution or heavily compressed files contain less visual detail for reconstruction and are associated with pixelated backgrounds, softened textures, missing detail, and poorer fills. A revised mask can improve context, but it cannot restore source detail that is absent.
A Practical Correction Workflow
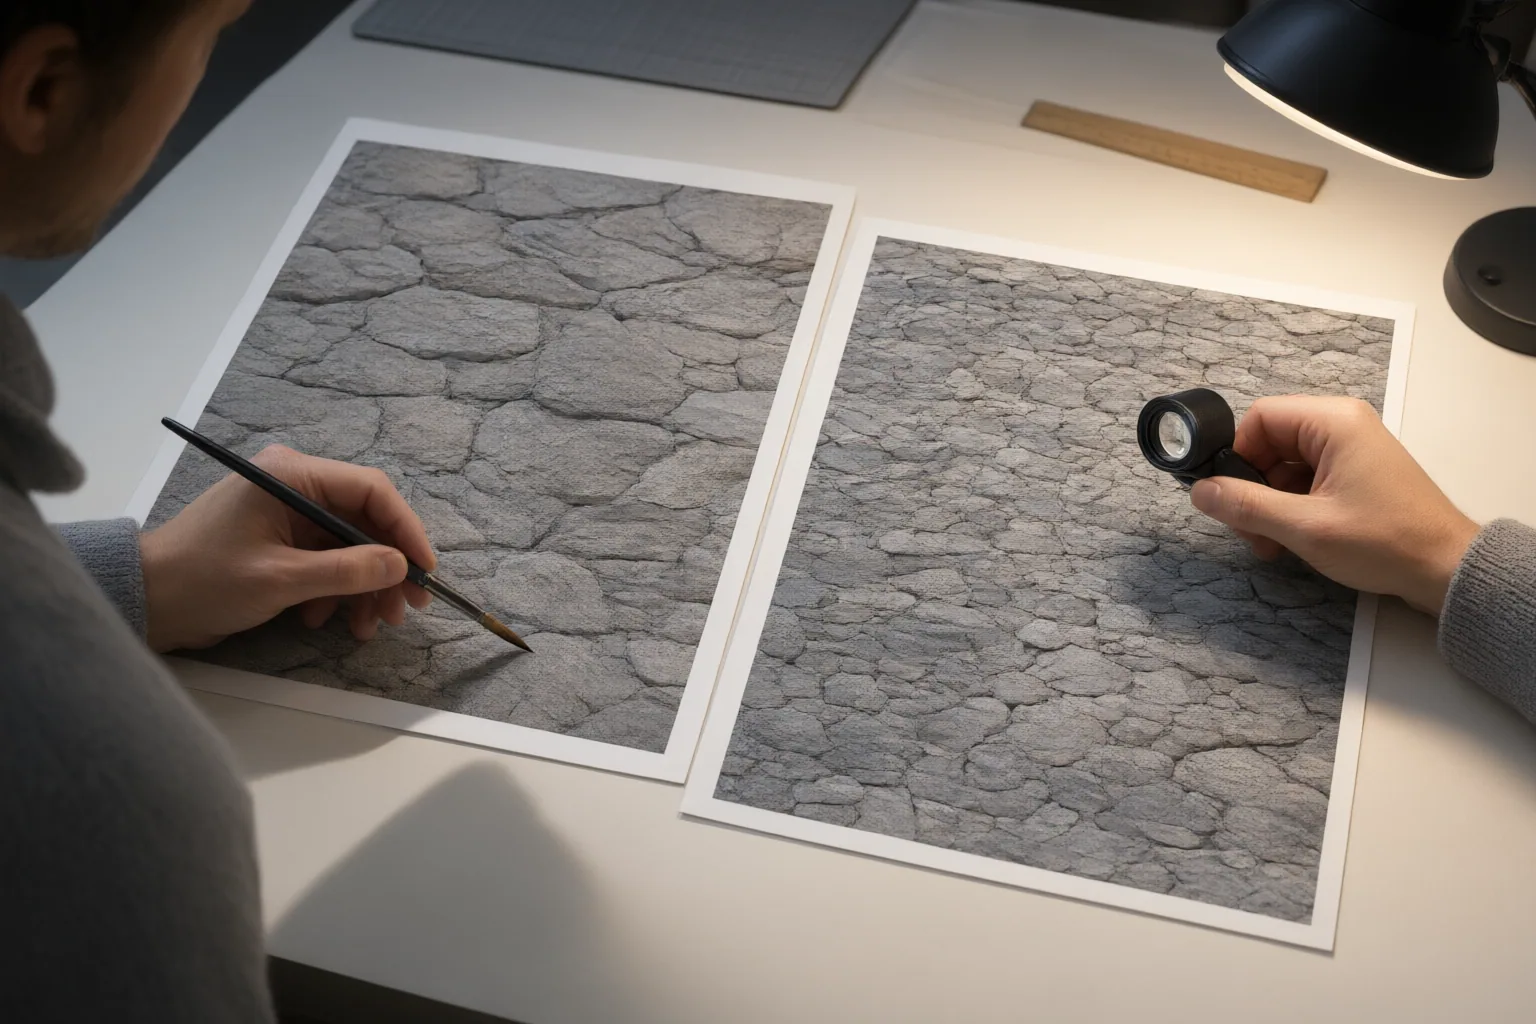
Return to the original image instead of building more corrections on top of a flawed fill. Then use this sequence:
- Select a smaller portion of the object or divide the removal into several sections. Preserve as much intact background pattern as possible around each selection.
- Include enough of the object’s shadow, blurred boundary, and color-fringed edge to avoid leaving a halo, but do not erase unnecessary patterned background.
- Run one controlled removal and inspect the pattern at the patch boundary. Look for duplicated features, offsets, crooked lines, smearing, and abrupt changes in texture.
- If objects overlap, remove them in layers from foreground to background. Review each pass before continuing, because removing several overlapping elements at once can introduce ghosting.
- Refine the next selection based on the visible defect rather than repeatedly submitting the same mask.
If additional generations keep inventing texture or cannot reconnect a structural line, stop rerunning the unchanged selection. Use a manual finishing method such as clone-stamp work to copy suitable nearby detail and repair the remaining mismatch. This combines AI reconstruction for the broader removal with direct control where exact repetition or alignment matters.
Conclusion
Successful correction depends on preserving useful context, adapting the mask to the actual defect, and recognizing when generation cannot maintain an exact pattern. Reopen the original image and retry one small, context-preserving section first. Review its edges and alignment, continue in controlled passes if it improves, and manually repair any remaining repeated texture or broken structural line.
Disclosures and limitations
- This article was prepared with AI assistance from the supplied research package. Material claims are attributed through source IDs; the underlying sources include commercial tool publishers and promotional material, so vendor superiority and universal performance claims are not asserted.
Sources
- Why AI Object Removal Looks Blurry (and How to Fix It) — MagicRemover
- Removing Objects from Complex Backgrounds — Object — Magic Eraser
- 9 Common AI Image Artifacts: Spot & Fix 2026 | ZSky AI — ZSky AI
- AI Object Remover Online: 5 Tips to Fix Bad Photo Edits | The AI Journal — The AI Journal
- Free Seamless Pattern Generator — Tileable Repeat from a Photo — Texloom Studio
Improve this guide
Report a problem or suggest the next question
Submissions enter a private editorial queue. They are reviewed and deduplicated before any public update or new page is created.