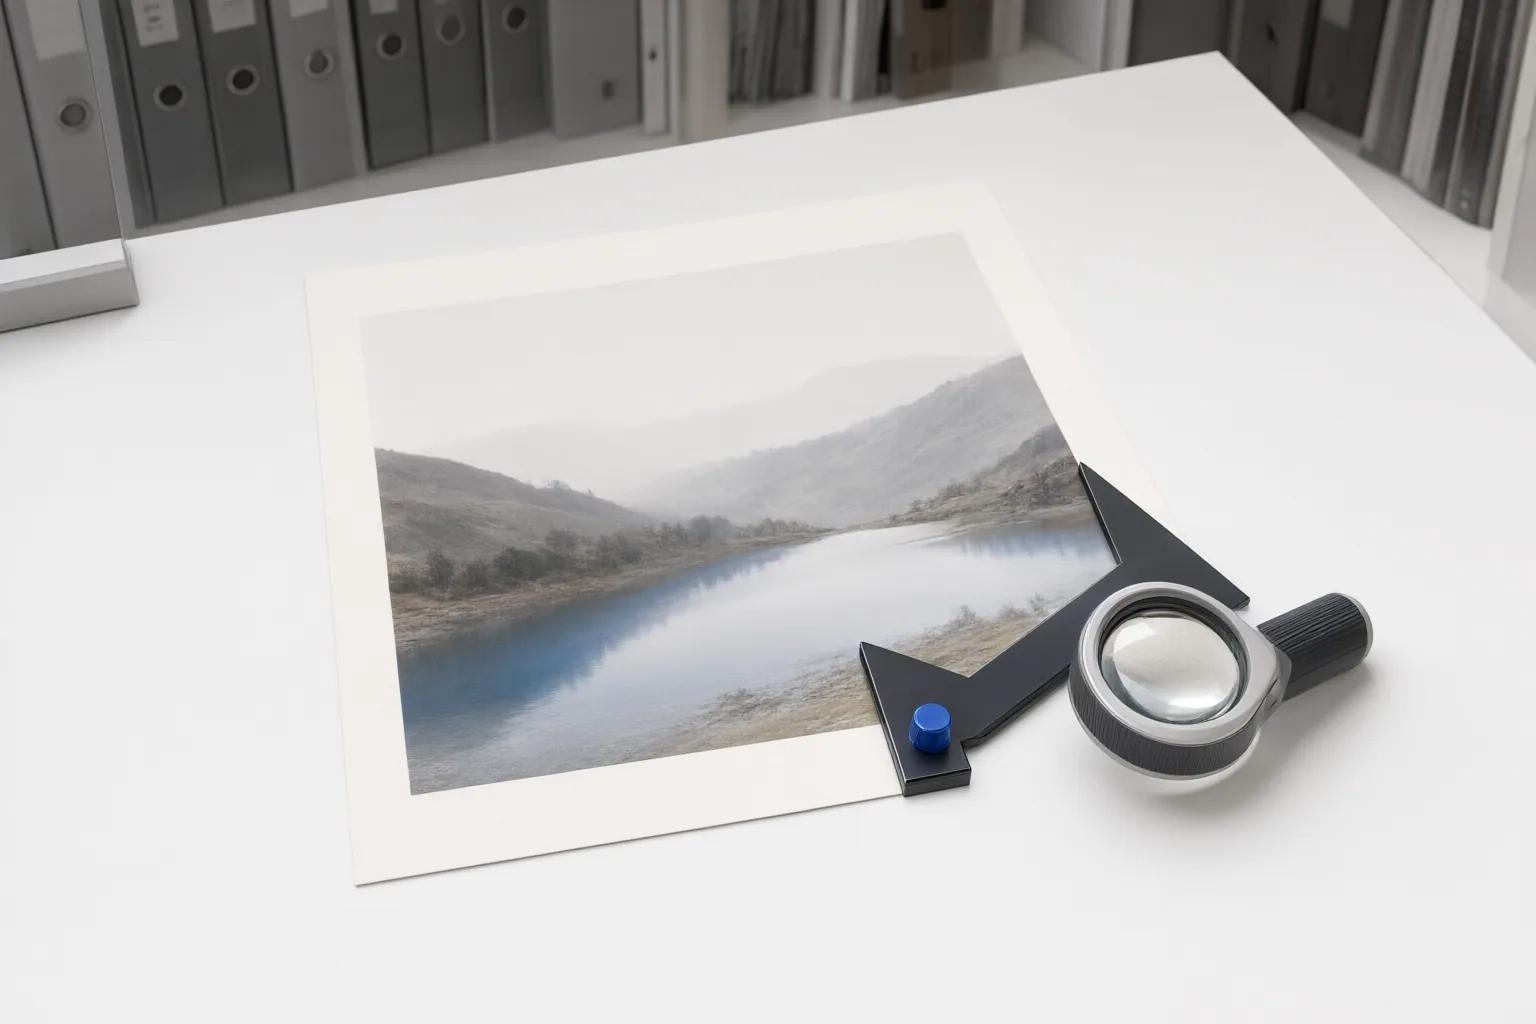
Treat the visible source image as a fixed boundary: define the framing you can safely use, plan motion that stays within it, generate a short test, and inspect every edge throughout the clip. This is an editorial quality-control workflow, not a verified capability of any particular AI tool.
Identify the Source Image’s Usable Boundary
Begin by marking the portion of the source image that may remain visible throughout the finished clip. Note the subject, important details, intended output frame, and any edge that motion must not cross. Also identify areas near the perimeter where a shift in framing would require visual information that the source does not contain.
Record these limits as editorial requirements before generating motion. For example, specify whether the subject must remain centered, whether every original edge must stay outside the delivered frame, and how much framing change the source can accommodate. Do not assume that a generator will preserve these limits automatically; that would be a tool-specific capability requiring separate verification.
The cited sources do not establish an AI-video method. They use “missing areas” in the unrelated context of home boundaries and feng shui floor plans, so they cannot substantiate claims about image-to-video generation, cropping, canvas extension, or camera controls.
Plan Motion Around the Available Frame
Choose the intended movement only after defining the usable boundary. As an editorial planning decision, favor framing that keeps the delivered view inside known image content. Reconsider any pan, zoom, rotation, or subject movement that would approach an edge or require unseen material beyond it.
Three planning options follow from that boundary check:
- Constrain the intended framing so the visible region remains within the source image.
- Reduce or redirect movement that approaches an unsafe edge.
- Prepare additional visual area in a separate editing workflow, but only after verifying that workflow and reviewing its output.
These are production choices rather than documented features of a named product. The available sources provide no evidence about which AI systems offer motion constraints, cropping controls, outpainting, or canvas extension. Before relying on any such feature, confirm its current behavior using product-specific documentation or a controlled test.
Inspect the Generated Clip for Edge Exposure
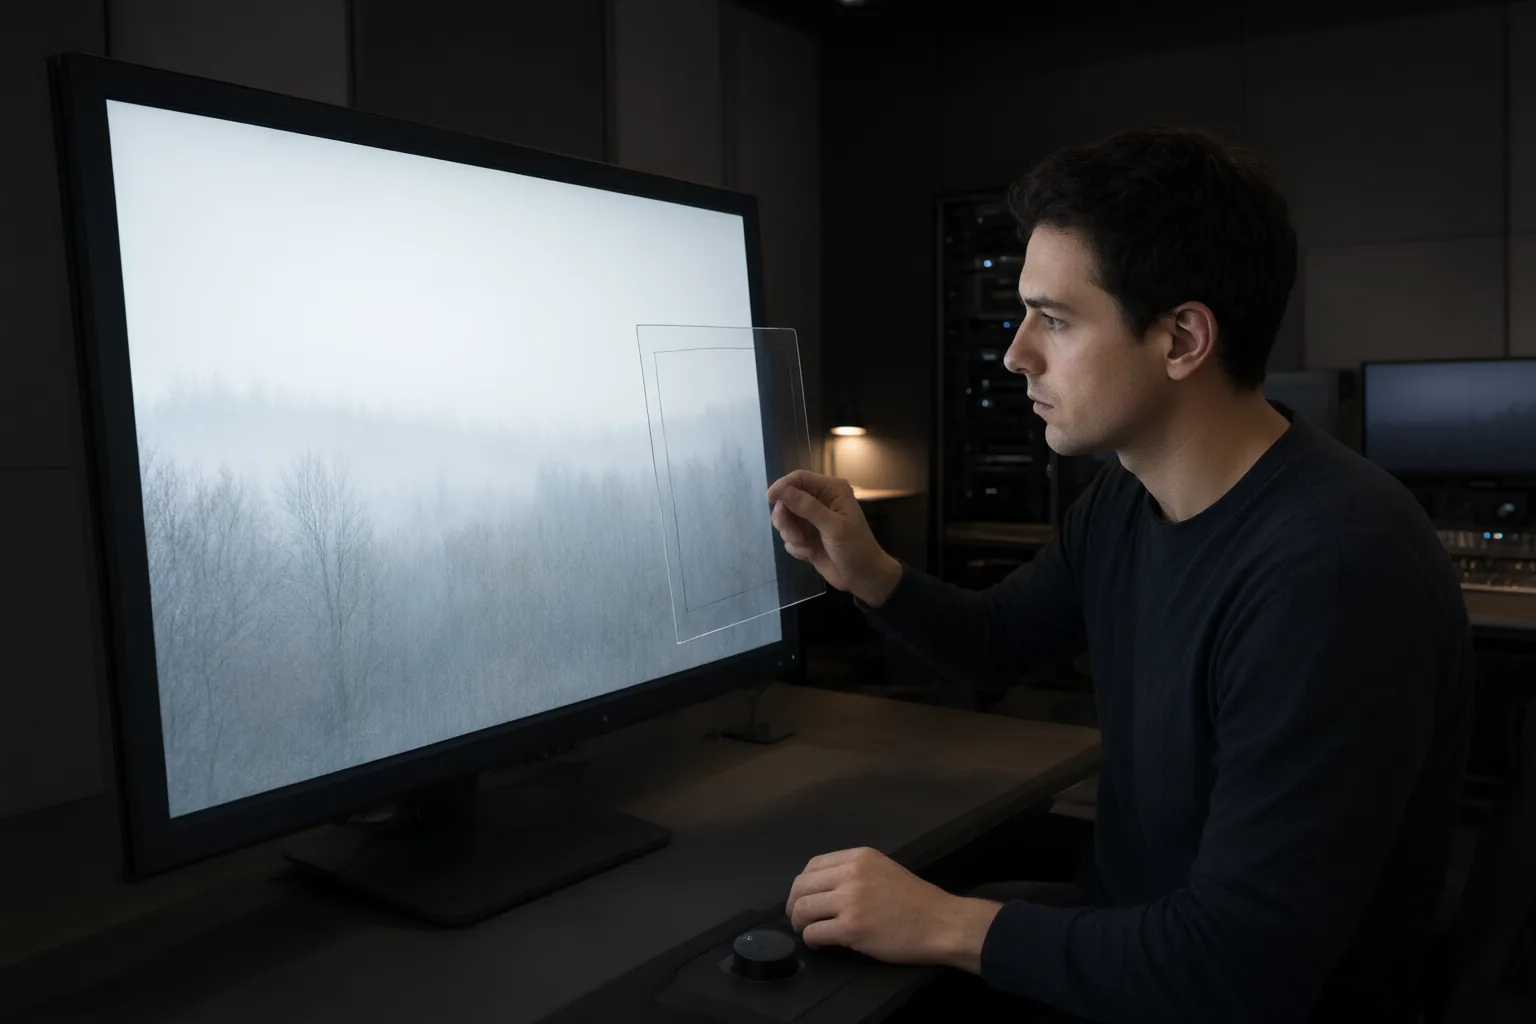
Make a short test generation before committing to the final clip. Review the opening frame, closing frame, and intermediate frames rather than judging the result from a thumbnail or a single still. Inspect the top, bottom, left, and right edges at each review point.
Reject or revise the test if an edge reveals an unwanted blank region, newly invented content, or imagery that changes inconsistently between frames. Compare the clip with the marked usable boundary and confirm that important subjects and details remain inside the approved framing. If the intended movement cannot stay within that boundary, return to the source image or revise the motion plan instead of treating the exposed region as approved by default.
This sequence is an editorial quality-control procedure. It is not evidence that a particular generator will expose, repair, or consistently handle image boundaries. The supplied sources concern feng shui floor-plan “missing areas” and do not verify AI-generated motion behavior.
Conclusion
A boundary-first workflow keeps the decision understandable: mark what the source image actually provides, plan movement around that usable region, create a short test, and examine the entire result for edge exposure. Avoid attributing unsupported controls or corrective abilities to any tool. The cited material discusses unrelated meanings of “missing areas” and does not verify image-to-video techniques. Before producing the final clip, mark the usable frame, generate a short test, and review every edge in the opening, intermediate, and closing frames.
Disclosures and limitations
- This article was prepared with AI assistance from the supplied research package and content plan. The cited sources discuss feng shui floor-plan boundaries, not AI image-to-video methods, so the workflow is presented as an editorial checklist rather than verified product guidance. No products or affiliate offers are recommended.
Sources
- Feng Shui Remedies for "Missing" Areas in Your Bagua – Tess Whitehurst — Tess Whitehurst
- How to Feng Shui Missing Areas for Enhanced Energy and Harmony in Your Home — Feng Shui Mood
- 15 Feng Shui Cures For Missing Areas: How-To Quick Fixes — Fengshuitricks
Improve this guide
Report a problem or suggest the next question
Submissions enter a private editorial queue. They are reviewed and deduplicated before any public update or new page is created.