
Before importing variable-frame-rate footage into an AI video workflow, identify its timing mode and codec, choose the project cadence, convert a copy to a constant frame rate when appropriate, and test that copy on the intended timeline.
Check the Clip Before Converting It
Start by inspecting a representative clip with a media-information utility or the operating system’s file properties. Determine whether its frame-rate mode is variable or constant, note the codec, and record its nominal frame rate. This diagnosis matters because codec incompatibility can resemble a timing problem.
VFR allows frame timing to change during playback or gives individual frames their own timestamps. Some smartphone cameras record this way, and the resulting footage can develop synchronization difficulties in an editing workflow even when it initially appears usable.
Next, decide the project frame rate before placing clips on the timeline. Changing that setting later may be awkward or restricted in some editor versions. Also check the AI tool’s current documentation for accepted codecs and frame-rate requirements: the supplied evidence does not establish support for any specific product. Preserve the original and perform any conversion on a copy.
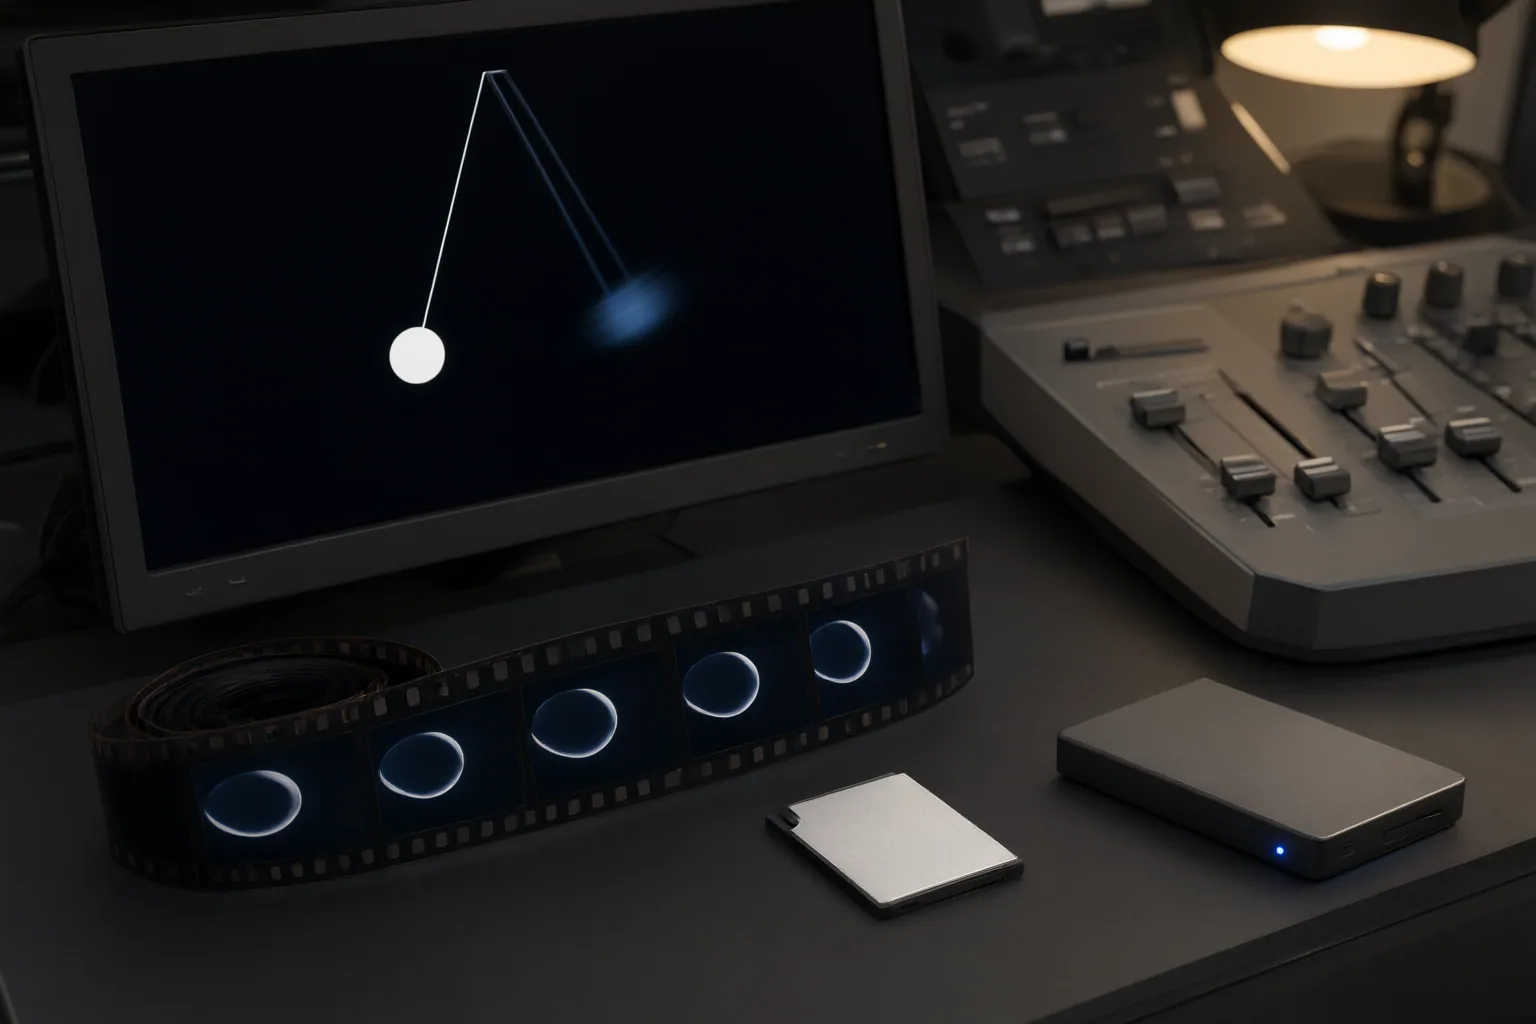
Separate VFR Problems From Timeline Mismatches
A VFR timing issue is not the same as a constant-rate clip whose frame rate differs from the project timeline. VFR involves timestamps or cadence that vary within the clip and may lead to audio drift, synchronization errors, or export trouble.
A timeline mismatch can occur even when the source is constant-rate. For example, placing 30 fps footage on a 24 fps timeline requires frames to be removed. Moving shots may then show judder, but that symptom does not by itself prove the source is VFR.
Diagnose the timing mode, nominal source rate, project rate, and codec separately. If the clip is VFR, constant-rate transcoding may be appropriate. If it is already constant-rate, the decision instead concerns how to translate its cadence to the timeline. Keeping these cases separate reduces the risk of applying a conversion that does not address the underlying problem.
Convert Deliberately and Test the Result
For confirmed VFR footage, the supplied guidance recommends re-encoding a copy to a constant frame rate selected for the project. One source demonstrates this with FFmpeg and an H.264 output, but that example should not be treated as a universal preset: the target cadence and codec still need to match the intended timeline and the AI tool’s documented requirements.
When the source and project rates differ, conversion methods include dropping or duplicating frames, frame blending, and optical flow. Each has tradeoffs. Dropping or duplicating frames can make motion stutter; blending may soften motion; optical flow can create halos or other artifacts. No method is automatically best for every shot, so review clips with significant movement rather than relying only on conversion settings.
Import the converted sample into the actual project and check audio synchronization from beginning to end. Look for stutter, dropped frames, softness, halos, and export problems, and confirm that the codec is accepted throughout the workflow. Only after the representative clip passes these checks should the same process be applied to the remaining footage.
Conclusion
A reliable preparation workflow is to inspect the timing mode and codec, select the project cadence before import, convert a copy when VFR or a cadence change requires it, and validate the result on the intended timeline. Before processing a full batch, confirm the AI tool’s current codec and frame-rate requirements, then test one representative clip for synchronization, motion quality, and compatibility.
Disclosures and limitations
- This article was prepared with AI assistance using only the supplied research package and its attributed instructional sources; product-specific codec and frame-rate support was not independently verified.
- No products, prices, ratings, or affiliate recommendations are included. Verify current requirements in the target AI video tool’s official documentation before importing or converting footage.
Sources
- Decide the frame rate before you import anything · Addaly — Addaly
- Variable frame rate – Wikipedia — en.wikipedia.org
- How to fix frame rate and codec issues in AI footage | CineBotica — CineBotica
- Variable vs Constant Frame Rate (September 2026) Why It Matters for Video Editing — Markus Hanger Photography
- Why Variable Frame Rate Files Break Your Pipeline – VID Blog — vid.co
- What is Variable Frame Rate and How to Determine If A Video Has VFR? — dumbofab.com
- Video Frame Rate Conversion Guide – totalmedia.ai — TotalMedia
- What is variable frame rate (VFR) and how does it work? — Digital Camera World
Improve this guide
Report a problem or suggest the next question
Submissions enter a private editorial queue. They are reviewed and deduplicated before any public update or new page is created.