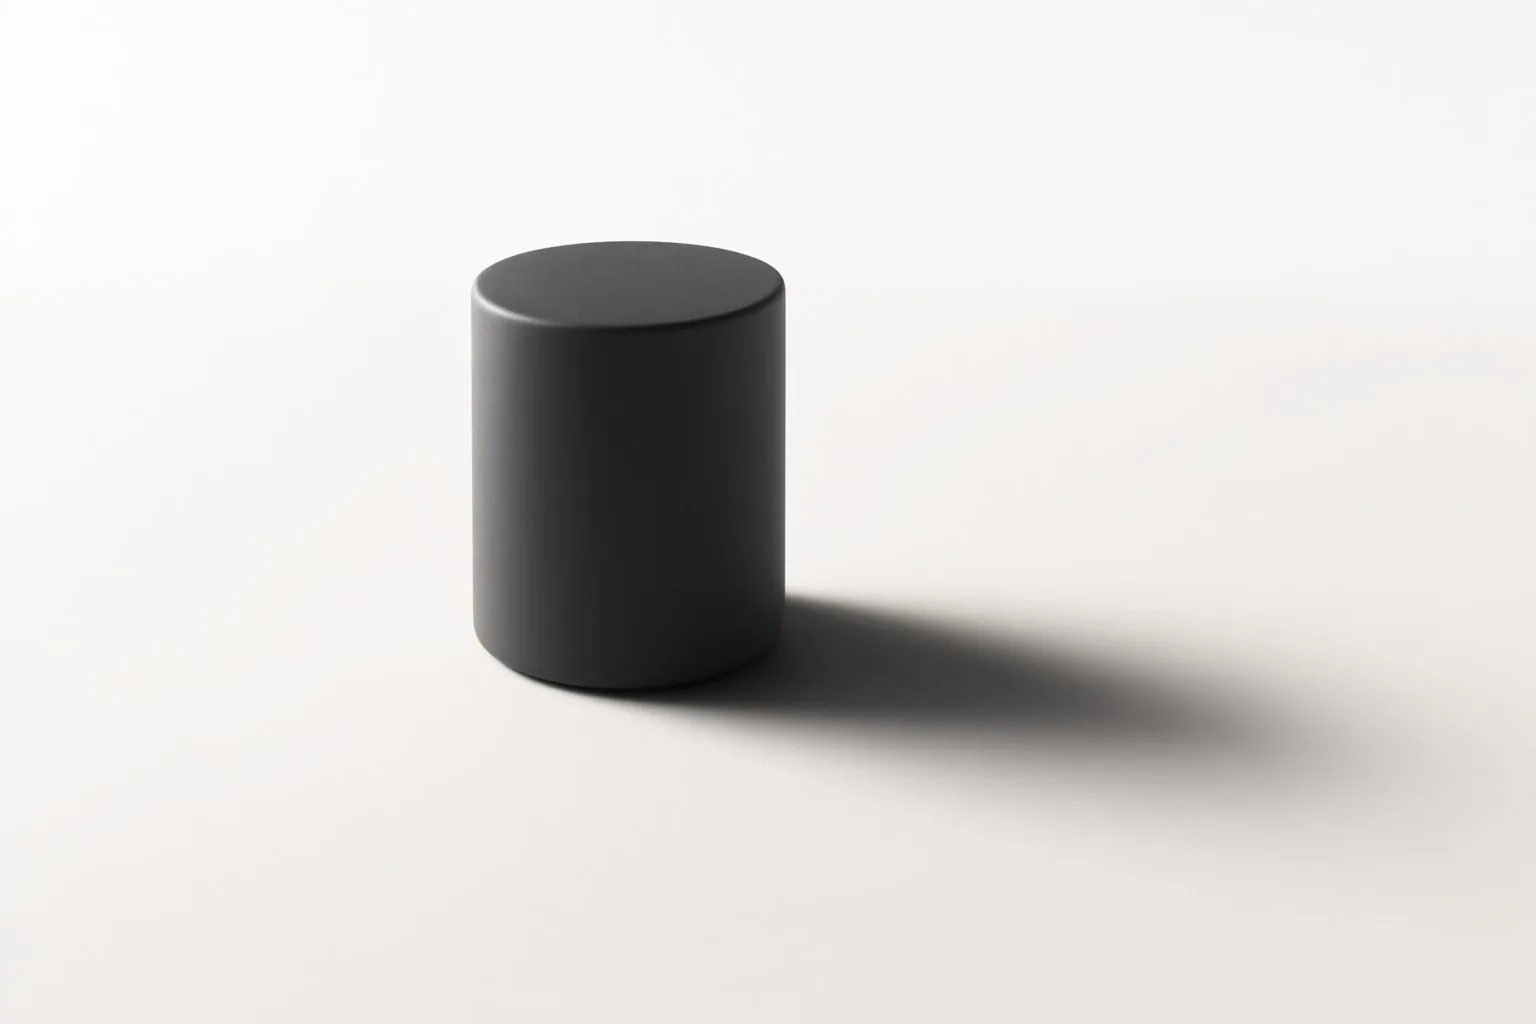
To use Photoroom AI Shadows, start with a product image, choose a preset that matches the intended effect, generate the shadow, and refine its placement and appearance with the documented Web App controls when needed.
Apply an AI Shadow to a Product Photo
Photoroom’s documented workflow begins with a source image. Select the AI Shadows settings, provide a prompt, and generate an image. You can then use the generated result, open it in Photoroom’s main editor for further changes, or regenerate it to create variations.
AI Shadows is available as a standalone tool, inside the main editor, through AI tools in Batch, and in Photoroom for Shopify. Because Photoroom’s overview does not provide every platform-specific button sequence, the exact route may depend on the interface you use. After applying the shadow, Photoroom allows the image to be edited further or saved, exported, and downloaded.
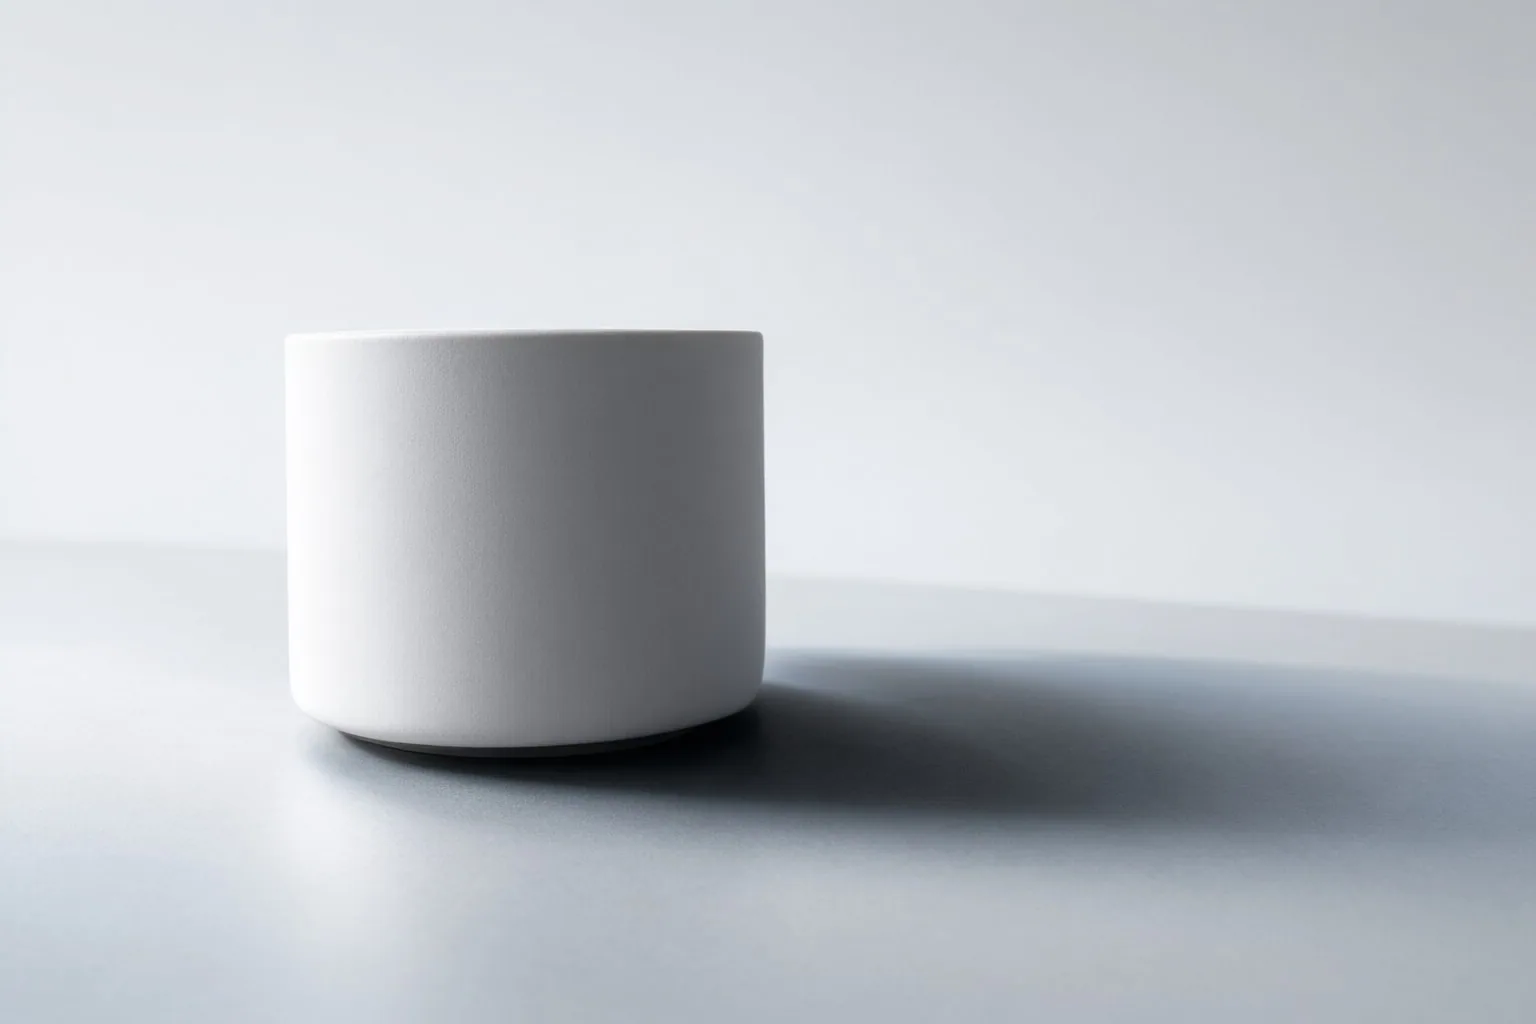
Choose Soft, Hard, or Floating
The preset is the simplest place to establish the shadow’s overall character. Soft produces a light, diffused shadow, while Hard produces a stronger, darker result. Floating places a shadow below the product to make the item appear raised above the ground. Photoroom says this preset analyzes the image content to estimate where the ground is most likely to be. The Presets category also includes None when no preset effect is wanted.
As editorial guidance, begin with Soft when you want restrained edges, Hard when a dense shadow suits the composition, or Floating when the intended effect is visible separation between the product and ground. These are starting points rather than guarantees about a particular image. Photoroom states that presets do not consume AI credits.
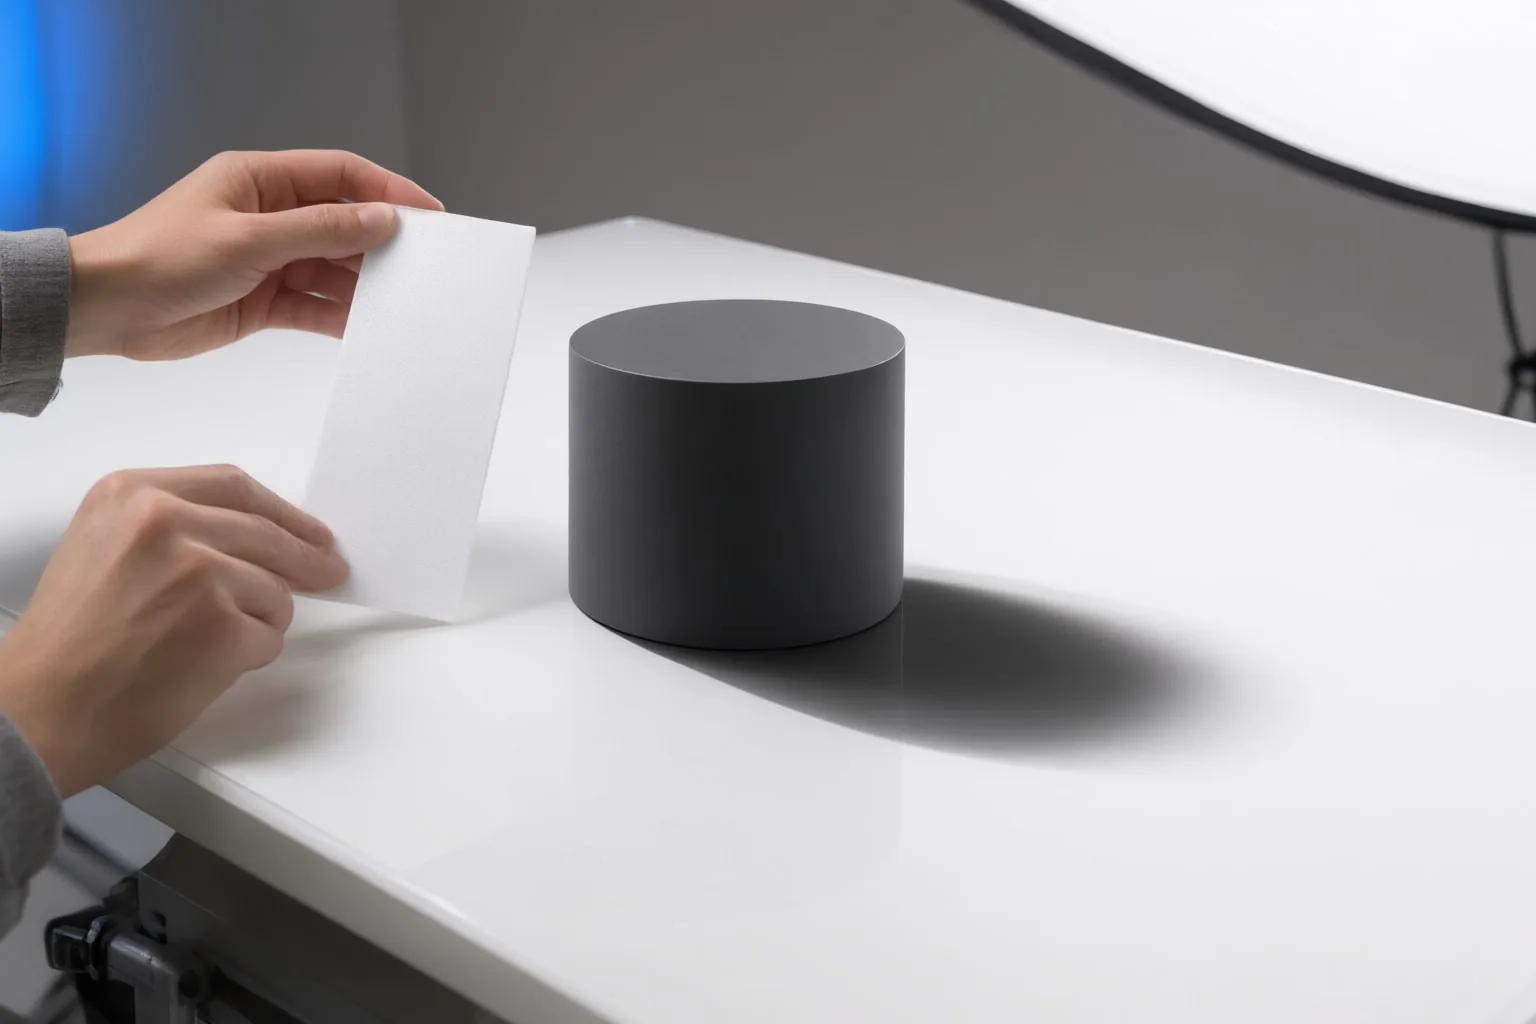
Adjust Placement and Appearance in the Web App
Advanced AI Shadows settings are currently limited to Photoroom’s Web App. Their controls affect different parts of the result:
- Direction chooses the side of the product on which the shadow appears, using a control that represents a 360-degree path around the object.
- Spread changes the shadow’s size. Short creates a narrower, more compact shadow; Long creates a wider, more stretched result.
- Hardness affects the shadow’s edge definition and density, while intensity controls its darkness. Adjust them separately when a dark shadow needs softer edges or a defined shadow should remain relatively light.
- Product orientation changes whether the generated scene makes the product appear to lie flat on a surface or stand upright on its bottom edge.
A practical adjustment order is to set direction first, refine spread, and then balance hardness and intensity. Check orientation separately because it changes how the product is presented, not merely the shadow’s styling. Photoroom states that these advanced settings consume AI credits.
Do not confuse the Web App controls with the Image Editing API. The newer API model requires the model-version header value 2026-04-15 and shadow.mode set to ai.auto-with-overrides. It can select values automatically or accept overrides for softness, intensity, spread, direction, and subject pose. A separate API demo uses a 3D handle: its arrow indicates where the shadow falls, moving it farther from the subject widens the spread, and releasing it triggers regeneration.
Conclusion
Use Photoroom AI Shadows by establishing the look with Soft, Hard, or Floating before making finer adjustments. In the Web App, place the shadow with Direction, shape its reach with Spread, and then tune Hardness and Intensity without treating those controls as interchangeable. Confirm whether the product should appear flat or upright with Product orientation.
Open a product image in Photoroom, begin with the preset that best matches the intended look, and—if you are using the Web App—adjust one advanced control at a time before continuing to edit, save, export, or download the result.
Disclosures and limitations
- This article was prepared with AI assistance using official Photoroom documentation and demo materials. It does not report hands-on product testing.
- This guide explains documented controls and does not make a purchase recommendation. Check current access and usage terms with Photoroom before using AI Shadows.
Sources
- How to use AI Shadows | Photoroom Help Center — help.photoroom.com
- PhotoRoom AI Guide 2025: Features & Pricing | AI Wiki — Artificial Intelligence Wiki
- How to Create Realistic Shadows and Add Visual Depth with AI? — icedit.org
- AI Shadows | Photoroom API Documentation — docs.photoroom.com
- Shadows Demo — try-api.photoroom.com
Improve this guide
Report a problem or suggest the next question
Submissions enter a private editorial queue. They are reviewed and deduplicated before any public update or new page is created.