
A basic ComfyUI workflow is a connected node graph that loads a model, encodes prompts, samples and decodes an image, and saves the result. This guide explains that path and suggests a careful first exercise.
What a Basic ComfyUI Workflow Is
ComfyUI represents a workflow as connected nodes that tell the application how to create an output. Each node handles a particular task, while links transfer compatible data between node inputs and outputs. This node-graph approach is also called visual programming (ComfyUI workflow concepts).
A simple image workflow can load a model, process a text prompt, generate an image, and save it. Properties on individual nodes control settings such as sampler steps, guidance scale, sampling method, and image size.
For a first reading, I suggest treating the graph as a dependency map. Ask three questions at each node: What enters it? What operation does it represent? Where does its output go? This is a suggested learning method, not a required layout or a promise that every beginner will find the interface easier.
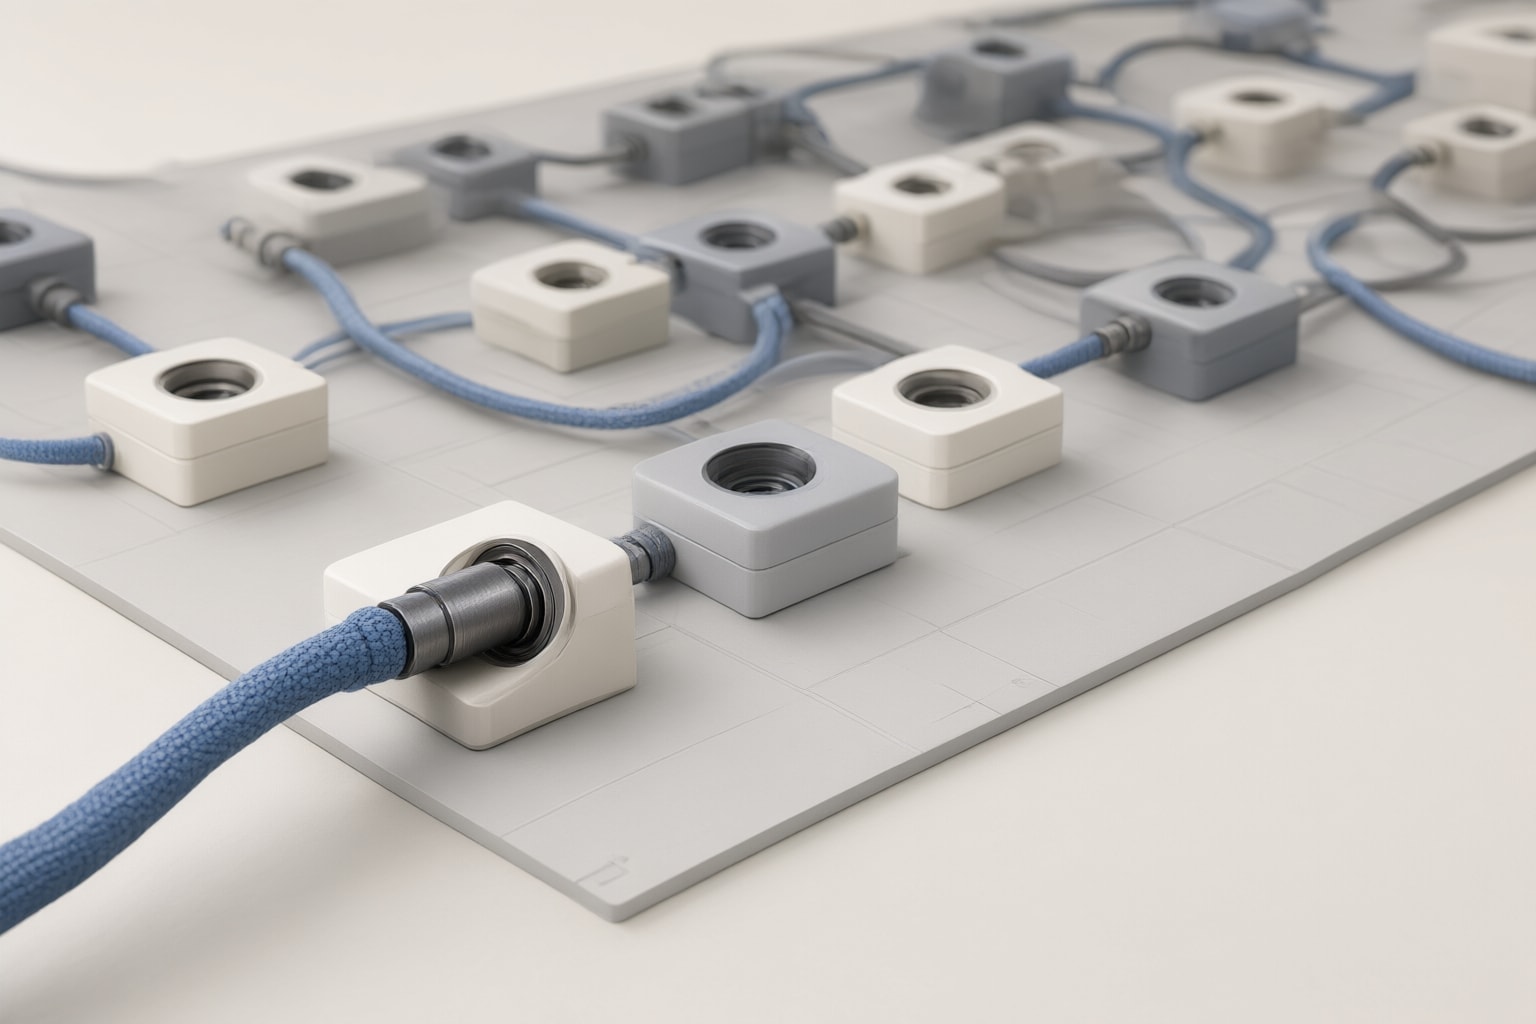
The Core Text-to-Image Path
The official basic example describes these node types (ComfyUI text-to-image guide):
Load Checkpointsupplies the model, CLIP text encoder, and VAE.Empty Latent Imageestablishes the latent canvas and final image dimensions.CLIP Text Encodeconverts positive and negative prompts into conditions for generation.KSamplerperforms denoising and produces a latent-space image.VAE Decodeconverts that latent result into a pixel-space image.Save Imagepreviews the decoded image and saves it underComfyUI/output.
The graph uses separate positive and negative conditioning paths into KSampler. The sampler also receives the model and latent image. Its documented parameters include the seed, step count, guidance scale, sampler, scheduler, and denoising strength.
I suggest tracing each connection into KSampler before following its output through VAE Decode and Save Image. That exercise is intended to clarify data flow; it does not imply that nodes must be positioned in a particular visual direction.

How to Run the Official Basic Example
The documented example requires an SD1.5 checkpoint in ComfyUI/models/checkpoints; the guide names v1-5-pruned-emaonly-fp16.safetensors as an example. Its workflow image can be dragged into ComfyUI because the image contains workflow JSON. The documented alternative is Workflows → Open or Ctrl+O (official example instructions).
In Load Checkpoint, select the installed model and check that the selector does not show null. Start generation with the Queue button or Ctrl+Enter. After processing, the output appears in the Save Image node. The official guide says the displayed image can be right-clicked to save it locally.
For a controlled first exercise, I suggest leaving the graph structure unchanged, writing a short positive prompt, and adding only characteristics you actually want suppressed to the negative prompt. Run once, record the result, and change one setting before the next run. This comparison method is an editorial suggestion and does not guarantee a better image.
How to Explore the Graph Carefully
ComfyUI runs the required nodes and transfers their data through links until it reaches the final output. A workflow cannot finish if a required node is absent, contains an error, or lacks necessary input data; ComfyUI marks the affected node so it can be found (nodes, links, and workflow execution).
I suggest saving or duplicating the starting workflow before experimenting. Keep a short note for each run containing the prompt and the one property changed. If execution stops, inspect the marked node and then trace its required incoming links. These are troubleshooting suggestions, not documented guarantees of identifying every possible problem.
Another reasonable learning strategy is to delay adding nodes until you can explain the core path in your own words. This is not a product restriction. ComfyUI allows nodes to be combined in different ways, and custom nodes can extend available capabilities.
Conclusion
A basic ComfyUI workflow is a connected text-to-image graph: it loads a checkpoint, encodes positive and negative text, provides a latent canvas, samples a latent result, decodes that result, and saves the image (official node explanation).
My practical recommendation is to begin with the official example or a built-in template from Workflow → Browse Workflow Templates. ComfyUI documents those templates as complete, editable examples built with Core nodes, with prompts to obtain required models (template documentation).
Run the unchanged graph once after confirming the checkpoint selection. Preserve that version, trace every link, and then make single-setting experiments. This suggested approach supports clearer comparisons but does not promise improved output. Add further nodes only when you can identify the specific purpose they should serve.
Sources
- ComfyUI Text to Image Workflow – ComfyUI
- ComfyUI Workflows: Nodes, Links, and Visual Programming – ComfyUI
Disclosure
This article was prepared with AI assistance.
Improve this guide
Report a problem or suggest the next question
Submissions enter a private editorial queue. They are reviewed and deduplicated before any public update or new page is created.