remove.bg is an automatic background-removal tool. Its official site describes turning an image background transparent for PNG use or adding a white background. For a product photo, consider it when your next step is placing an isolated object in another design.
The remove.bg workflow begins with uploading an image or providing an image URL. This guide connects that documented starting point to a retained product-scene example. It separates what the service documents today from what happened in one September 2026 run.
Read this before starting
As checked October 14, 2026, remove.bg announces a move to Canva. It says the standalone site will become unavailable on December 1, 2026 at 09:00 CET. Its pricing page also says credits expire at that time. Consider the Photoroom workflow when choosing an ongoing standalone route, and check the official notice before buying access.
Prepare and remove the background
- Keep the original product photo so you can compare the outline and restore missing details.
- Use the official image-upload entry or image-URL option.
- Decide whether your next step needs a transparent cutout or a white-background image.
- Inspect the subject outline before accepting the result. Keep thin parts of the product in mind.
- Check the access conditions and export size offered for your current session before committing to a production workflow.
The final two steps are editorial advice, not a promise that every session offers the same export controls. The current pricing page distinguishes basic free access from paid plans. This guide does not promise unlimited or full-resolution free downloads.
What our retained example actually contains
The September 13, 2026 public control run used eWiki’s AI-generated product scene. It returned a package containing color and alpha images. We reconstructed the 500 × 500 RGBA PNG from those returned files without retouching. The PNG is a reconstruction of that output, not an untouched single-file download.
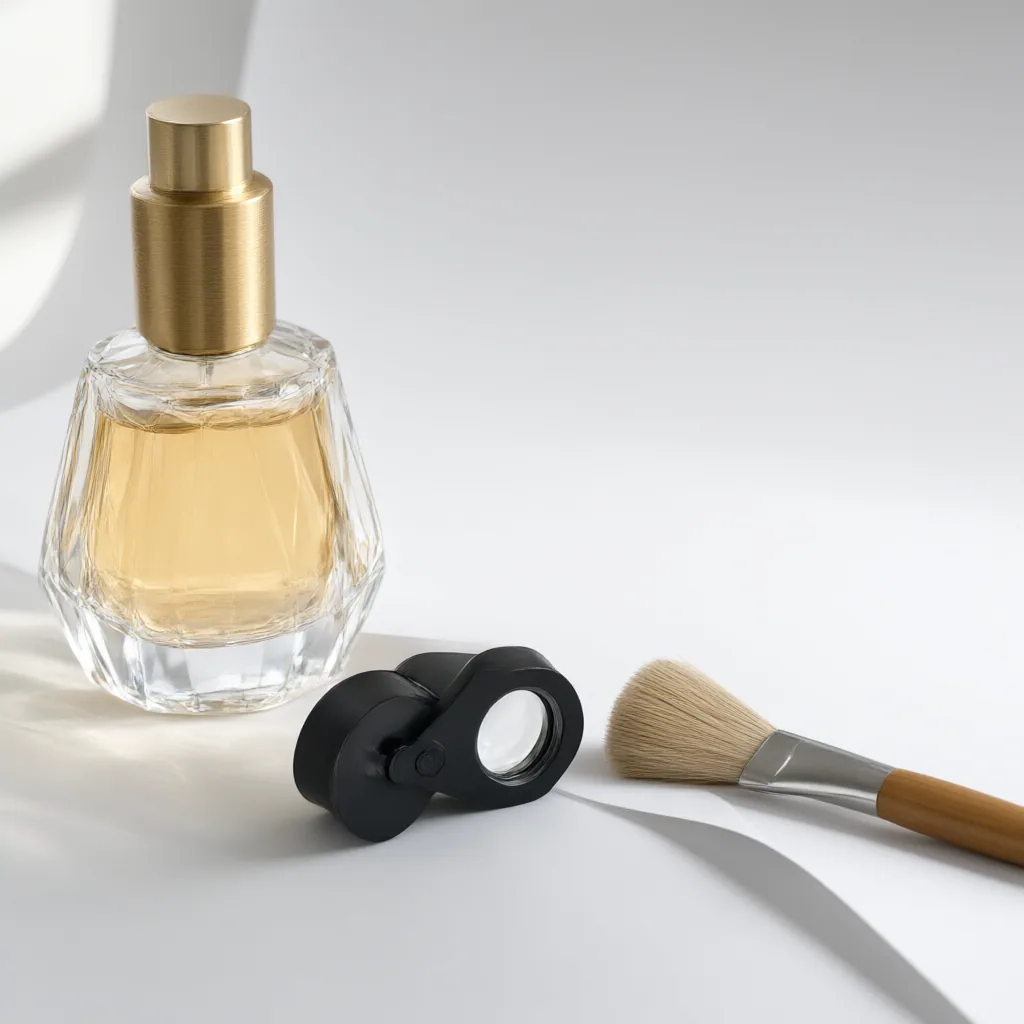
Download the input · Download the reconstructed cutout
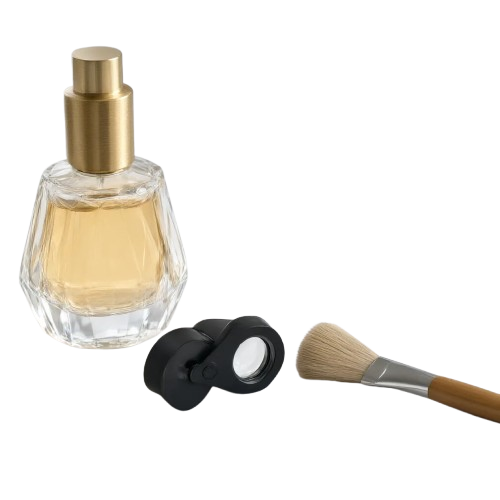
Its 250,000 pixels include 197,998 fully transparent, 48,082 fully opaque, and 3,920 partially transparent pixels. These counts describe only the retained file. They do not prove the tool is best for hair, glass, logos, or every product photograph.
Use the cutout in your next design
Choose PNG when you need transparency, then reopen the saved file in the editor where you will use it. Place it over contrasting backgrounds and inspect the outline. Keep a transparent master separate from a finished white-background version so you can make later changes.
If the saved image shows a permanent checkerboard, inspect the actual saved file rather than assuming the preview proves transparency. For the concept and a starting workflow, read the transparent-background explanation.
Next step
Compare the two dated export examples · Product background-removal guide
Sources and evidence
Official documentation reviewed October 14, 2026. Historical demonstrations retain their original dates; this edit is not a new generation test.
- remove.bg: tool and migration notice
- remove.bg: current access conditions
- MDN: image formats and transparency
Relationship disclosure · Evidence labels and testing method
Improve this guide
Report a problem or suggest the next question
Submissions enter a private editorial queue. They are reviewed and deduplicated before any public update or new page is created.